Drawing rectangles is the foundation of many canvas applications. When you learn how to render simple rectangles, you unlock the building blocks for creating complex graphics, game elements, and interactive visuals. The Canvas API provides straightforward methods—fillRect(), strokeRect(), and clearRect()—to draw, outline, and erase rectangles.
In this article, you’ll explore every corner of rectangle drawing with creative and playful examples. You’ll begin with the basics of setup, move through filled and outlined rectangles, learn to clear, color, animate, and even let users draw rectangles with clicks. Each section includes complete, runnable HTML so you can follow along and experiment in real-time.
Setting Up the Canvas and Context
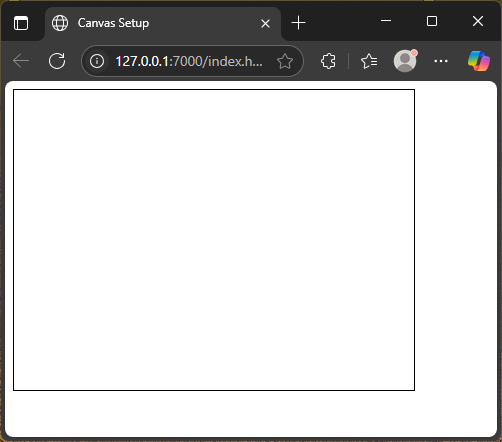
Let’s start with a blank canvas and get its 2D drawing context.
<!DOCTYPE html>
<html lang="en">
<head>
  <meta charset="UTF-8">
  <title>Canvas Setup</title>
</head>
<body>

  <canvas id="canvas" width="400" height="300" style="border:1px solid black;"></canvas>

  <script>

    const canvas = document.getElementById('canvas');
    const ctx = canvas.getContext('2d');

  </script>

</body>
</html>This example adds a <canvas> element styled with a border so you can see its dimensions. The JavaScript grabs the canvas by its id and creates a drawing context (ctx), which you’ll use for all subsequent examples.
Drawing a Basic Filled Rectangle
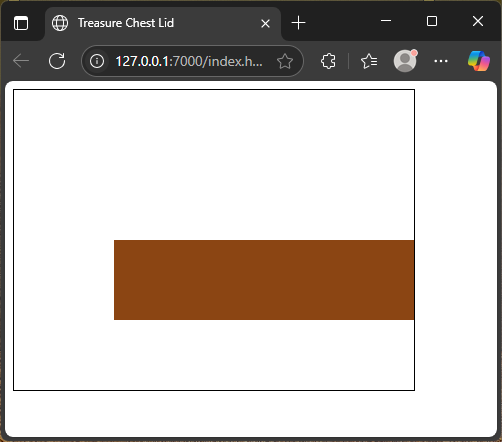
The simplest way to place a rectangle is with fillRect(x, y, width, height). Let’s draw a wooden treasure chest lid:
<!DOCTYPE html>
<html lang="en">
<head>
  <meta charset="UTF-8">
  <title>Treasure Chest Lid</title>
</head>
<body>

  <canvas id="chest" width="400" height="300" style="border:1px solid black;"></canvas>

  <script>

    const ctx = document.getElementById('chest').getContext('2d');

    ctx.fillStyle = '#8B4513'; // brown wood
    ctx.fillRect(100, 150, 300, 80);

  </script>

</body>
</html>Here, a brown rectangle is drawn to resemble a chest lid—simple and solid.
Drawing a Rectangle Outline (Stroke)
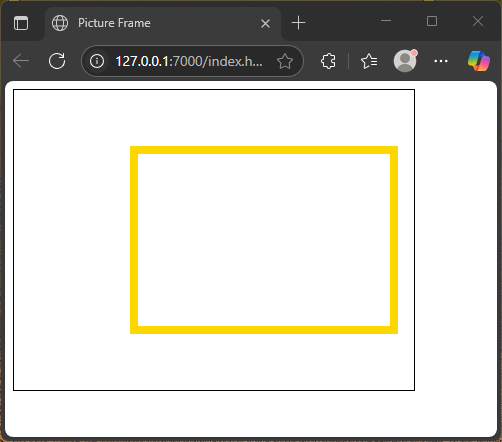
To draw only the outline of a rectangle, use strokeRect(x, y, width, height). Let’s create a golden picture frame:
<!DOCTYPE html>
<html lang="en">
<head>
  <meta charset="UTF-8">
  <title>Picture Frame</title>
</head>
<body>

  <canvas id="frame" width="400" height="300" style="border:1px solid black;"></canvas>

  <script>

    const ctx = document.getElementById('frame').getContext('2d');

    ctx.strokeStyle = 'gold';
    ctx.lineWidth = 8;
    ctx.strokeRect(120, 60, 260, 180);

  </script>

</body>
</html>This code adds a thick gold border — a frame—around where an image might go.
Combining Fill and Stroke
You can fill a rectangle and then outline it for more depth. Let’s draw a magic book cover:
<!DOCTYPE html>
<html lang="en">
<head>
  <meta charset="UTF-8">
  <title>Magic Book Cover</title>
</head>
<body>

  <canvas id="book" width="400" height="300" style="border:1px solid black;"></canvas>

  <script>

    const ctx = document.getElementById('book').getContext('2d');

    ctx.fillStyle = '#4B0082'; // indigo
    ctx.fillRect(150, 100, 200, 120);
    ctx.strokeStyle = 'red';
    ctx.lineWidth = 5;
    ctx.strokeRect(150, 100, 200, 120);

  </script>

</body>
</html>Here, the filled purple rectangle is outlined in red, creating a bold cover effect.

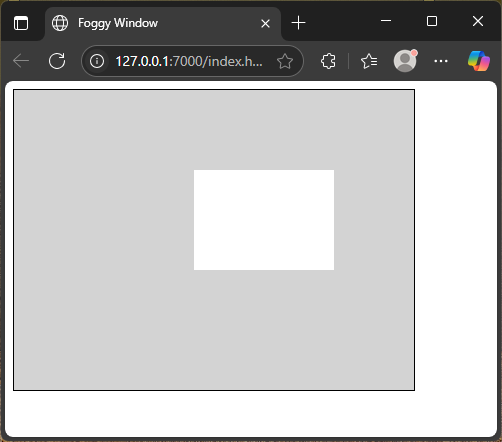
Clearing Part of the Canvas
Use clearRect(x, y, width, height) to remove drawn content. Visualize erasing a window in fog:
<!DOCTYPE html>
<html lang="en">
<head>
  <meta charset="UTF-8">
  <title>Foggy Window</title>
</head>
<body>

  <canvas id="window" width="400" height="300" style="border:1px solid black;"></canvas>

  <script>

    const ctx = document.getElementById('window').getContext('2d');

    ctx.fillStyle = 'lightgrey';
    ctx.fillRect(0, 0, 400, 300);
    ctx.clearRect(180, 80, 140, 100); // clear rectangle for window

  </script>

</body>
</html>The cleared rectangle becomes a “window” breaking through the fog.
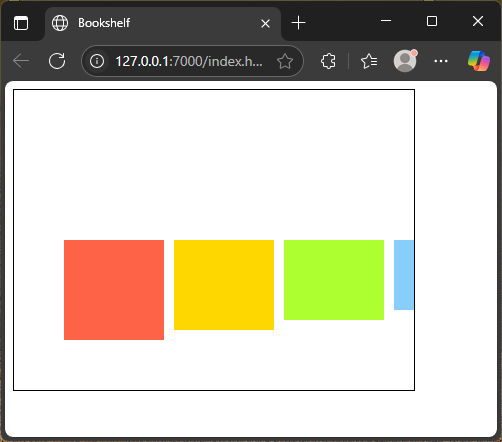
Drawing Multiple Rectangles
Multiple rectangles can build stacked visuals. Let’s make books on a shelf:
<!DOCTYPE html>
<html lang="en">
<head>
  <meta charset="UTF-8">
  <title>Bookshelf</title>
</head>
<body>

  <canvas id="books" width="400" height="300" style="border:1px solid black;"></canvas>

  <script>

    const ctx = document.getElementById('books').getContext('2d');

    const colors = ['#FF6347', '#FFD700', '#ADFF2F', '#87CEFA'];

    for (let i = 0; i < 4; i++) {
      ctx.fillStyle = colors[i];
      ctx.fillRect(50 + i * 110, 150, 100, 100 - i * 10);
    }

  </script>

</body>
</html>Each rectangle looks like a colorful book of varied height, lined up neatly.
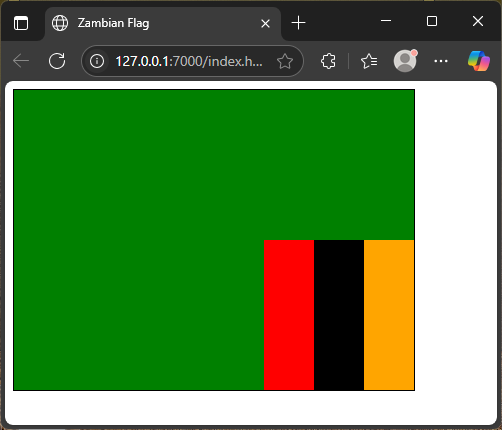
Coloring Rectangles
Using fillStyle and strokeStyle you can style rectangles creatively. Let’s draw the Zambian flag stripes:
<!DOCTYPE html>
<html lang="en">
<head>
  <meta charset="UTF-8">
  <title>Zambian Flag</title>
</head>
<body>

  <canvas id="flag" width="400" height="300" style="border:1px solid black;"></canvas>

  <script>

    const canvas = document.getElementById('flag');
    const ctx = canvas.getContext('2d');

    // Green background
    ctx.fillStyle = 'green';
    ctx.fillRect(0, 0, canvas.width, canvas.height);

    // Bar dimensions
    const barWidth = 50;
    const barHeight = 150;

    // Start X so all 3 bars align to the right with no space
    const totalWidth = barWidth * 3;
    const startX = canvas.width - totalWidth;
    const startY = canvas.height - barHeight;

    // Red bar (left)
    ctx.fillStyle = 'red';
    ctx.fillRect(startX, startY, barWidth, barHeight);

    // Black bar (middle)
    ctx.fillStyle = 'black';
    ctx.fillRect(startX + barWidth, startY, barWidth, barHeight);

    // Orange bar (right)
    ctx.fillStyle = 'orange';
    ctx.fillRect(startX + 2 * barWidth, startY, barWidth, barHeight);

  </script>

</body>
</html>This draws green, orange, black, and red stripes resembling the Zambian flag.
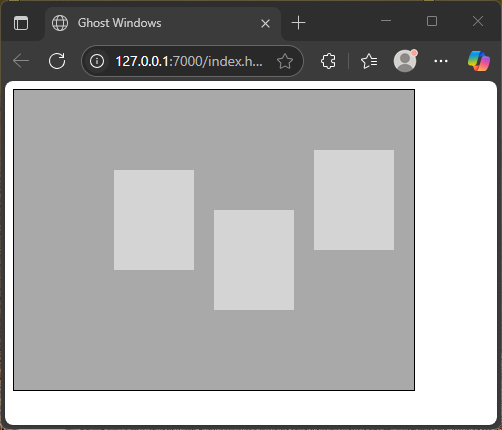
Using Transparency in Rectangles
You can create ghostly effects with transparency. Let’s add “ghost windows”:
<!DOCTYPE html>
<html lang="en">
<head>
  <meta charset="UTF-8">
  <title>Ghost Windows</title>
</head>
<body>

  <canvas id="ghost" width="400" height="300" style="border:1px solid black;"></canvas>

  <script>

    const ctx = document.getElementById('ghost').getContext('2d');

    ctx.fillStyle = 'darkgrey';
    ctx.fillRect(0, 0, 400, 300);
    ctx.fillStyle = 'rgba(255, 255, 255, 0.5)';
    ctx.fillRect(100, 80, 80, 100);
    ctx.fillRect(200, 120, 80, 100);
    ctx.fillRect(300, 60, 80, 100);

  </script>

</body>
</html>The semi-transparent rectangles appear like spectral windows on a ghostly facade.
Animating a Moving Rectangle
Let’s animate a race car (a rectangle) racing across the canvas:
<!DOCTYPE html>
<html lang="en">
<head>
  <meta charset="UTF-8">
  <title>Race Car</title>
</head>
<body>

  <canvas id="race" width="400" height="200" style="border:1px solid black;"></canvas>

  <script>

    const ctx = document.getElementById('race').getContext('2d');
    let x = 0;

    function animate() {

      ctx.clearRect(0, 0, 400, 200);
      ctx.fillStyle = 'red';
      ctx.fillRect(x, 130, 100, 50);

      x += 4;

      if (x > 400) x = -100;

      requestAnimationFrame(animate);

    }

    animate();

  </script>

</body>
</html>A red rectangle (car) moves smoothly across the canvas, resetting once it exits.
Drawing Rectangles Based on User Input
Now let users plant tree rectangles by clicking:
<!DOCTYPE html>
<html lang="en">
<head>
  <meta charset="UTF-8">
  <title>Plant Trees</title>
</head>
<body>

  <canvas id="trees" width="400" height="300" style="border:1px solid black;"></canvas>

  <script>

    const canvas = document.getElementById('trees');
    const ctx = canvas.getContext('2d');

    canvas.addEventListener('click', (e) => {

      const rect = canvas.getBoundingClientRect();
      const x = e.clientX - rect.left;
      const y = e.clientY - rect.top;

      ctx.fillStyle = 'brown';
      ctx.fillRect(x - 5, y - 20, 10, 20); // trunk

      ctx.fillStyle = 'green';
      ctx.fillRect(x - 15, y - 40, 30, 20); // leaves

    });

  </script>

</body>
</html>Clicking plants a whimsical tree—brown trunk and green leaves—wherever you choose.
Conclusion
You’ve learned how to set up a canvas, draw filled and outlined rectangles, clear regions, apply colors, transparency, animate shapes, and even respond to user clicks. These rectangle techniques lay a strong foundation for any canvas-based project. Combine them to build scenes, games, UI panels, or anything else you imagine.
References
If you want to learn more, these resources are excellent starting points: