Python’s Tkinter library provides a straightforward way to create graphical user interfaces (GUI) for desktop applications. One of the essential GUI components is the CheckBox, which allows users to toggle between two states, checked or unchecked. In this article, we will walk you through the process of creating a CheckBox using Python Tkinter.

with hands-on learning.
get the skills and confidence to land your next move.
What is a CheckBox?
A CheckBox is a widget that presents an option that can be either checked or unchecked. It is widely used in various applications to represent binary choices, such as enabling or disabling a feature, selecting items, or setting preferences.
Creating a Simple CheckBox
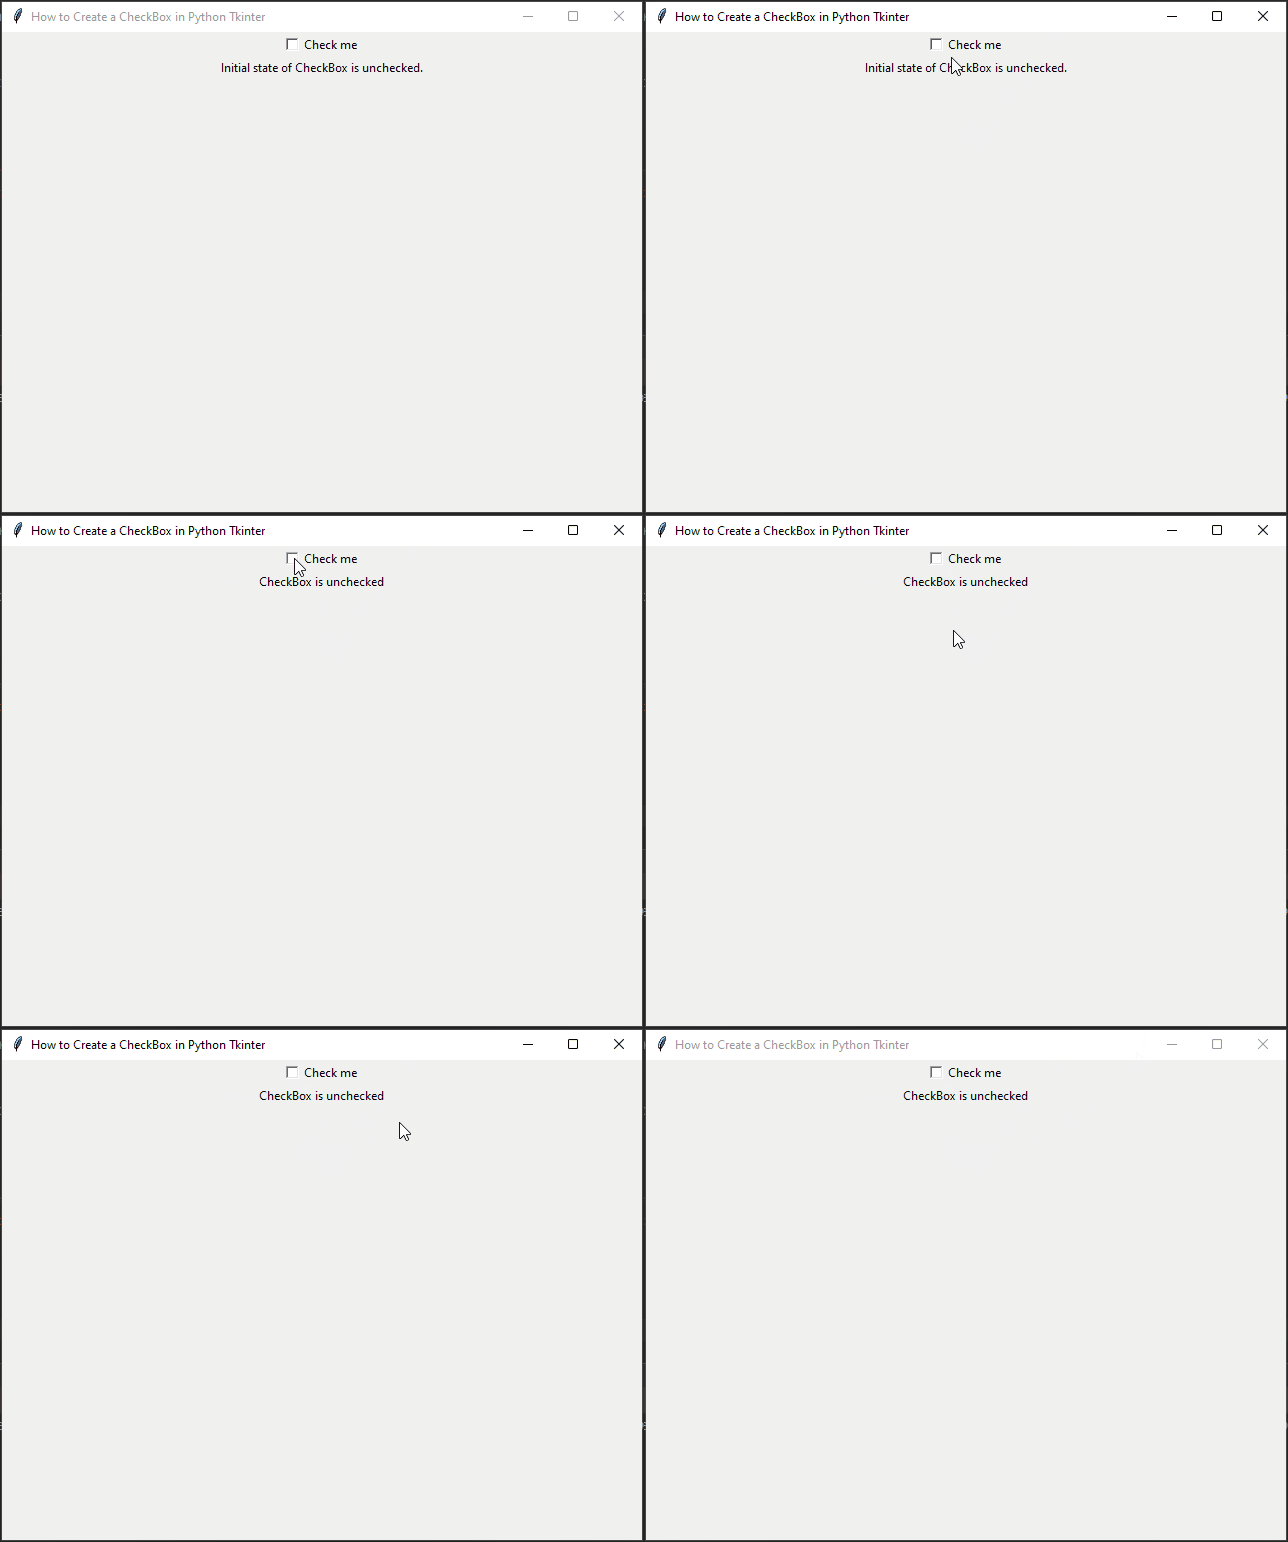
Let’s start with a basic example of how to create a CheckBox in Tkinter. We will create a window with a CheckBox and a label displaying the CheckBox’s state.
import tkinter as tk


class PyFrame(tk.Tk):

    def __init__(self, width, height):
        super().__init__()

        self.width = width
        self.height = height

        self.geometry(f"{self.width}x{self.height}")

    def center_on_screen(self):
        left = (self.winfo_screenwidth() - self.width) // 2
        top = (self.winfo_screenheight() - self.height) // 2

        self.geometry(f"{self.width}x{self.height}+{left}+{top}")


def on_checkbox_click():
    if checkbox_var.get() == 1:
        status_label.config(text="CheckBox is checked")
    else:
        status_label.config(text="CheckBox is unchecked")


if __name__ == '__main__':
    # Create the main application window
    root = PyFrame(640, 480)
    root.title("How to Create a CheckBox in Python Tkinter")

    # center window on the screen
    root.center_on_screen()

    # Create a variable to store the CheckBox state (0 for unchecked, 1 for checked)
    checkbox_var = tk.IntVar()

    # Create the CheckBox and associate it with the variable
    checkbox = tk.Checkbutton(root, text="Check me", variable=checkbox_var, command=on_checkbox_click)
    checkbox.pack()

    # Create a label to display the CheckBox's state
    status_label = tk.Label(root, text="Initial state of CheckBox is unchecked.")
    status_label.pack()

    # Run the main event loop
    root.mainloop()
Save this code in a file named checkbox_example.py and run it. You will see a window with a CheckBox and a label. Whenever you check or uncheck the CheckBox, the label will display the current state.
Multiple Checkboxes with Different States
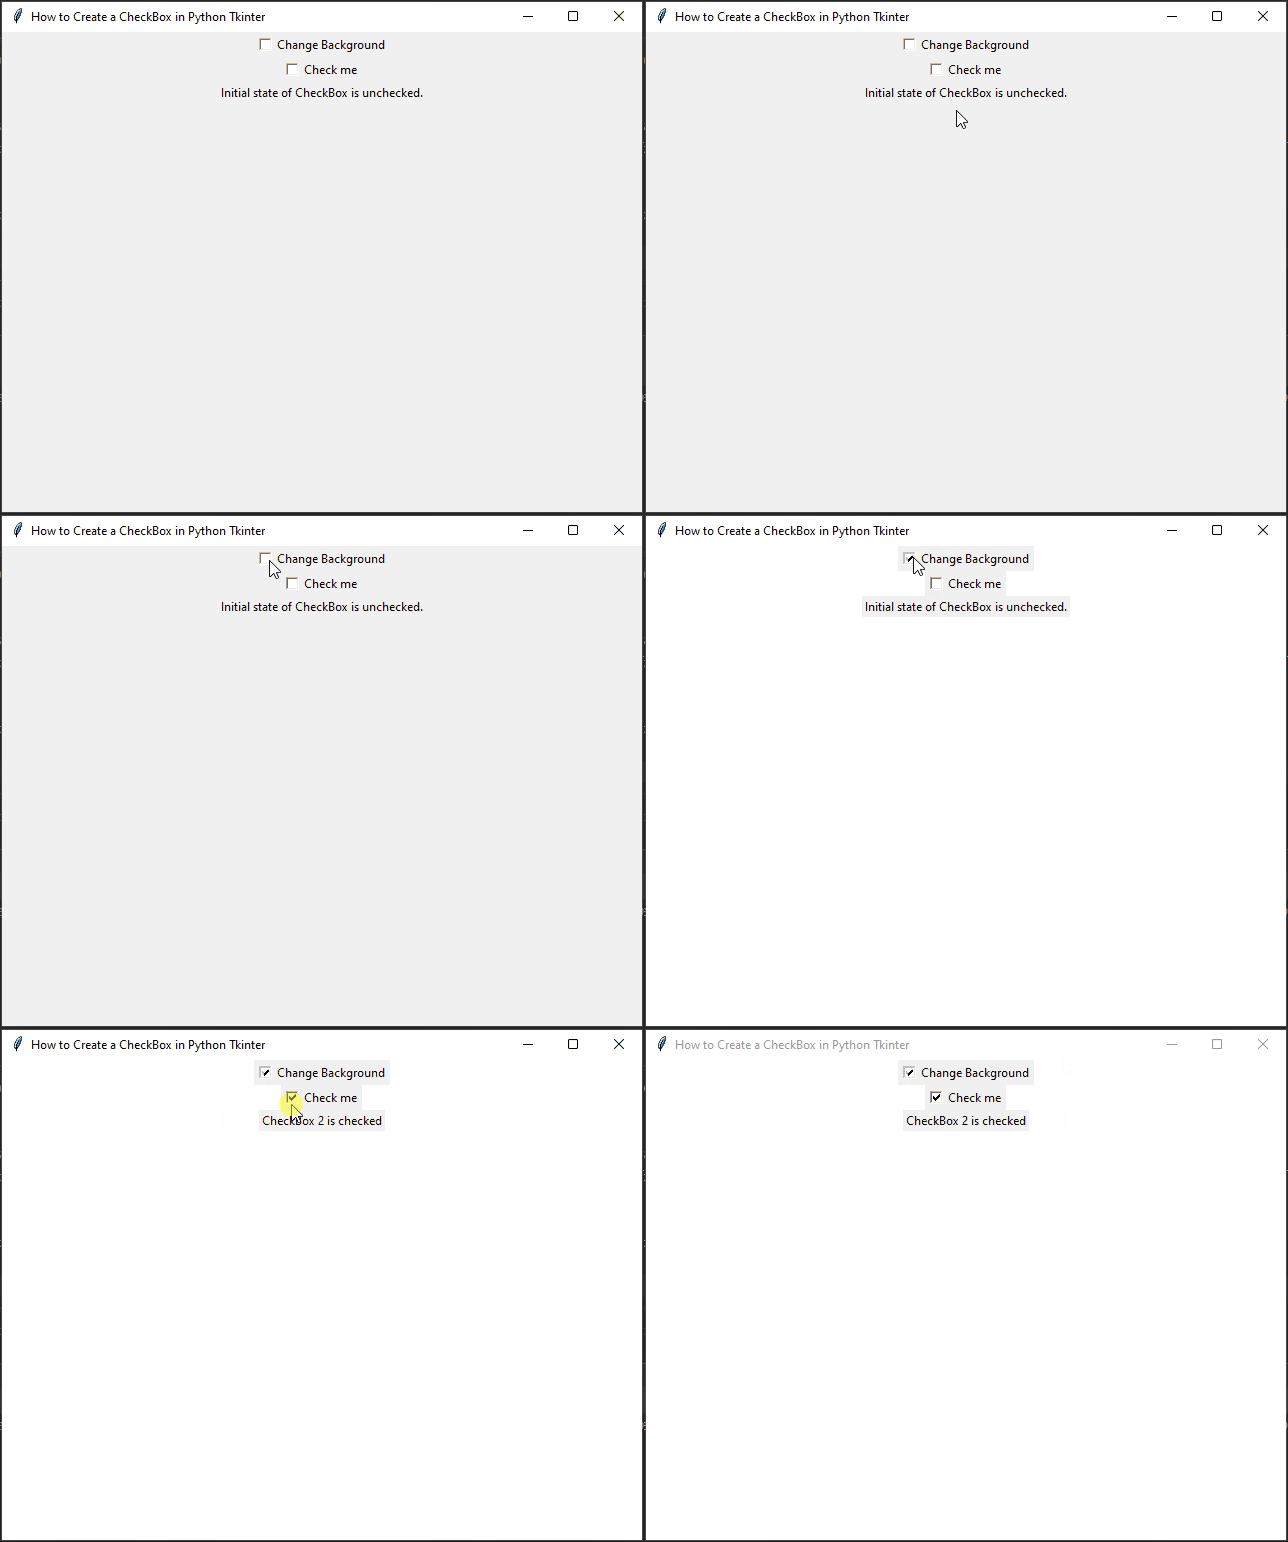
You can create multiple Checkboxes with different initial states and manage their individual states independently. Let’s create an example with three Checkboxes that control the background color of the application window.
import tkinter as tk


class PyFrame(tk.Tk):

    def __init__(self, width, height):
        super().__init__()

        self.width = width
        self.height = height

        self.geometry(f"{self.width}x{self.height}")

    def center_on_screen(self):
        left = (self.winfo_screenwidth() - self.width) // 2
        top = (self.winfo_screenheight() - self.height) // 2

        self.geometry(f"{self.width}x{self.height}+{left}+{top}")


def update_background_color():
    background_color = "#FFFFFF" if checkbox_var1.get() else "#ECECEC"
    root.config(bg=background_color)


def on_checkbox2_click():
    if checkbox_var2.get() == 1:
        status_label.config(text="CheckBox 2 is checked")
    else:
        status_label.config(text="CheckBox 2 is unchecked")


if __name__ == '__main__':
    # Create the main application window
    root = PyFrame(640, 480)
    root.title("How to Create a CheckBox in Python Tkinter")

    # center window on the screen
    root.center_on_screen()

    # Create variables to store the CheckBox states
    checkbox_var1 = tk.BooleanVar()
    checkbox_var2 = tk.IntVar()

    # Create the Checkboxes and associate them with the variables
    checkbox1 = tk.Checkbutton(root, text="Change Background", variable=checkbox_var1, command=update_background_color)
    checkbox1.pack()

    checkbox2 = tk.Checkbutton(root, text="Check me", variable=checkbox_var2, command=on_checkbox2_click)
    checkbox2.pack()

    # Create a label to display the CheckBox's state
    status_label = tk.Label(root, text="Initial state of CheckBox is unchecked.")
    status_label.pack()

    # Run the main event loop
    root.mainloop()
In this example, the first CheckBox toggles the background color between white and light gray, while the second CheckBox updates the label based on its state.
Customizing CheckBoxes
Customizing CheckBoxes in Tkinter allows you to change their appearance, size, colors, and behavior to better suit the design and aesthetics of your application. In this section, we’ll explore various ways to customize CheckBoxes in Python Tkinter.
Changing the Text and Font
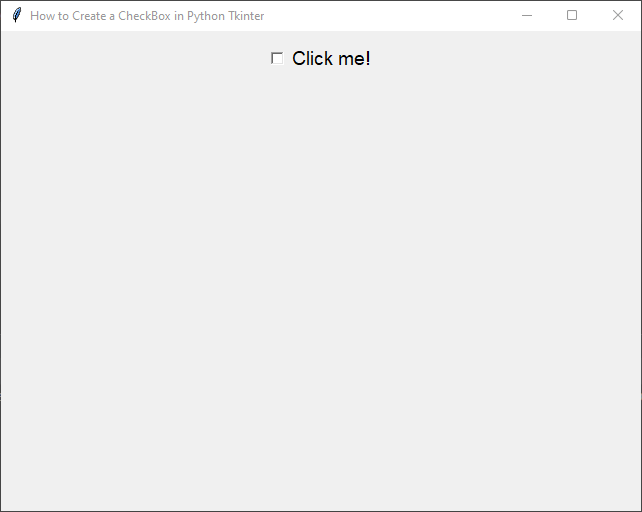
You can easily customize the text displayed next to the CheckBox using the text parameter. Additionally, you can change the font of the text using the font parameter. Let’s create a CheckBox with customized text and font:
import tkinter as tk


class PyFrame(tk.Tk):

    def __init__(self, width, height):
        super().__init__()

        self.width = width
        self.height = height

        self.geometry(f"{self.width}x{self.height}")

    def center_on_screen(self):
        left = (self.winfo_screenwidth() - self.width) // 2
        top = (self.winfo_screenheight() - self.height) // 2

        self.geometry(f"{self.width}x{self.height}+{left}+{top}")


if __name__ == '__main__':
    # Create the main application window
    root = PyFrame(640, 480)
    root.title("How to Create a CheckBox in Python Tkinter")

    # center window on the screen
    root.center_on_screen()

    # Create a variable to store the state of the CheckBox
    var = tk.BooleanVar()

    # Customize the text and font
    checkbox = tk.Checkbutton(root, text="Click me!", font=("Arial", 14), variable=var)
    checkbox.pack(pady=10)

    # Run the main event loop
    root.mainloop()
Changing the Size
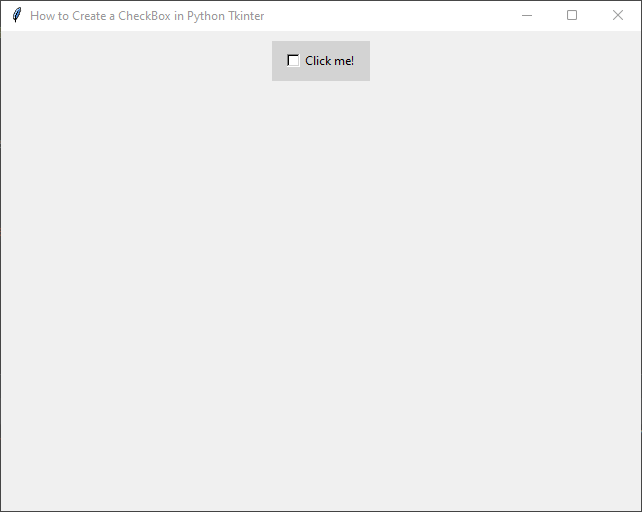
To change the size of the CheckBox, you can use the height and width parameters. The height parameter specifies the number of lines for the CheckBox’s height, while the width parameter sets the width of the CheckBox in characters. Let’s create a CheckBox with a larger size:
import tkinter as tk


class PyFrame(tk.Tk):

    def __init__(self, width, height):
        super().__init__()

        self.width = width
        self.height = height

        self.geometry(f"{self.width}x{self.height}")

    def center_on_screen(self):
        left = (self.winfo_screenwidth() - self.width) // 2
        top = (self.winfo_screenheight() - self.height) // 2

        self.geometry(f"{self.width}x{self.height}+{left}+{top}")


if __name__ == '__main__':
    # Create the main application window
    root = PyFrame(640, 480)
    root.title("How to Create a CheckBox in Python Tkinter")

    # center window on the screen
    root.center_on_screen()

    # Create a variable to store the state of the CheckBox
    var = tk.BooleanVar()

    # Customize the size
    checkbox = tk.Checkbutton(root, text="Click me!", variable=var, height=2, width=10)
    checkbox.pack(pady=10)

    # Run the main event loop
    root.mainloop()
Customizing Colors
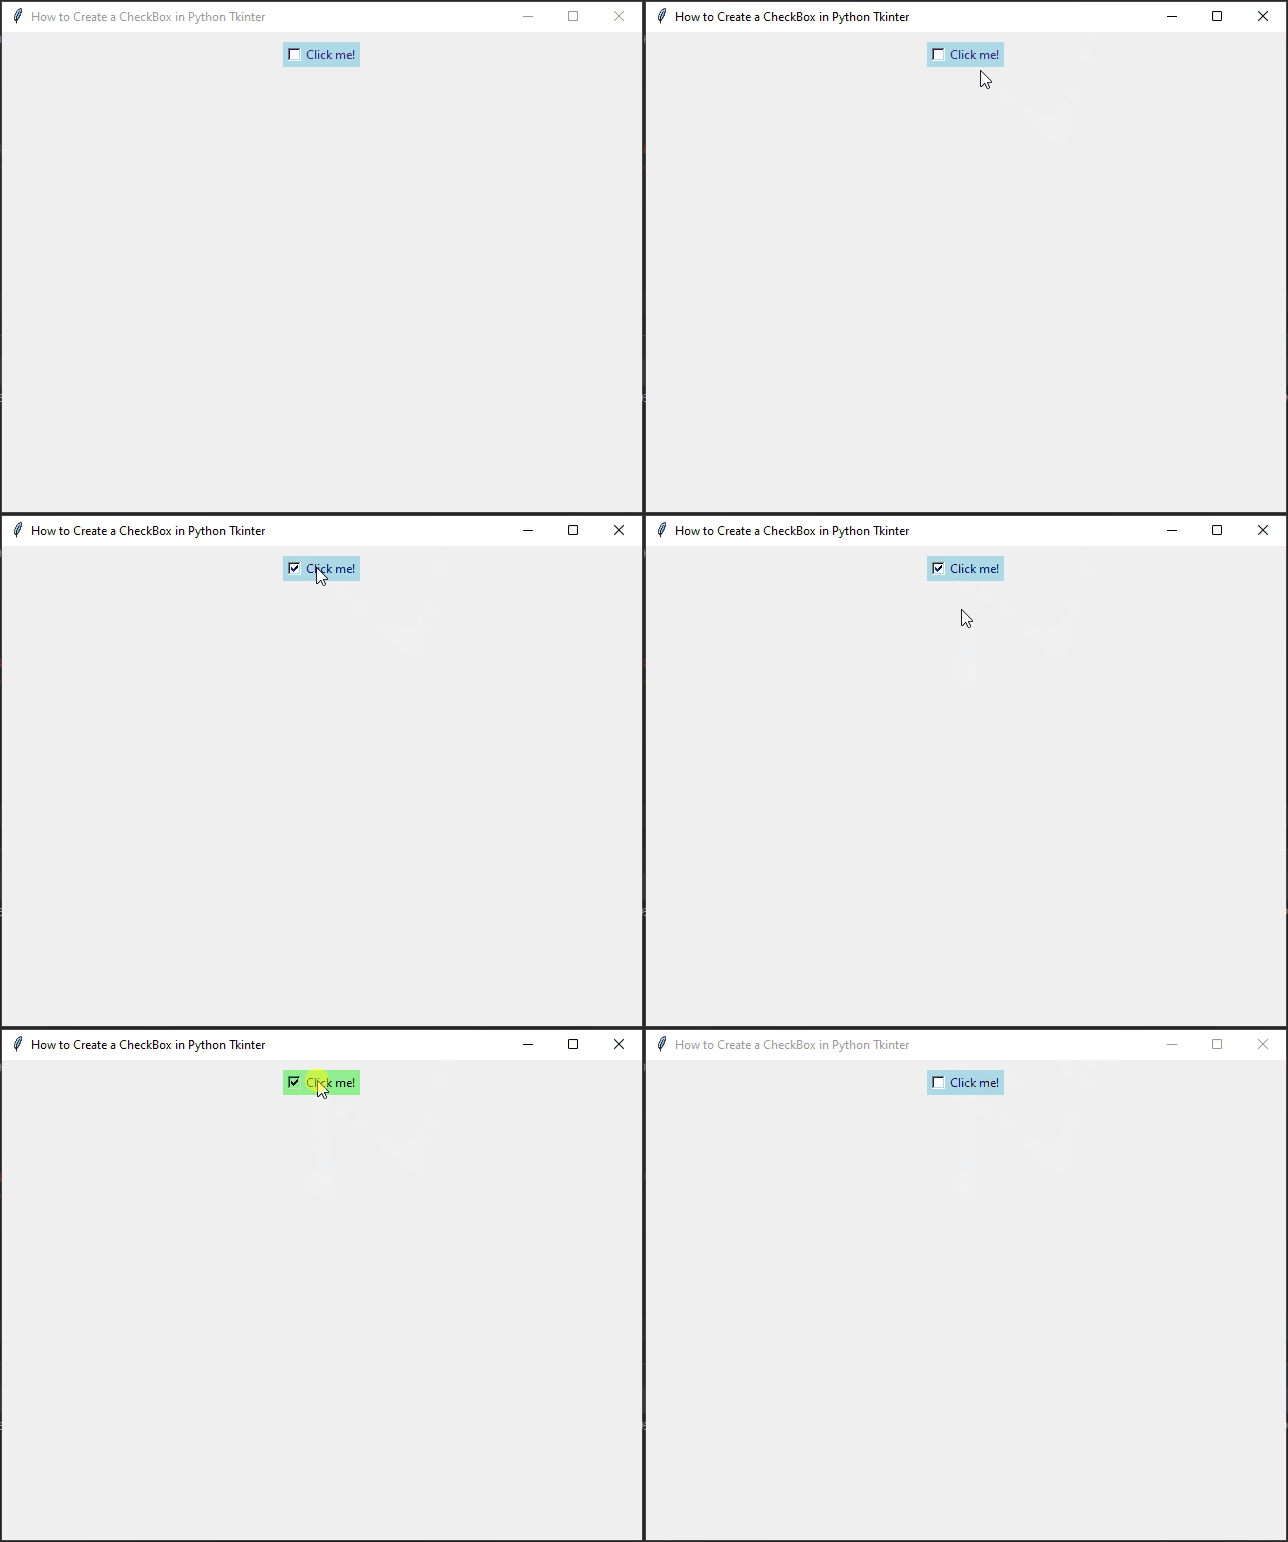
You can customize the colors of the CheckBox using the bg (background), fg (foreground), and activebackground parameters. The bg parameter sets the background color, the fg parameter sets the text color, and the activebackground parameter sets the background color when the CheckBox is clicked. Let’s create a CheckBox with custom colors:
import tkinter as tk


class PyFrame(tk.Tk):

    def __init__(self, width, height):
        super().__init__()

        self.width = width
        self.height = height

        self.geometry(f"{self.width}x{self.height}")

    def center_on_screen(self):
        left = (self.winfo_screenwidth() - self.width) // 2
        top = (self.winfo_screenheight() - self.height) // 2

        self.geometry(f"{self.width}x{self.height}+{left}+{top}")


if __name__ == '__main__':
    # Create the main application window
    root = PyFrame(640, 480)
    root.title("How to Create a CheckBox in Python Tkinter")

    # center window on the screen
    root.center_on_screen()

    # Create a variable to store the state of the CheckBox
    var = tk.BooleanVar()

    # Customize colors
    checkbox = tk.Checkbutton(root, text="Click me!",
                              variable=var, bg="lightblue", fg="navy",
                              activebackground="lightgreen")

    checkbox.pack(pady=10)

    # Run the main event loop
    root.mainloop()
Using Custom Images
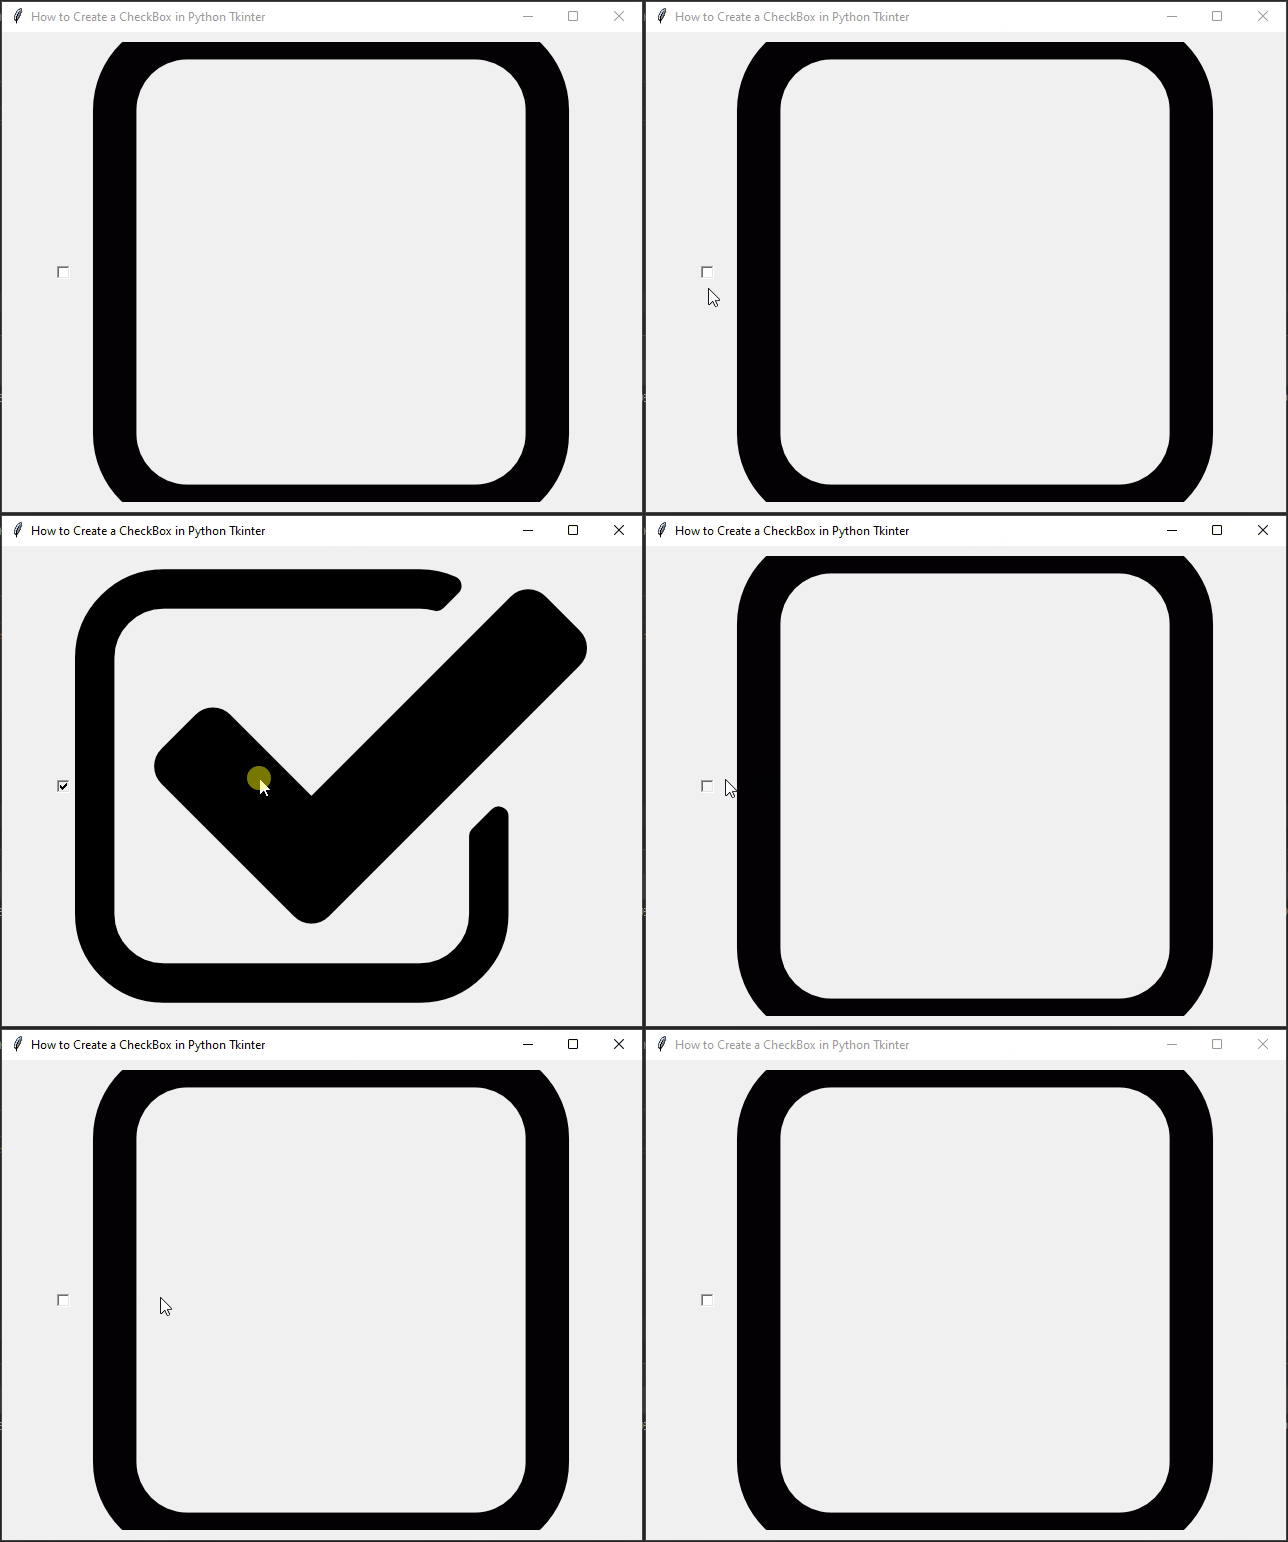
Tkinter allows you to use custom images for the CheckBox. You can set different images for the checked and unchecked states using the image and selectimage parameters, respectively. Make sure to use PhotoImage objects to load the images. Here’s an example:
import tkinter as tk


class PyFrame(tk.Tk):

    def __init__(self, width, height):
        super().__init__()

        self.width = width
        self.height = height

        self.geometry(f"{self.width}x{self.height}")

    def center_on_screen(self):
        left = (self.winfo_screenwidth() - self.width) // 2
        top = (self.winfo_screenheight() - self.height) // 2

        self.geometry(f"{self.width}x{self.height}+{left}+{top}")


if __name__ == '__main__':
    # Create the main application window
    root = PyFrame(640, 480)
    root.title("How to Create a CheckBox in Python Tkinter")

    # center window on the screen
    root.center_on_screen()

    # Create a variable to store the state of the CheckBox
    var = tk.BooleanVar()

    # Load custom images for checked and unchecked states
    checked_img = tk.PhotoImage(file="checked.png")
    unchecked_img = tk.PhotoImage(file="unchecked.png")

    # Customize using images
    checkbox = tk.Checkbutton(root, image=unchecked_img, selectimage=checked_img, variable=var)
    checkbox.pack(pady=10)

    # Run the main event loop
    root.mainloop()
Remember to replace “checked.png” and “unchecked.png” with the paths to your own image files.
These are just a few examples of how you can customize CheckBoxes in Python Tkinter. Tkinter offers a wide range of options to make your CheckBoxes visually appealing and integrate them seamlessly into your GUI design. Experiment with different settings to create CheckBoxes that perfectly match your application’s aesthetics and user experience.
Conclusion
Creating a CheckBox in Python Tkinter is a simple process, and it allows you to implement user-friendly interactions in your applications. You can use Checkboxes for various purposes, such as toggling settings, enabling/disabling features, or making multiple selections.
In this article, we covered the basics of creating a CheckBox using Tkinter with two full code examples. You can build upon this knowledge to create more complex GUI applications tailored to your specific needs.
Tkinter provides many other widgets and features to enhance your GUI applications further. So, don’t hesitate to explore the Tkinter documentation and experiment with different components to create powerful desktop applications using Python.
I hope you found this code informative and useful. If you would like to receive more content, please consider subscribing to our newsletter!


