Python’s Tkinter is a popular GUI (Graphical User Interface) library that allows developers to create interactive and visually appealing applications. One of the fundamental components of a Tkinter application is the Label widget, which is used to display text or images on the screen. In this article, we will walk you through the process of creating and using a label in Python Tkinter.

with hands-on learning.
get the skills and confidence to land your next move.
Creating a Basic Label
Let’s start by creating a simple Tkinter application with a single label that displays some text. Open your favorite text editor or IDE and create a new Python script, e.g., label_example.py.
import tkinter as tk


class PyFrame(tk.Tk):

    def __init__(self, width, height):
        super().__init__()

        self.width = width
        self.height = height

        self.geometry(f"{self.width}x{self.height}")

    def center_on_screen(self):
        left = (self.winfo_screenwidth() - self.width) // 2
        top = (self.winfo_screenheight() - self.height) // 2

        self.geometry(f"{self.width}x{self.height}+{left}+{top}")


if __name__ == '__main__':
    # Create the main application window
    root = PyFrame(640, 480)
    root.title("How to Create a Label in Python Tkinter")

    # center window on screen
    root.center_on_screen()

    # Create a Label widget
    label_text = "Hello, Tkinter!"
    label = tk.Label(root, text=label_text)

    # Pack the label to display it
    label.pack()

    # Run the main event loop
    root.mainloop()
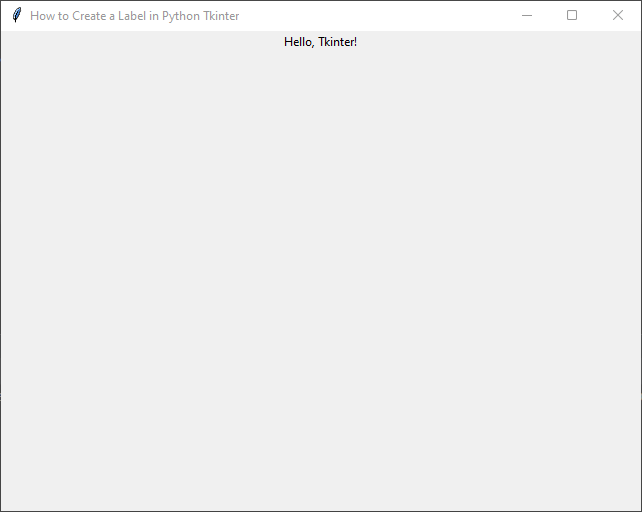
When run, the above program produces a window with the label “Hello, Tkinter!” displayed on it.
Customizing the Label
You can customize various aspects of the label, such as its font, color, and size. Let’s modify our previous example to demonstrate this:
import tkinter as tk


class PyFrame(tk.Tk):

    def __init__(self, width, height):
        super().__init__()

        self.width = width
        self.height = height

        self.geometry(f"{self.width}x{self.height}")

    def center_on_screen(self):
        left = (self.winfo_screenwidth() - self.width) // 2
        top = (self.winfo_screenheight() - self.height) // 2

        self.geometry(f"{self.width}x{self.height}+{left}+{top}")


def change_label_text():
    label.config(text="Custom Text Changed!")


if __name__ == '__main__':
    # Create the main application window
    root = PyFrame(640, 480)
    root.title("How to Create a Label in Python Tkinter")

    # center window on screen
    root.center_on_screen()

    # Create a Label widget
    label_text = "Hello, Tkinter!"
    label = tk.Label(root, text=label_text, font=("Arial", 20), fg="blue")

    # Pack the label to display it
    label.pack()

    # Create a button to change the label text
    button = tk.Button(root, text="Change Text", command=change_label_text)
    button.pack()

    # Run the main event loop
    root.mainloop()
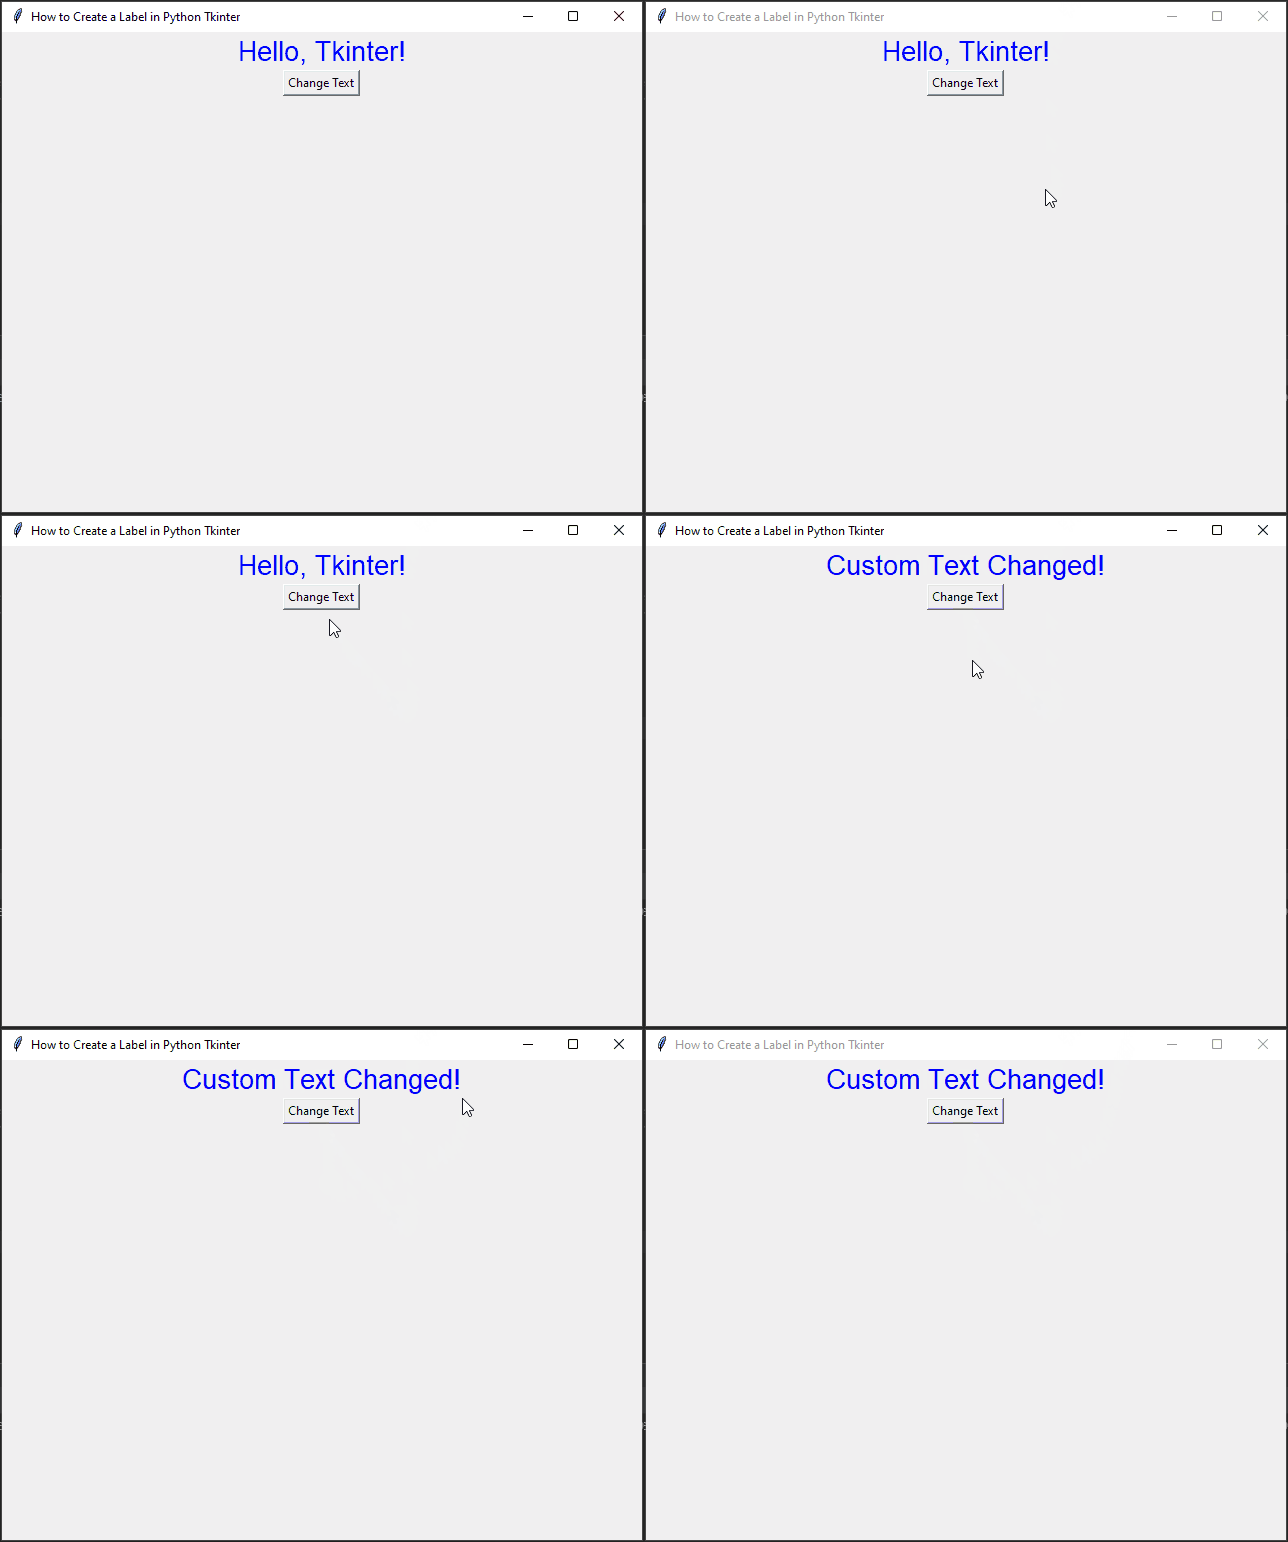
In this example, we added a button that changes the label text when clicked. The label now uses a larger font (Arial, size 20) and has blue text color.
Displaying Images on a Label
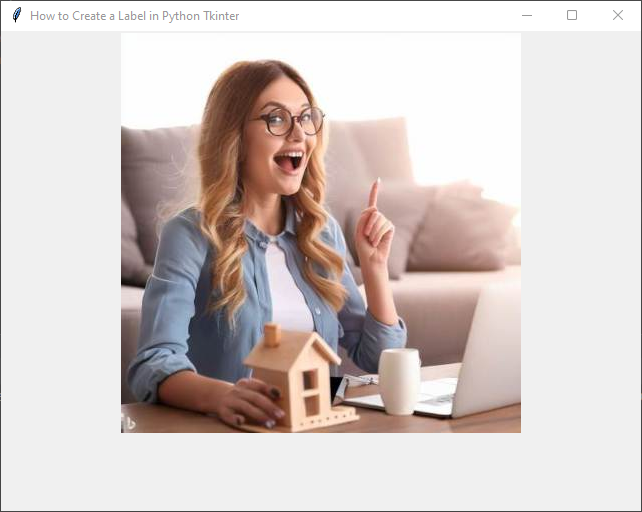
Tkinter’s Label widget can also display images in addition to text. First, make sure you have an image file (e.g., image.jpeg) in the same directory as your script. Then, use the following code:
import tkinter as tk

from PIL import Image, ImageTk


class PyFrame(tk.Tk):

    def __init__(self, width, height):
        super().__init__()

        self.width = width
        self.height = height

        self.geometry(f"{self.width}x{self.height}")

    def center_on_screen(self):
        left = (self.winfo_screenwidth() - self.width) // 2
        top = (self.winfo_screenheight() - self.height) // 2

        self.geometry(f"{self.width}x{self.height}+{left}+{top}")


if __name__ == '__main__':
    # Create the main application window
    root = PyFrame(640, 480)
    root.title("How to Create a Label in Python Tkinter")

    # center window on screen
    root.center_on_screen()

    # Load the image using PIL (Python Imaging Library)
    image = Image.open("image.jpeg")
    photo = ImageTk.PhotoImage(image)

    # Create a Label widget with the image
    label = tk.Label(root, image=photo)

    # Pack the label to display it
    label.pack()

    # Run the main event loop
    root.mainloop()
This code will display the image on the label in your Tkinter window.
Conclusion
Creating a label in Python Tkinter is a straightforward process. You can use it to display text, images, or a combination of both, and easily customize its appearance to suit your application’s needs. In this article, we covered the basics of creating a label and explored some customization options. Now you can further explore Tkinter’s capabilities to build more complex and interactive GUI applications in Python.
Remember to experiment with different fonts, colors, and sizes to design visually appealing user interfaces.
I hope you found this code informative and useful. If you would like to receive more content, please consider subscribing to our newsletter!
