JavaFX is a powerful framework for creating rich and interactive graphical user interfaces (GUIs) in Java. Among its many features, JavaFX includes a versatile component known as the Canvas, which allows developers to create custom graphics and animations with ease. In this article, we’ll explore how to get started with the JavaFX Canvas.

with hands-on learning.
get the skills and confidence to land your next move.
What is JavaFX Canvas?
A Canvas in JavaFX is a blank rectangular area that can be used for rendering custom graphics, images, and animations. It provides a low-level drawing surface that allows you to draw shapes, lines, text, and images directly. This level of control is invaluable when you need to create custom visual elements in your Java applications.
Creating a Simple Canvas
Let’s start by creating a basic JavaFX application with a Canvas component. Below is a simple JavaFX application that creates a window with a Canvas for drawing:
import javafx.application.Application;
import javafx.scene.Scene;
import javafx.scene.canvas.Canvas;
import javafx.scene.layout.*;
import javafx.stage.Stage;

public class Main extends Application {

    private final BorderPane parent = new BorderPane();

    @Override
    public void init() throws Exception {
        super.init();

        // Build the user interface
        this.buildUI();

    }

    private void buildUI() {

        // Create a Canvas
        Canvas canvas = new Canvas(640, 480);

        // Add the Canvas to the center of the BorderPane
        this.parent.setCenter(canvas);

    }

    @Override
    public void start(Stage stage) throws Exception {

        // Setup and display the stage
        this.setupStage(stage);

    }

    private void setupStage(Stage stage) {

        // Create a scene with the BorderPane as the root
        Scene scene = new Scene(this.parent, 640, 480);

        // Set the stage title
        stage.setTitle("Getting Started with JavaFX Canvas");

        // Set the scene for the stage
        stage.setScene(scene);

        // Center the stage on the screen
        stage.centerOnScreen();

        // Display the stage
        stage.show();

    }

}

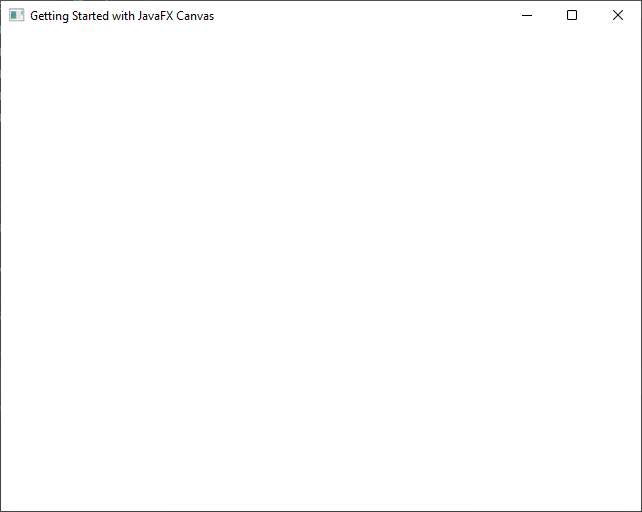
We’ve created a Canvas with a width of 640 and height of 480 pixels and added it to the BorderPane. Now, let’s draw some basic shapes and graphics on this canvas.
Drawing Basic Shapes
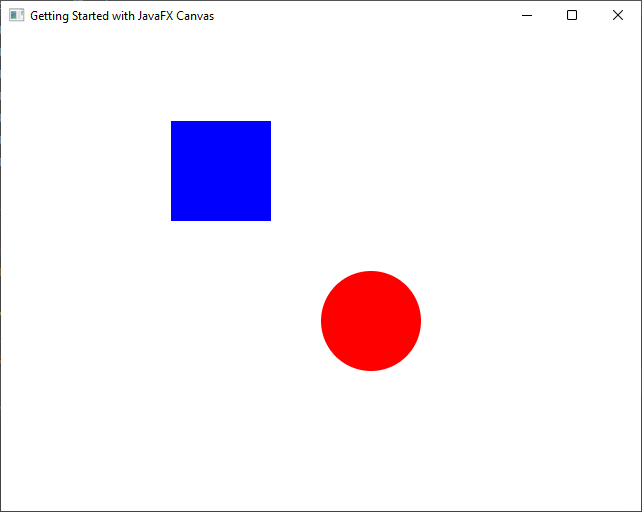
To draw on the canvas, you’ll need to use the GraphicsContext class, which provides methods for drawing shapes, lines, text, and images. Let’s draw a simple rectangle and a circle on our canvas.
import javafx.application.Application;
import javafx.scene.Scene;
import javafx.scene.canvas.Canvas;
import javafx.scene.canvas.GraphicsContext;
import javafx.scene.layout.*;
import javafx.scene.paint.Color;
import javafx.stage.Stage;

public class Main extends Application {

    private final BorderPane parent = new BorderPane();

    @Override
    public void init() throws Exception {
        super.init();

        // Build the user interface
        this.buildUI();

    }

    private void buildUI() {

        // Create a Canvas
        Canvas canvas = new Canvas(400, 400);

        // Get the GraphicsContext for drawing
        GraphicsContext gc = canvas.getGraphicsContext2D();

        // Set the fill color to blue
        gc.setFill(Color.BLUE);

        // Draw a rectangle
        gc.fillRect(50, 50, 100, 100);

        // Set the fill color to red
        gc.setFill(Color.RED);

        // Draw a circle
        gc.fillOval(200, 200, 100, 100);

        // Add the Canvas to the center of the BorderPane
        this.parent.setCenter(canvas);

    }

    @Override
    public void start(Stage stage) throws Exception {

        // Setup and display the stage
        this.setupStage(stage);

    }

    private void setupStage(Stage stage) {

        // Create a scene with the BorderPane as the root
        Scene scene = new Scene(this.parent, 640, 480);

        // Set the stage title
        stage.setTitle("Getting Started with JavaFX Canvas");

        // Set the scene for the stage
        stage.setScene(scene);

        // Center the stage on the screen
        stage.centerOnScreen();

        // Display the stage
        stage.show();

    }

}

In this example, we obtained the GraphicsContext from the canvas using the getGraphicsContext2D() method. We set the fill color to blue and drew a rectangle using the fillRect() method. Then, we changed the fill color to red and drew a circle using the fillOval() method.
Creating an Interactive Canvas
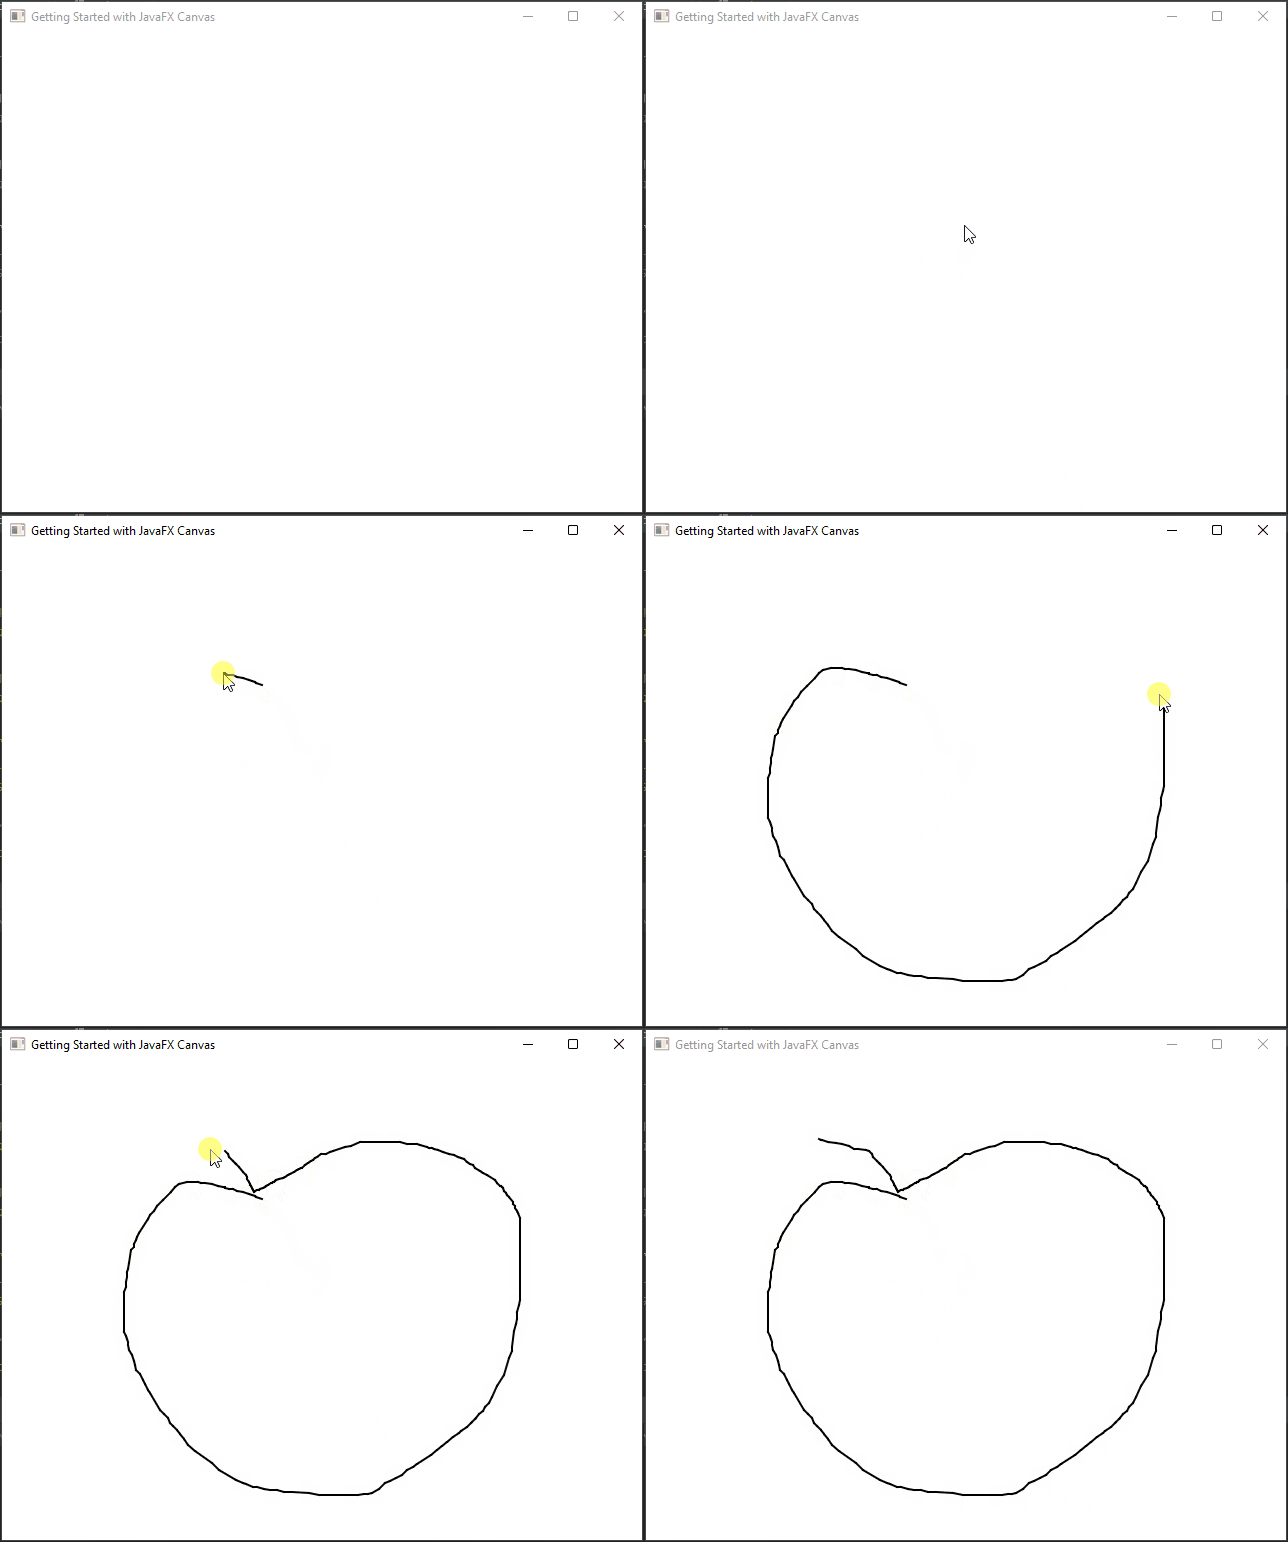
Now, let’s create an interactive Canvas where you can draw lines by clicking and dragging the mouse. We’ll use event listeners to achieve this.
import javafx.application.Application;
import javafx.scene.Scene;
import javafx.scene.canvas.Canvas;
import javafx.scene.canvas.GraphicsContext;
import javafx.scene.input.MouseButton;
import javafx.scene.input.MouseEvent;
import javafx.scene.layout.*;
import javafx.scene.paint.Color;
import javafx.stage.Stage;

public class Main extends Application {

    private final BorderPane parent = new BorderPane();

    private double lastX, lastY;

    @Override
    public void init() throws Exception {
        super.init();

        // Build the user interface
        this.buildUI();

    }

    private void buildUI() {

        // Create the Canvas
        Canvas canvas = new Canvas(640, 480);

        // Get the GraphicsContext
        GraphicsContext gc = canvas.getGraphicsContext2D();

        canvas.addEventHandler(MouseEvent.MOUSE_PRESSED, e -> {

            if (e.getButton() == MouseButton.PRIMARY) {
                lastX = e.getX();
                lastY = e.getY();
            }

        });

        canvas.addEventHandler(MouseEvent.MOUSE_DRAGGED, e -> {

            if (e.getButton() == MouseButton.PRIMARY) {
                gc.setStroke(Color.BLACK);
                gc.setLineWidth(2);
                gc.strokeLine(lastX, lastY, e.getX(), e.getY());
                lastX = e.getX();
                lastY = e.getY();
            }

        });

        // Add the Canvas to the center of the BorderPane
        this.parent.setCenter(canvas);

    }

    @Override
    public void start(Stage stage) throws Exception {

        // Setup and display the stage
        this.setupStage(stage);

    }

    private void setupStage(Stage stage) {

        // Create a scene with the BorderPane as the root
        Scene scene = new Scene(this.parent, 640, 480);

        // Set the stage title
        stage.setTitle("Getting Started with JavaFX Canvas");

        // Set the scene for the stage
        stage.setScene(scene);

        // Center the stage on the screen
        stage.centerOnScreen();

        // Display the stage
        stage.show();

    }

}
In this example, we added event handlers to the Canvas to track mouse clicks and drags. When the left mouse button is pressed, we record the starting position (lastX and lastY). When the mouse is dragged, we draw lines between the last position and the current position.

Conclusion
JavaFX Canvas is a powerful tool for creating custom graphics and interactive visual elements in your Java applications. In this article, we’ve covered the basics of creating a Canvas, drawing shapes, and responding to user input. With these foundational concepts, you can explore more advanced graphics and animations to create compelling JavaFX applications. Remember to check the JavaFX Canvas Documentation for more.
I hope you found this code informative and useful. If you would like to receive more content, please consider subscribing to our newsletter!


