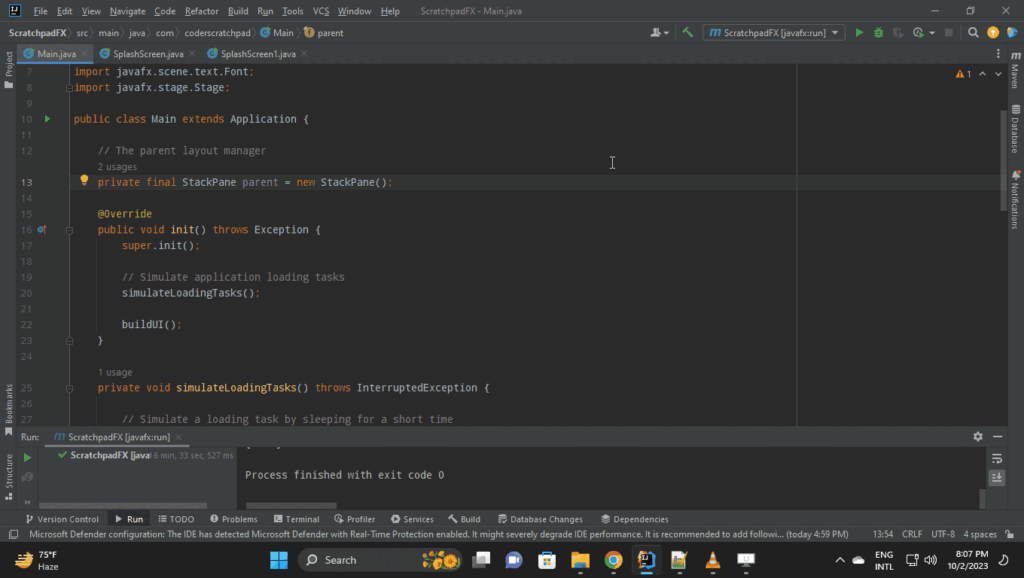
When it comes to creating a polished and user-friendly JavaFX application, the first impression matters. That’s where splash screens come into play. A well-designed splash screen not only provides a visually appealing introduction to your application but also offers an opportunity to perform background tasks like loading resources or initializing the application. In this article, we’ll explore how to create splash screens in JavaFX, with a focus on using the Preloader class, designing simple splash screens with images and progress indicators, and communicating progress back to the preloader.

with hands-on learning.
get the skills and confidence to land your next move.
Understanding the JavaFX Preloader Class
Before diving into splash screen creation, let’s get acquainted with the Preloader class in JavaFX. A preloader is essentially a lightweight JavaFX application that runs before the main application starts. It provides a mechanism to perform any setup or resource loading tasks while displaying a splash screen to keep the user engaged.
Creating a Simple Splash Screen with an Image
Let’s create a simple splash screen that displays an image while your application loads. To do this, you can use JavaFX’s ImageView component to display an image of your choice. Make sure to include the image file in your project resources.
import javafx.application.Application;
import javafx.scene.Scene;
import javafx.scene.control.Label;
import javafx.scene.layout.*;
import javafx.scene.text.Font;
import javafx.stage.Stage;

public class Main extends Application {

    // The parent layout manager
    private final StackPane parent = new StackPane();

    @Override
    public void init() throws Exception {
        super.init();

        // Simulate application loading tasks
        simulateLoadingTasks();

        buildUI();
    }

    private void simulateLoadingTasks() throws InterruptedException {

        // Simulate a loading task by sleeping for a short time
        Thread.sleep(5000);
    }

    private void buildUI() {

        // Create a label to indicate application loading
        Label label = new Label("Application Loaded");

        // Set a larger font size
        label.setFont(Font.font(24));

        // Add the label to the parent StackPane
        this.parent.getChildren().add(label);
    }

    @Override
    public void start(Stage stage) throws Exception {

        // Create a scene with the StackPane as the root
        Scene scene = new Scene(parent, 640, 480);

        // Set the stage title
        stage.setTitle("Creating Splash Screens with JavaFX");

        // Set the scene for the stage
        stage.setScene(scene);

        // Center the stage on the screen
        stage.centerOnScreen();

        // Display the stage
        stage.show();
    }

    public static void main(String[] args) {

        // Specify the custom preloader class
        System.setProperty("javafx.preloader", SplashScreen.class.getName());
        launch(args);
    }
}
import javafx.application.Preloader;
import javafx.scene.Scene;
import javafx.scene.image.Image;
import javafx.scene.image.ImageView;
import javafx.scene.layout.StackPane;
import javafx.scene.paint.Color;
import javafx.stage.Stage;
import javafx.stage.StageStyle;
public class SplashScreen extends Preloader {
// Create the splash screen layout
private final StackPane parent = new StackPane();
private Stage preloaderStage;
@Override
public void init() throws Exception {
// Replace with your image path
// Load the image to be displayed on the splash screen
Image image = new Image("bird.png");
// Create an ImageView to display the image
ImageView imageView = new ImageView(image);
// Preserve the image's aspect ratio
imageView.setPreserveRatio(true);
// Set the width of the ImageView
imageView.setFitWidth(500);
// Add the ImageView to the parent StackPane
this.parent.getChildren().add(imageView);
}
@Override
public void start(Stage stage) throws Exception {
this.preloaderStage = stage;
// Create a scene with the StackPane as the root
Scene scene = new Scene(parent, 640, 480);
// Make the scene background transparent
scene.setFill(Color.TRANSPARENT);
// Set the scene for the stage
stage.setScene(scene);
// Remove window decorations
stage.initStyle(StageStyle.TRANSPARENT);
// Center the SplashScreen on the screen
stage.centerOnScreen();
// Display the SplashScreen
stage.show();
}
@Override
public void handleStateChangeNotification(StateChangeNotification info) {
if (info.getType() == StateChangeNotification.Type.BEFORE_START) {
// Close the splash screen when the application is ready to start
this.preloaderStage.close();
}
}
}In this code, we’ve simulated a loading task by pausing for a set period. However, in your actual application, replace this simulation with your genuine resource loading logic.

Adding a Progress Indicator and Sending Progress Updates
To make your splash screen more informative and engaging, consider adding a progress indicator. Additionally, you can send loading progress updates from your main application back to the preloader, ensuring that users stay informed about the loading process.
import javafx.application.Application;
import javafx.application.Preloader;
import javafx.scene.Scene;
import javafx.scene.control.Label;
import javafx.scene.layout.*;
import javafx.scene.text.Font;
import javafx.stage.Stage;

public class Main extends Application {

    // The parent layout manager
    private final StackPane parent = new StackPane();

    @Override
    public void init() throws Exception {
        super.init();

        // Simulate application loading tasks
        simulateLoadingTasks();

        buildUI();
    }

    private void simulateLoadingTasks() throws InterruptedException {

        // Simulate resource loading progress
        for (int i = 0; i < 100; i++) {

            double progress = (i + 1) / 100.0;

            notifyPreloader(new Preloader.ProgressNotification(progress));

            // Simulate loading delay
            Thread.sleep(50);
        }

    }

    private void buildUI() {

        // Create a label to indicate application loading
        Label label = new Label("Application Loaded");

        // Set a larger font size
        label.setFont(Font.font(24));

        // Add the label to the parent StackPane
        this.parent.getChildren().add(label);
    }

    @Override
    public void start(Stage stage) throws Exception {

        // Create a scene with the StackPane as the root
        Scene scene = new Scene(parent, 640, 480);

        // Set the stage title
        stage.setTitle("Creating Splash Screens with JavaFX");

        // Set the scene for the stage
        stage.setScene(scene);

        // Center the stage on the screen
        stage.centerOnScreen();

        // Display the stage
        stage.show();
    }

    public static void main(String[] args) {

        // Specify the custom preloader class
        System.setProperty("javafx.preloader", SplashScreen.class.getName());
        launch(args);
    }
}
import javafx.application.Preloader;
import javafx.scene.Scene;
import javafx.scene.control.ProgressIndicator;
import javafx.scene.image.Image;
import javafx.scene.layout.*;
import javafx.stage.Stage;
import javafx.stage.StageStyle;
public class SplashScreen extends Preloader {
// Create the splash screen layout
private final StackPane parent = new StackPane();
private Stage preloaderStage;
private ProgressIndicator progressIndicator;
@Override
public void init() throws Exception {
// Load and set the background image for the splash screen
BackgroundImage backgroundImage = new BackgroundImage(
new Image("background.jpg"), // Replace with your background image path
BackgroundRepeat.NO_REPEAT, BackgroundRepeat.NO_REPEAT,
BackgroundPosition.CENTER,
BackgroundSize.DEFAULT
);
this.parent.setBackground(new Background(backgroundImage));
// Create and configure a ProgressIndicator for showing loading progress
this.progressIndicator = new ProgressIndicator(0.0);
this.progressIndicator.setMinSize(85, 85);
// Add the ProgressIndicator to the parent StackPane
this.parent.getChildren().add(this.progressIndicator);
}
@Override
public void start(Stage stage) throws Exception {
this.preloaderStage = stage;
// Create a scene with the StackPane as the root
Scene scene = new Scene(parent, 640, 480);
// Set the scene for the stage
stage.setScene(scene);
// Remove window decorations to create an undecorated window
stage.initStyle(StageStyle.UNDECORATED);
// Center the SplashScreen on the screen
stage.centerOnScreen();
// Display the SplashScreen
stage.show();
}
@Override
public void handleApplicationNotification(PreloaderNotification info) {
if (info instanceof ProgressNotification) {
// Handle progress updates from the main application
double progress = ((ProgressNotification) info).getProgress();
this.progressIndicator.setProgress(progress);
}
}
@Override
public void handleStateChangeNotification(StateChangeNotification info) {
if (info.getType() == StateChangeNotification.Type.BEFORE_START) {
// Close the splash screen when the application is ready to start
this.preloaderStage.close();
}
}
}In this code, we’ve simulated resource loading progress by iterating from 1% to 100%. At each step, we notify the preloader of the progress using notifyPreloader(new Preloader.ProgressNotification(progress)). In a real application, replace this simulation with your actual resource loading logic.

Conclusion
The creation of splash screens in JavaFX goes beyond mere aesthetics. It’s an art that can significantly elevate the user experience. By extending the Preloader class, designing splash screens with images and progress indicators, and effectively communicating loading progress, you can design a visually appealing and informative introduction to your JavaFX application. Remember, the first impression matters, and a well-designed splash screen sets the stage for a positive user experience.
I hope you found this article informative and useful. If you would like to receive more content, please consider subscribing to our newsletter.


