When building Flutter apps, you’ll often find yourself with content that doesn’t fit on the screen. For example, maybe you have a long form or a list of items that stretches beyond the bottom of the screen.
That’s where SingleChildScrollView comes in. It lets you make a single widget scrollable when it overflows the screen. This article will help you understand how it works, how to use its key properties, and how to avoid common layout issues.
What Is SingleChildScrollView?
The SingleChildScrollView widget lets you scroll a single child — like a Column, Row, or any widget that might grow too big. It’s perfect for content that doesn’t fit on the screen and needs to scroll.
It only supports one direct child, so wrap multiple children in a layout widget like Column or Row.
Basic Example
Let’s look at a simple vertical scroll example:
import 'package:flutter/material.dart';

void main() => runApp(const MyApp());

class MyApp extends StatelessWidget {
  const MyApp({super.key});

  @override
  Widget build(BuildContext context) {
    return MaterialApp(
      title: 'ScrollView Widget',
      home: Scaffold(
        appBar: AppBar(title: Text('ScrollView Widget')),
        body: SingleChildScrollView(
          child: Column(
            children: List.generate(50, (index) => Text('Item ${index + 1}')),
          ),
        ),
      ),
    );
  }
}
This scroll view wraps a Column with many Text widgets. When the total height becomes more than the screen, it scrolls automatically.
scrollDirection
The scrollDirection property controls whether the scroll is vertical or horizontal.
import 'package:flutter/material.dart';

void main() => runApp(const MyApp());

class MyApp extends StatelessWidget {
  const MyApp({super.key});

  @override
  Widget build(BuildContext context) {
    return MaterialApp(
      title: 'ScrollView Widget',
      home: Scaffold(
        appBar: AppBar(title: Text('ScrollView Widget')),
        body: SingleChildScrollView(
          scrollDirection: Axis.horizontal,
          child: Row(
            children: List.generate(
              10,
              (index) => Container(
                width: 100,
                margin: const EdgeInsets.all(8),
                color: Colors.blue,
              ),
            ),
          ),
        ),
      ),
    );
  }
}
By default, the scroll direction is vertical. But in this example, we change it to horizontal so the boxes scroll left and right.
Values of Axis enum:
Axis.vertical: Scrolls up and down (default)Axis.horizontal: Scrolls left and right
reverse
The reverse property controls the direction of the scroll. When set to true, it flips the direction.
Here’s how it behaves:
- For vertical scrolls:
reverse: false: Scroll from top to bottom.reverse: true: Scroll from bottom to top.
- For horizontal scrolls:
reverse: false: Scroll from left to right (LTR languages).reverse: true: Scroll from right to left.
import 'package:flutter/material.dart';

void main() => runApp(const MyApp());

class MyApp extends StatelessWidget {
  const MyApp({super.key});

  @override
  Widget build(BuildContext context) {
    return MaterialApp(
      title: 'ScrollView Widget',
      home: Scaffold(
        appBar: AppBar(title: Text('ScrollView Widget')),
        body: SingleChildScrollView(
          scrollDirection: Axis.horizontal,
          child: SingleChildScrollView(
            scrollDirection: Axis.vertical,
            reverse: true,
            child: Column(
              children: List.generate(50, (index) => Text('Item ${index + 1}')),
            ),
          ),
        ),
      ),
    );
  }
}
This makes the last item appear at the top, and the list scrolls upward.
padding
You can add spacing around the scrollable content using the padding property:
import 'package:flutter/material.dart';

void main() => runApp(const MyApp());

class MyApp extends StatelessWidget {
  const MyApp({super.key});

  @override
  Widget build(BuildContext context) {
    return MaterialApp(
      title: 'ScrollView Widget',
      home: Scaffold(
        appBar: AppBar(title: Text('ScrollView Widget')),
        body: SingleChildScrollView(
          scrollDirection: Axis.horizontal,
          child: SingleChildScrollView(
            padding: const EdgeInsets.all(16),
            child: Column(
              children: List.generate(50, (index) => Text('Item ${index + 1}')),
            ),
          ),
        ),
      ),
    );
  }
}
This adds padding inside the scroll view, giving space around its child.

physics
The physics property controls how the scrolling behaves. You can customize the scroll effect using different scroll physics:
import 'package:flutter/material.dart';

void main() => runApp(const MyApp());

class MyApp extends StatelessWidget {
  const MyApp({super.key});

  @override
  Widget build(BuildContext context) {
    return MaterialApp(
      title: 'ScrollView Widget',
      home: Scaffold(
        appBar: AppBar(title: Text('ScrollView Widget')),
        body: SingleChildScrollView(
          child: SingleChildScrollView(
            physics: BouncingScrollPhysics(),
            child: Column(
              children: List.generate(50, (index) => Text('Item ${index + 1}')),
            ),
          ),
        ),
      ),
    );
  }
}
The physics property defines the scroll motion and effect. Common values for ScrollPhysics:
AlwaysScrollableScrollPhysics(): Always scrollable, even if content is smaller than screen.NeverScrollableScrollPhysics(): Disables scrolling.BouncingScrollPhysics(): Adds bounce effect (iOS-style).ClampingScrollPhysics(): Android-style scroll with no bounce.
Handling Overflow
If you put too many widgets inside a Column without scrolling, you’ll get an overflow error. Wrapping the Column in a SingleChildScrollView prevents that:
Example:
import 'package:flutter/material.dart';

void main() => runApp(const MyApp());

class MyApp extends StatelessWidget {
  const MyApp({super.key});

  @override
  Widget build(BuildContext context) {
    return MaterialApp(
      title: 'ScrollView Widget',
      home: Scaffold(
        appBar: AppBar(title: Text('ScrollView Widget')),
        body: SingleChildScrollView(
          child: Column(
            children: List.generate(50, (index) => Text('Item ${index + 1}')),
          ),
        ),
      ),
    );
  }
}
This allows the column to scroll instead of overflowing the screen.
Using Expanded or Flexible Inside SingleChildScrollView
Normally, using Expanded or Flexible inside a SingleChildScrollView causes layout errors. That’s because scroll views let their children grow as tall as they want — there’s no fixed size. But Expanded and Flexible only work when their parent gives them a clear height.
To make them work inside a scroll view, you need to wrap them in a widget with a fixed height, like a SizedBox or a Container. This gives Expanded or Flexible the boundaries they need.
Using SizedBox to Set a Fixed Height
Here’s how you can use a SizedBox to give space to an Expanded widget inside a scroll view:
import 'package:flutter/material.dart';
void main() => runApp(const MyApp());
class MyApp extends StatelessWidget {
const MyApp({super.key});
@override
Widget build(BuildContext context) {
return MaterialApp(
title: 'ScrollView Widget',
home: Scaffold(
appBar: AppBar(title: Text('ScrollView Widget')),
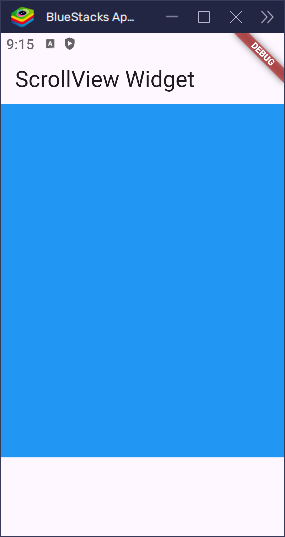
body: SingleChildScrollView(
child: SizedBox(
height: 400, // Fixed height
child: Column(
children: [Expanded(child: Container(color: Colors.blue))],
),
),
),
),
);
}
}In this example, the SizedBox tells the Column it has only 400 pixels of height to work with. That lets Expanded divide that space safely.
Using LayoutBuilder and ConstrainedBox
You can also use LayoutBuilder to get the available height dynamically, and then use ConstrainedBox to apply a limit:
import 'package:flutter/material.dart';
void main() => runApp(const MyApp());
class MyApp extends StatelessWidget {
const MyApp({super.key});
@override
Widget build(BuildContext context) {
return MaterialApp(
title: 'ScrollView Widget',
home: Scaffold(
appBar: AppBar(title: Text('ScrollView Widget')),
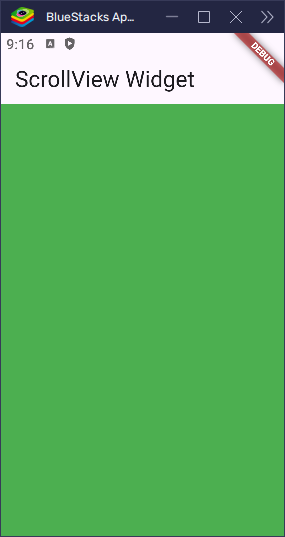
body: LayoutBuilder(
builder: (context, constraints) {
return SingleChildScrollView(
child: ConstrainedBox(
constraints: BoxConstraints(maxHeight: constraints.maxHeight),
child: Column(
children: [Expanded(child: Container(color: Colors.green))],
),
),
);
},
),
),
);
}
}This example reads the maximum height from the parent and uses it to cap the height of the scrollable area. It’s a bit more advanced, but helpful when you want your layout to be flexible and adaptive.
The Main Idea
If you want to use Expanded or Flexible inside a scroll view:
- Don’t place them directly inside the scroll view.
- Wrap them in a widget that gives them a fixed height.
- Use
SizedBoxorLayoutBuilderwithConstrainedBoxto do this.
This way, Flutter knows how much space to give the widget, and everything works without layout errors.
Conclusion
The SingleChildScrollView widget is very useful when you have content that might overflow the screen. Whether it’s a long list, a form, or a horizontal set of cards — this widget makes your content scroll smoothly.
Remember:
- Use it to avoid overflow errors.
- Use
scrollDirection,padding, andphysicsto customize behavior. - Be careful with
ExpandedandFlexible. Wrap them with widgets that give a fixed height likeSizedBoxor useLayoutBuilder.
Once you understand how SingleChildScrollView works, you’ll be able to build flexible, scrollable UIs with ease.