Python’s Tkinter library provides a simple and efficient way to create graphical user interfaces (GUI) for desktop applications. One of the essential components of any GUI is a RadioButton, which allows users to select one option from a group of choices. In this article, we will walk through the steps to create a RadioButton in Python Tkinter.

with hands-on learning.
get the skills and confidence to land your next move.
What is a RadioButton?
A RadioButton is a widget in Tkinter that allows users to select a single option from a list of choices. The user can select only one option at a time, and selecting a new option automatically deselects the previous choice. RadioButtons are widely used in preference settings, multiple-choice questions, and any scenario where users need to make a mutually exclusive selection.
Creating a Simple RadioButton
Let’s start by creating a basic Tkinter window with a group of RadioButtons. We’ll create a simple GUI where the user can choose their favorite programming language from a set of options.
import tkinter as tk


class PyFrame(tk.Tk):

    def __init__(self, width, height):
        super().__init__()

        self.width = width
        self.height = height

        self.geometry(f"{self.width}x{self.height}")

    def center_on_screen(self):
        left = (self.winfo_screenwidth() - self.width) // 2
        top = (self.winfo_screenheight() - self.height) // 2

        self.geometry(f"{self.width}x{self.height}+{left}+{top}")


def show_choice():
    selected_language = selectedLanguage.get()
    label.config(text=f"You selected: {selected_language}")


if __name__ == '__main__':
    # Create the main application window
    root = PyFrame(640, 480)
    root.title("How to Create a RadioButton in Python Tkinter")

    # center window on the screen
    root.center_on_screen()

    languages = [
        ("Python", "Python"),
        ("Java", "Java"),
        ("C++", "C++"),
        ("JavaScript", "JavaScript"),
    ]

    # Holds the selected languages, sets the first language as the default
    selectedLanguage = tk.StringVar(value=languages[0][1])

    for language, value in languages:
        languageRadioButton = tk.Radiobutton(root,
                                             text=language,
                                             variable=selectedLanguage,
                                             value=value,
                                             command=show_choice)

        languageRadioButton.pack(anchor=tk.W)

    label = tk.Label(root, text=f"Default selected language is : {selectedLanguage.get()}")
    label.pack()

    # Run the main event loop
    root.mainloop()
In this code, we first import the tkinter module and define a function show_choice(), which will be called whenever a RadioButton is selected. The tk.StringVar() is used to store the value of the selected RadioButton.
We then create a list of tuples languages, where each tuple contains the display label and the value associated with the RadioButton. The for loop iterates through the list and creates RadioButtons for each entry.
Finally, we create a label to display the selected language and use pack() to organize the widgets in the window.
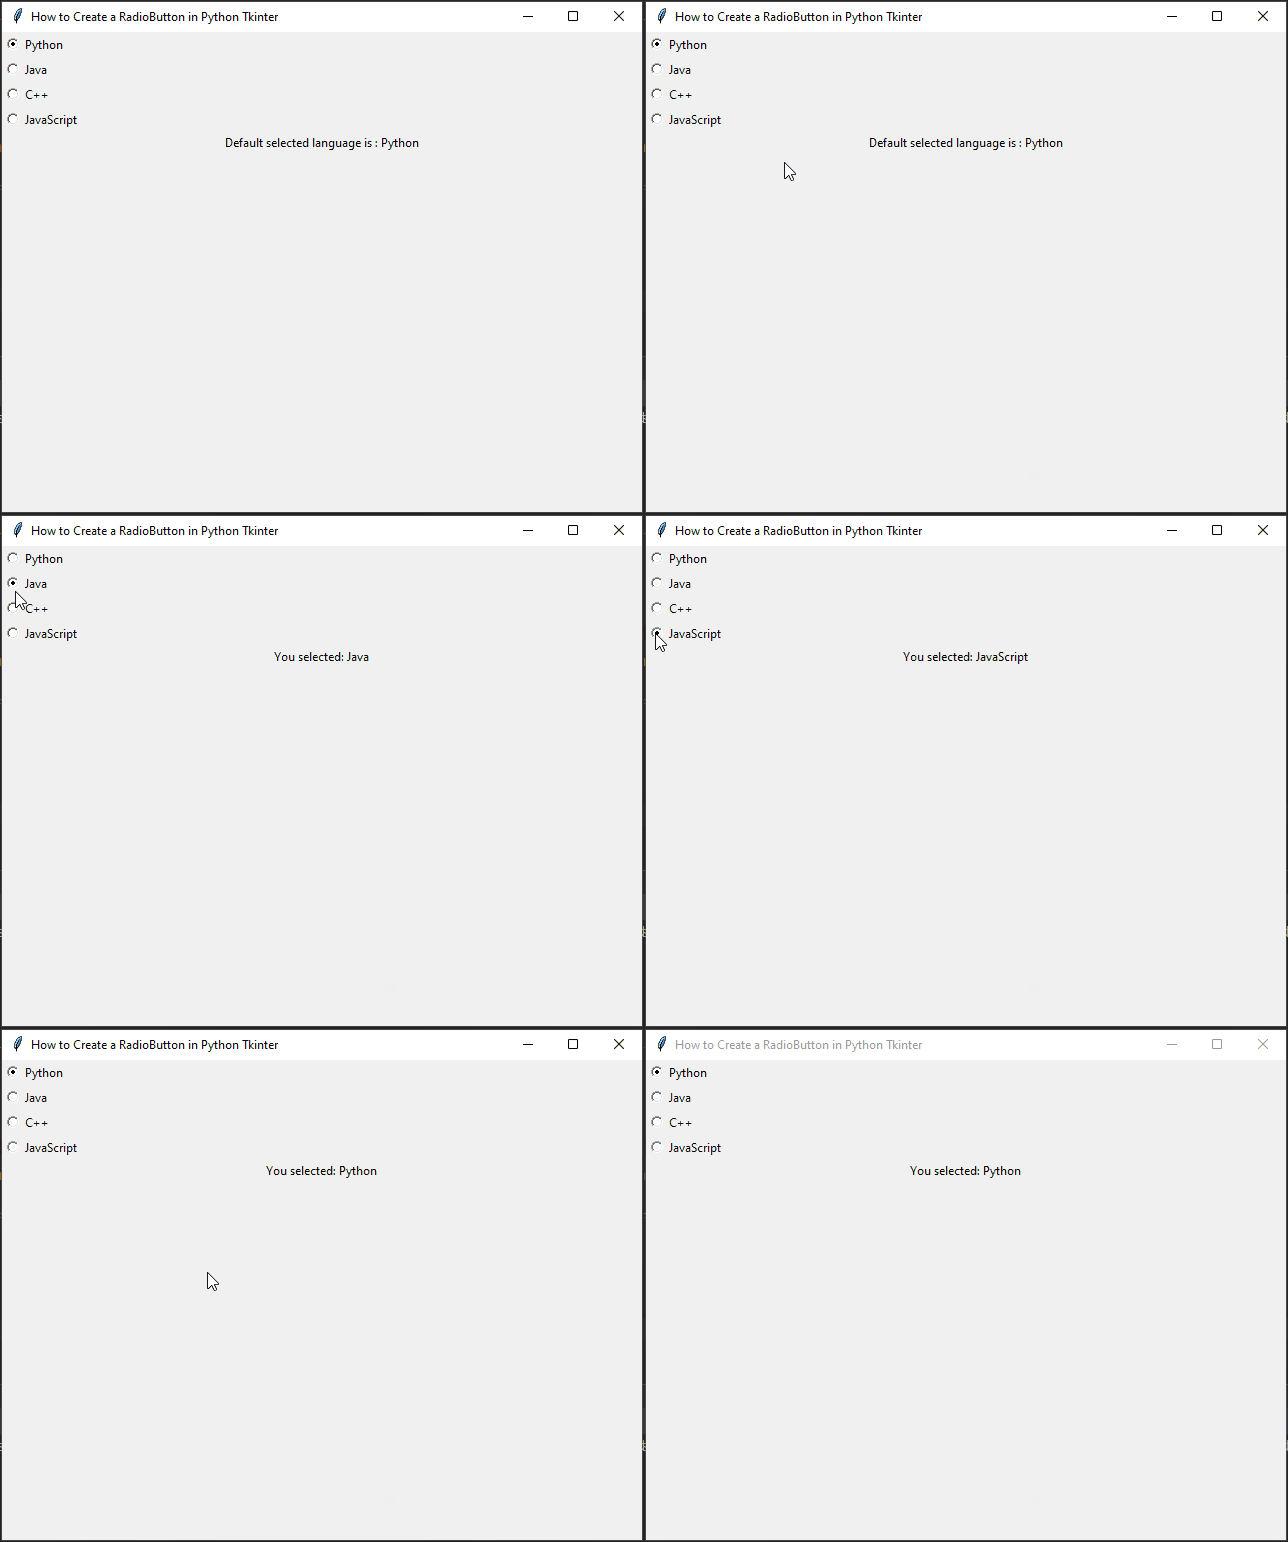
Save the code in a file, for example, radio_button_example.py, and run it with python radio_button_example.py. You should see a window with the RadioButton choices, and when you select one, the label below will display your choice.

Customizing RadioButtons
Tkinter allows you to customize the appearance of RadioButtons. You can change the font, colors, and other styling options to match your application’s design. Let’s modify the previous example to use a different font and color for the RadioButtons.
import tkinter as tk
from tkinter.font import Font


class PyFrame(tk.Tk):

    def __init__(self, width, height):
        super().__init__()

        self.width = width
        self.height = height

        self.geometry(f"{self.width}x{self.height}")

    def center_on_screen(self):
        left = (self.winfo_screenwidth() - self.width) // 2
        top = (self.winfo_screenheight() - self.height) // 2

        self.geometry(f"{self.width}x{self.height}+{left}+{top}")


def show_choice():
    selected_language = selectedLanguage.get()
    label.config(text=f"You selected: {selected_language}")


if __name__ == '__main__':
    # Create the main application window
    root = PyFrame(640, 480)
    root.title("How to Create a RadioButton in Python Tkinter")

    # center window on the screen
    root.center_on_screen()

    font = Font(family="Helvetica", size=12, weight="bold")

    languages = [
        ("Python", "Python"),
        ("Java", "Java"),
        ("C++", "C++"),
        ("JavaScript", "JavaScript"),
    ]

    # Holds the selected languages, sets the first language as the default
    selectedLanguage = tk.StringVar(value=languages[0][1])

    for language, value in languages:
        languageRadioButton = tk.Radiobutton(root,
                                             text=language,
                                             variable=selectedLanguage,
                                             value=value,
                                             command=show_choice,
                                             font=font, fg="blue")

        languageRadioButton.pack(anchor=tk.W)

    label = tk.Label(root, text=f"Default selected language is : {selectedLanguage.get()}")
    label.pack()

    # Run the main event loop
    root.mainloop()
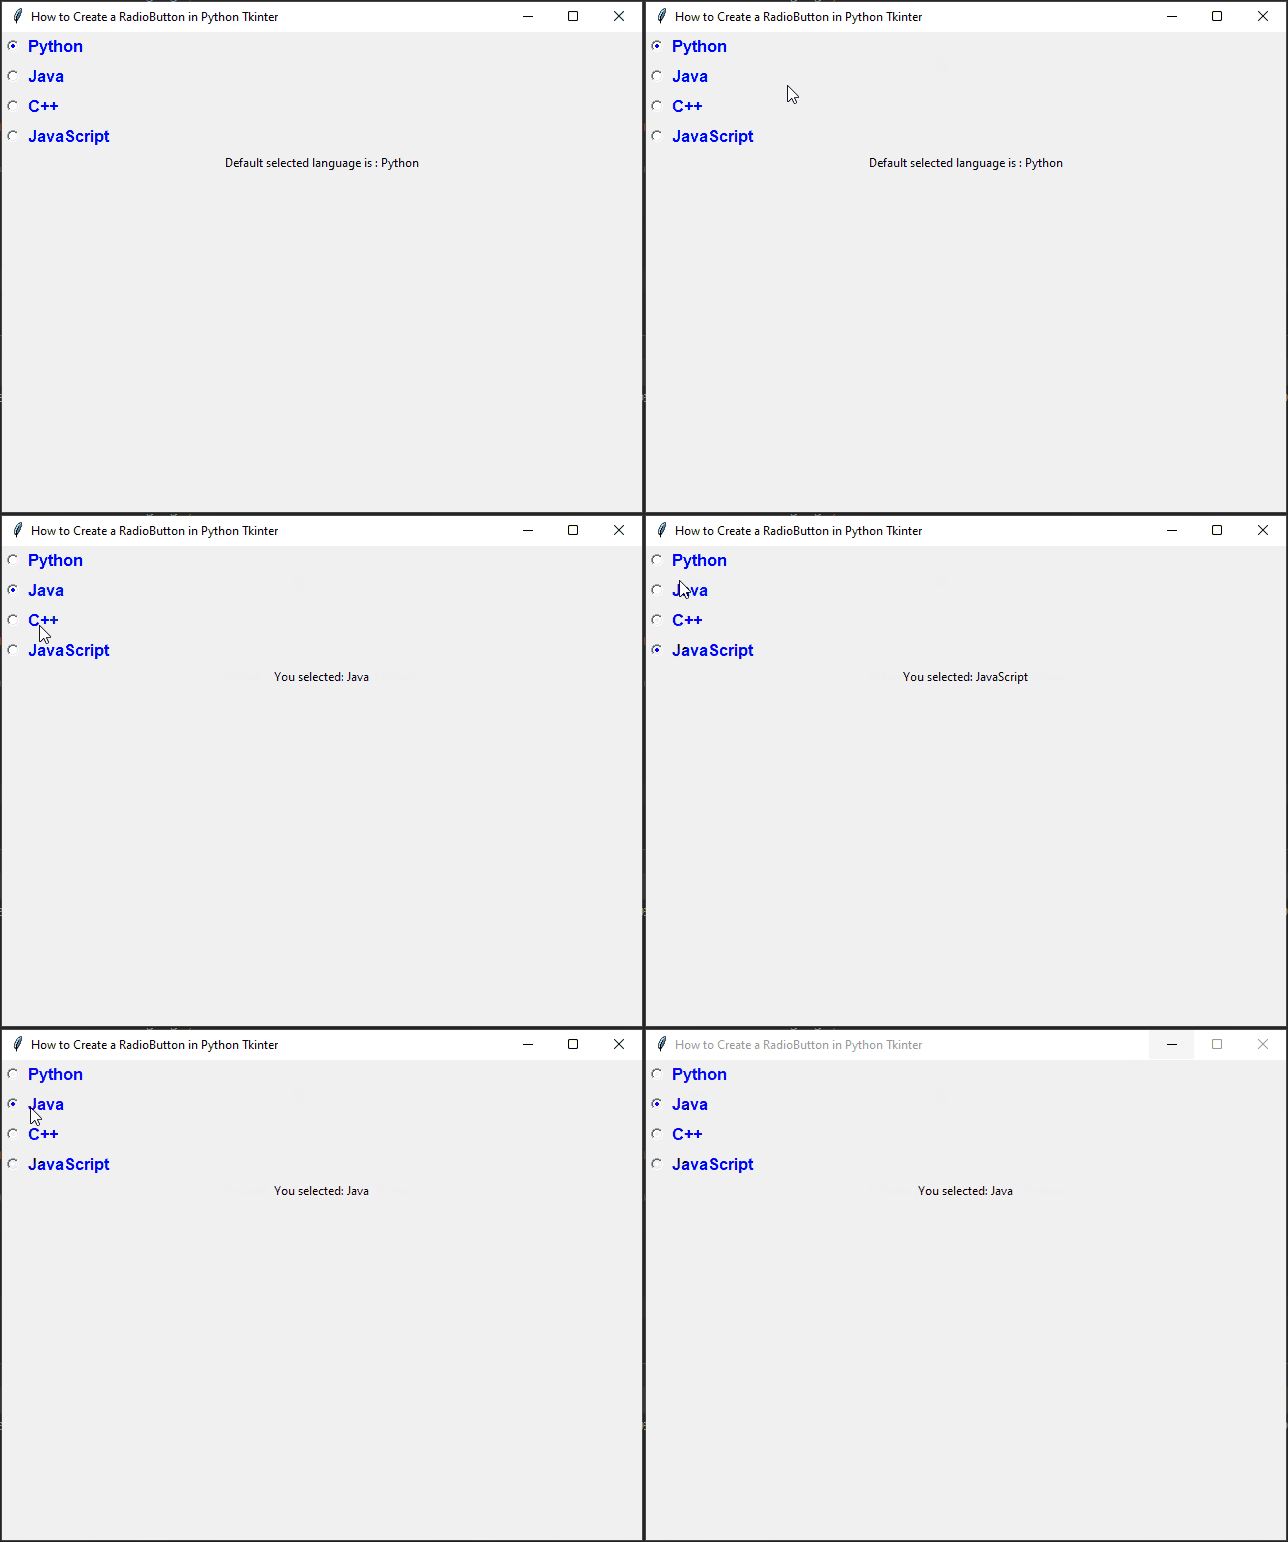
In this version, we import the Font class from tkinter.font to create a custom font for the RadioButtons. The font is set to “Helvetica”, size 12, and bold.
Additionally, we set the foreground color (fg) to “blue” to change the text color of the RadioButtons. Feel free to experiment with different font families, sizes, and colors to match your application’s design.

Conclusion
Creating RadioButtons in Python Tkinter is a straightforward process. By following the examples in this article, you should now have a good understanding of how to implement RadioButtons in your own Tkinter-based applications.
Remember, Tkinter provides numerous other widgets and options to create versatile GUIs. Don’t hesitate to explore the official documentation and experiment with different elements to enhance your user interfaces.
With this knowledge, you can continue building more complex GUI applications and empower users to interact with your Python programs in a more intuitive way.
I hope you found this code informative and useful. If you would like to receive more content, please consider subscribing to our newsletter!


