Graphical User Interfaces (GUIs) are an essential aspect of modern software development, allowing users to interact with applications in a more user-friendly manner. Python, being a versatile and powerful programming language, offers a built-in library called Tkinter, which makes it easy to create GUI applications. In this article, we will walk you through the steps to create a simple Python Tkinter GUI.

with hands-on learning.
get the skills and confidence to land your next move.
What is Tkinter?
Tkinter is the standard GUI library for Python and comes included with most Python installations, making it easily accessible to developers. It provides a set of modules and classes that allow you to build cross-platform GUI applications effortlessly. Tkinter is based on the Tk GUI toolkit, originally developed for the Tcl programming language, but now integrated into Python to provide a consistent and easy-to-use interface.
Installing Tkinter (For Python 3.x)
For Python versions 3.x, Tkinter is included in the standard library, so you don’t need to install anything separately. However, if you are using an older version of Python or have a specific need to install Tkinter separately, you can do so using the following command:
pip install tk
Getting Started with Tkinter
Let’s start by creating a basic Tkinter window.
import tkinter as tk


class PyFrame(tk.Tk):

    def __init__(self, width, height):
        super().__init__()

        self.width = width
        self.height = height

        self.geometry(f"{self.width}x{self.height}")

    def center_on_screen(self):

        left = (self.winfo_screenwidth() - self.width) // 2
        top = (self.winfo_screenheight() - self.height) // 2

        self.geometry(f"{self.width}x{self.height}+{left}+{top}")


if __name__ == '__main__':

    # Create the main application window
    root = PyFrame(640, 480)
    root.title("How to Create a Simple Python Tkinter GUI")

    # center window on screen
    root.center_on_screen()

    # Run the main event loop
    root.mainloop()
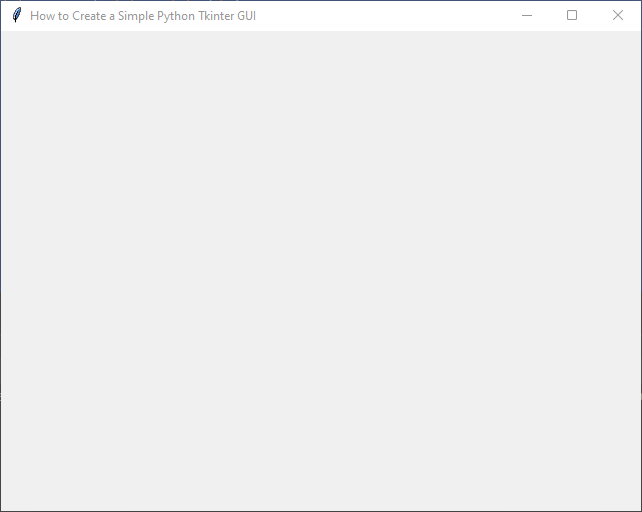
When you run this code, you’ll see a simple window centered on screen with the title “How to Create a Simple Python Tkinter GUI”.
Adding Widgets
Tkinter provides various widgets like buttons, labels, textboxes, etc., that you can use to build interactive interfaces. Let’s add a label and a button to our simple GUI.
import tkinter as tk


class PyFrame(tk.Tk):

    def __init__(self, width, height):
        super().__init__()

        self.width = width
        self.height = height

        self.geometry(f"{self.width}x{self.height}")

    def center_on_screen(self):
        left = (self.winfo_screenwidth() - self.width) // 2
        top = (self.winfo_screenheight() - self.height) // 2

        self.geometry(f"{self.width}x{self.height}+{left}+{top}")


def on_button_click():
    label.config(text="Hello, Tkinter!")


if __name__ == '__main__':
    # Create the main application window
    root = PyFrame(640, 480)
    root.title("How to Create a Simple Python Tkinter GUI")

    # center window on screen
    root.center_on_screen()

    # Add a label widget
    label = tk.Label(root, text="Welcome to Tkinter!")
    label.pack(pady=10)

    # Add a button widget
    button = tk.Button(root, text="Click Me", command=on_button_click)
    button.pack()

    # Run the main event loop
    root.mainloop()
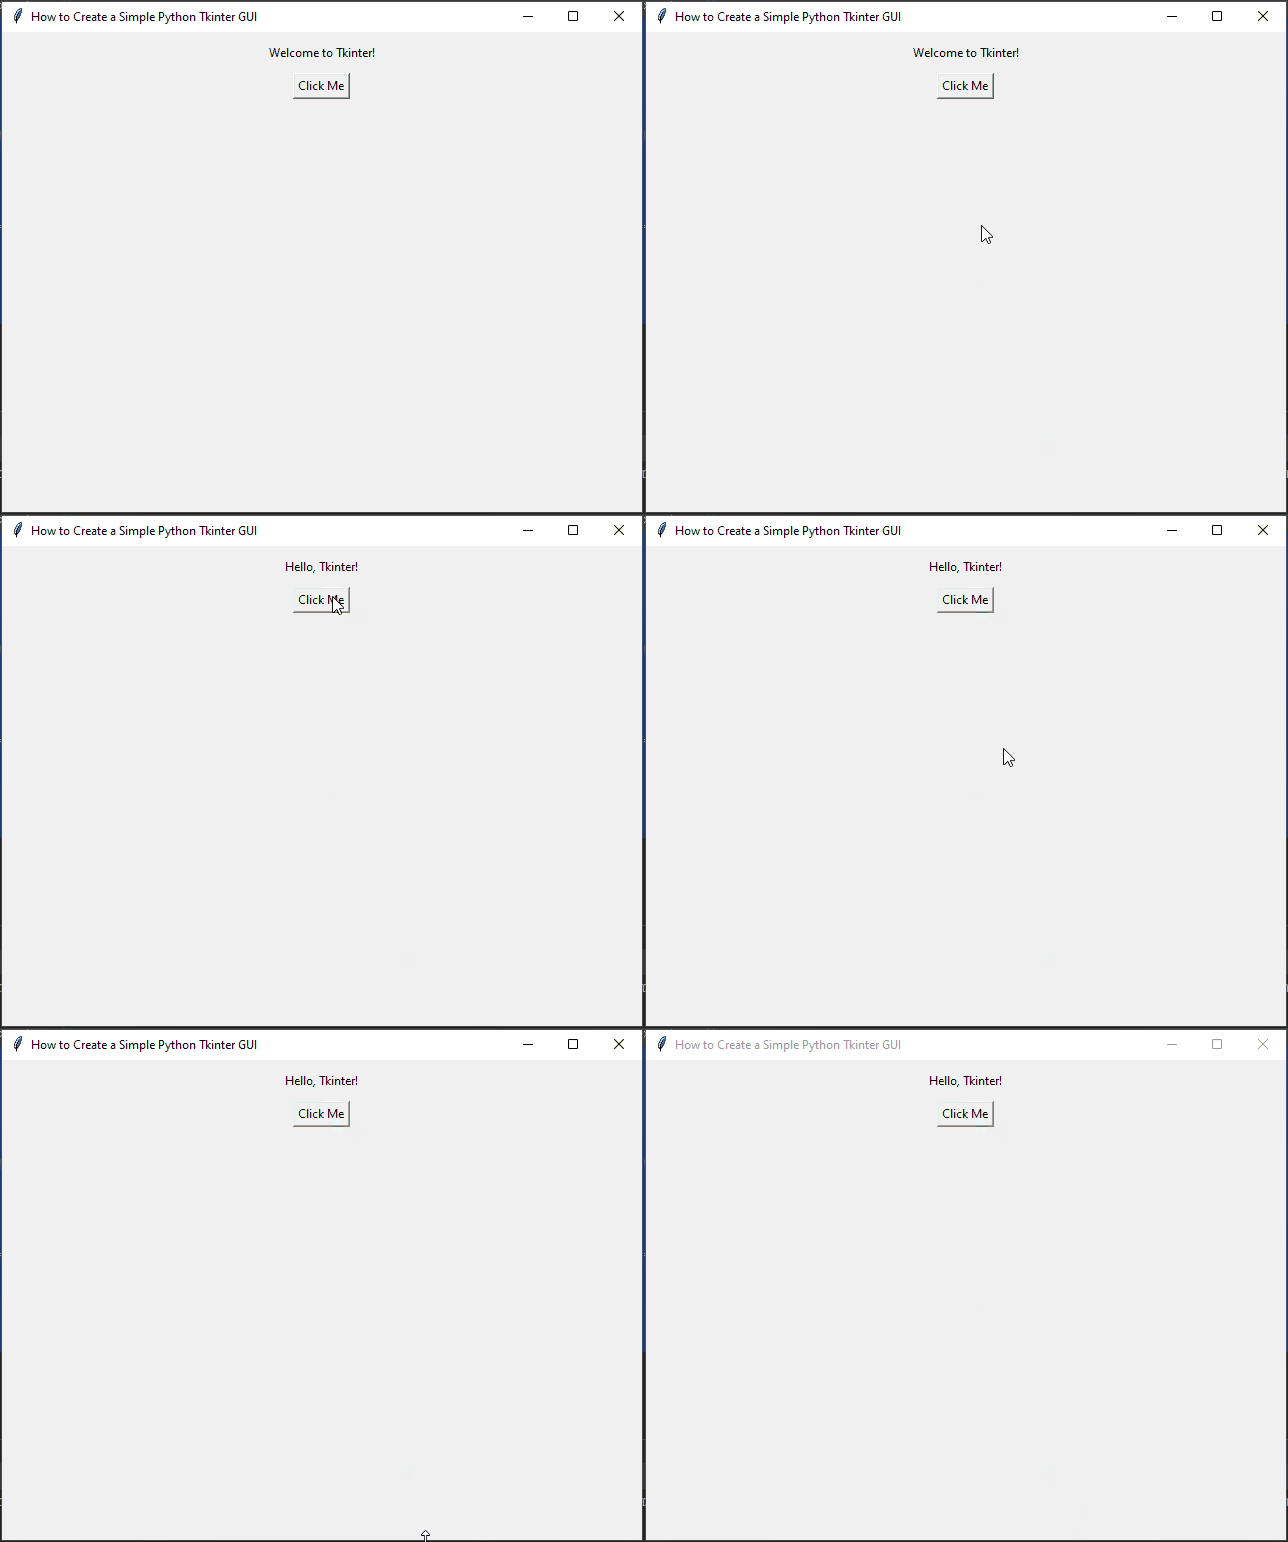
In this code, we added a label displaying “Welcome to Tkinter!” and a button labeled “Click Me.” When you click the button, it will change the label’s text to “Hello, Tkinter!”
Layout Management
Tkinter provides three built-in layout managers: pack, grid, and place. We used the pack layout manager in the previous examples, which organizes widgets in a horizontal or vertical manner.
Now let’s use the grid layout manager to create a form-like GUI.
import tkinter as tk


class PyFrame(tk.Tk):

    def __init__(self, width, height):
        super().__init__()

        self.width = width
        self.height = height

        self.geometry(f"{self.width}x{self.height}")

    def center_on_screen(self):
        left = (self.winfo_screenwidth() - self.width) // 2
        top = (self.winfo_screenheight() - self.height) // 2

        self.geometry(f"{self.width}x{self.height}+{left}+{top}")


def on_button_click():
    name = name_entry.get()
    age = age_entry.get()
    result_label.config(text=f"Hello {name}, you are {age} years old!")


if __name__ == '__main__':
    # Create the main application window
    root = PyFrame(640, 480)
    root.title("How to Create a Simple Python Tkinter GUI")

    # center window on screen
    root.center_on_screen()

    # Create labels and entry widgets
    name_label = tk.Label(root, text="Name:")
    name_label.grid(row=0, column=0, padx=5, pady=5)

    name_entry = tk.Entry(root)
    name_entry.grid(row=0, column=1, padx=5, pady=5)

    age_label = tk.Label(root, text="Age:")
    age_label.grid(row=1, column=0, padx=5, pady=5)

    age_entry = tk.Entry(root)
    age_entry.grid(row=1, column=1, padx=5, pady=5)

    # Add a button widget
    button = tk.Button(root, text="Submit", command=on_button_click)
    button.grid(row=2, column=0, columnspan=2, padx=5, pady=10)

    # Add a label to display the result
    result_label = tk.Label(root, text="")
    result_label.grid(row=3, column=0, columnspan=2, padx=5, pady=10)

    # Run the main event loop
    root.mainloop()
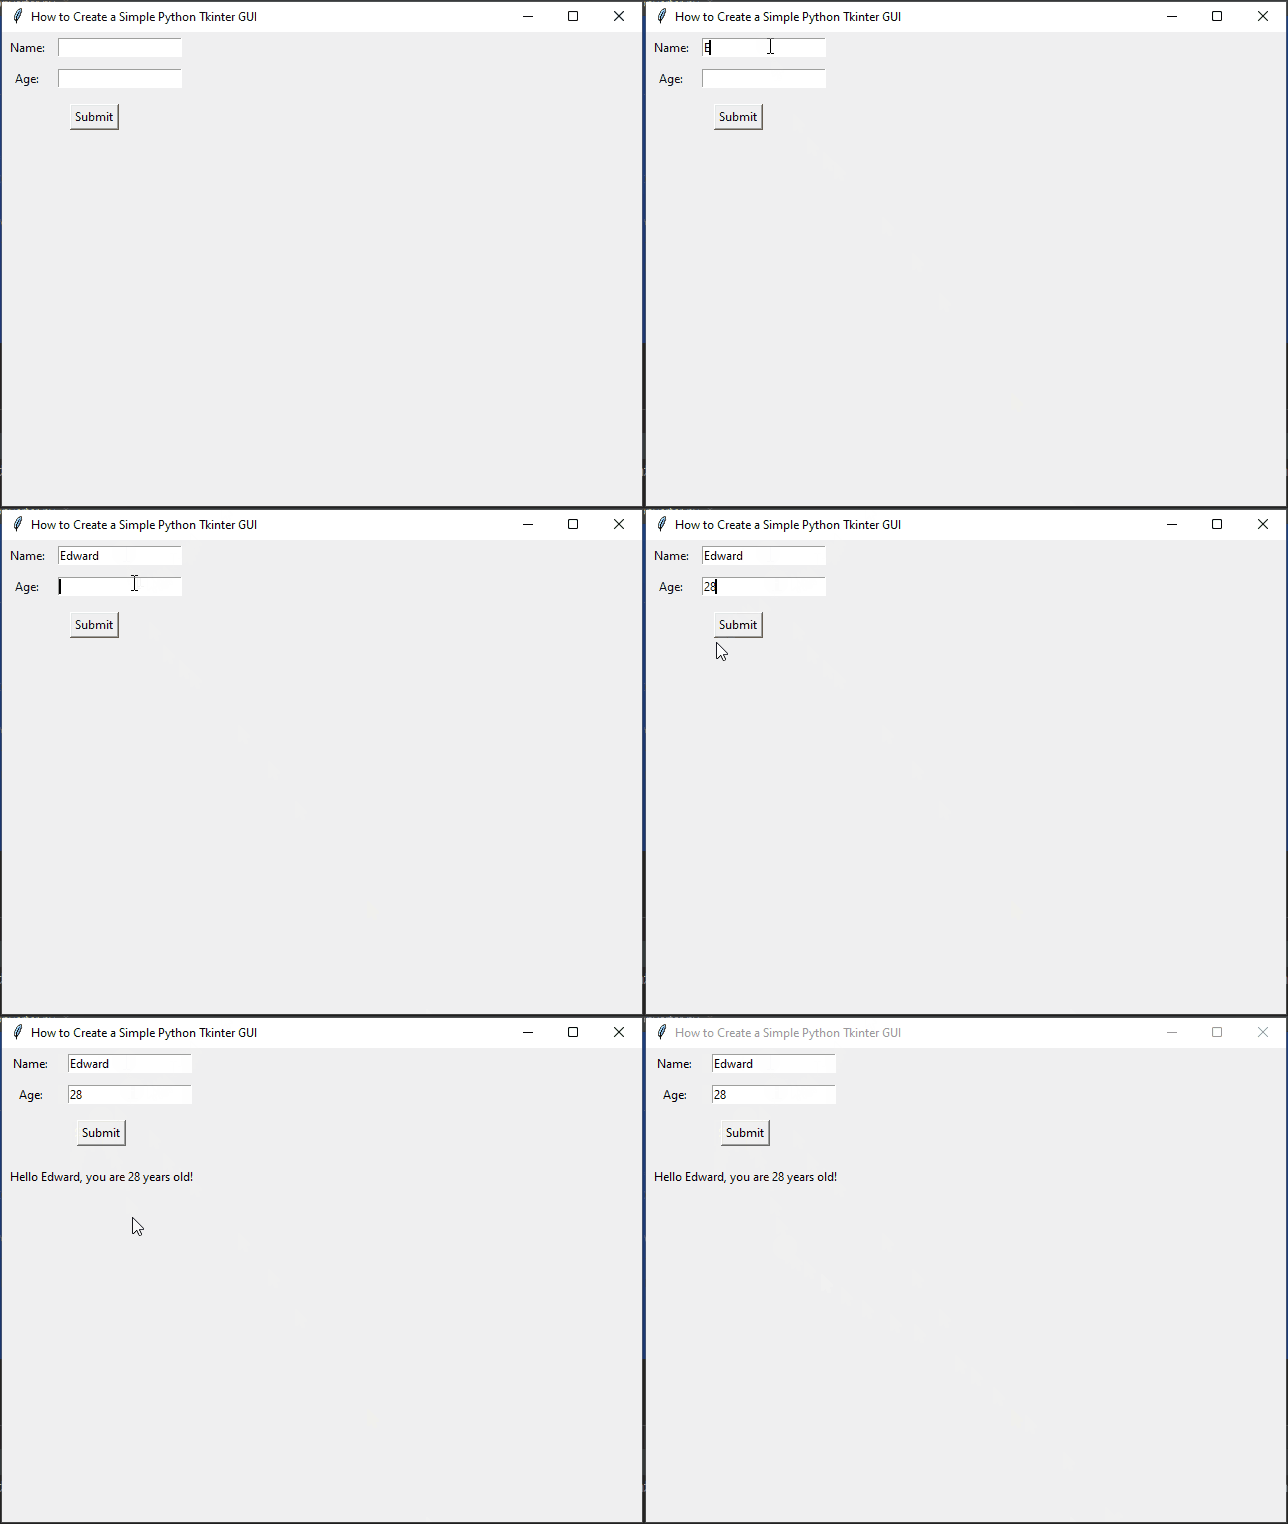
In this example, we used the grid layout manager to arrange the labels and entry widgets in rows and columns. When you enter your name and age and click the “Submit” button, it will display a personalized greeting.
Conclusion
Creating GUI applications in Python is made easy with the Tkinter library. In this article, we covered the basics of Tkinter and demonstrated how to build a simple GUI with labels, entry widgets, and buttons. Tkinter’s ease of use and cross-platform compatibility make it an excellent choice for developing GUI applications in Python.
Remember, this is just the beginning of what you can achieve with Tkinter. As you become more comfortable with the library, you can explore more advanced features and create more sophisticated and interactive GUIs for your Python applications.
I hope you found this code informative and useful. If you would like to receive more content, please consider subscribing to our newsletter!
