User interfaces are the front door to your software application, and a well-designed interface can greatly enhance the user experience. One powerful way to improve your user interface is by incorporating animations. Animation not only adds visual appeal but also helps convey information, guide user interactions, and provide feedback. JavaFX, a Java library for building rich client applications, offers a robust set of tools for creating animations that can bring your user interfaces to life. In this article, we will explore the world of JavaFX animation and discover how it can be leveraged to create captivating and interactive user experiences.

with hands-on learning.
get the skills and confidence to land your next move.
The Power of Animation
Animation breathes life into user interfaces, making them more intuitive, enjoyable, and informative. JavaFX, a powerful and versatile framework for building desktop and rich internet applications, offers robust support for creating animations that enhance the user experience. Whether you are designing a desktop application, a multimedia presentation, or an interactive web app, JavaFX animation can make your user interface stand out.
Key Benefits of JavaFX Animation
Engagement and User Experience
Animated elements can capture a user’s attention and guide them through your application. Subtle animations can provide feedback, highlight important information, or create delightful transitions, making the user experience more engaging and enjoyable.
Visual Feedback
Animations can provide users with visual feedback about the actions they perform. For example, a button press can trigger a smooth transition to the next screen, giving users a clear understanding of what’s happening in the application.
Information Visualization
Complex data or processes can be simplified and made more accessible through animation. Interactive charts, graphs, and diagrams can convey information more effectively when animated, allowing users to grasp concepts quickly.
Branding and Aesthetics
Animations can reflect your brand’s identity and style. Consistent and well-designed animations can contribute to a cohesive and visually appealing user interface, reinforcing your brand’s image.
Transitions and Interpolators
JavaFX offers a variety of predefined transitions, such as TranslateTransition, RotateTransition, ScaleTransition, and FadeTransition, which allow you to animate properties of UI elements seamlessly. These transitions can be combined to create complex animations, enabling you to achieve effects like fading in elements, moving objects smoothly across the screen, and rotating components for added dynamism.
Interpolators, which define the rate at which a transition occurs, provide fine-grained control over animations. JavaFX includes several built-in interpolators, including linear, ease-in, ease-out, and bounce, each suited for different animation styles. Custom interpolators can also be created to achieve unique effects.
TranslateTransition
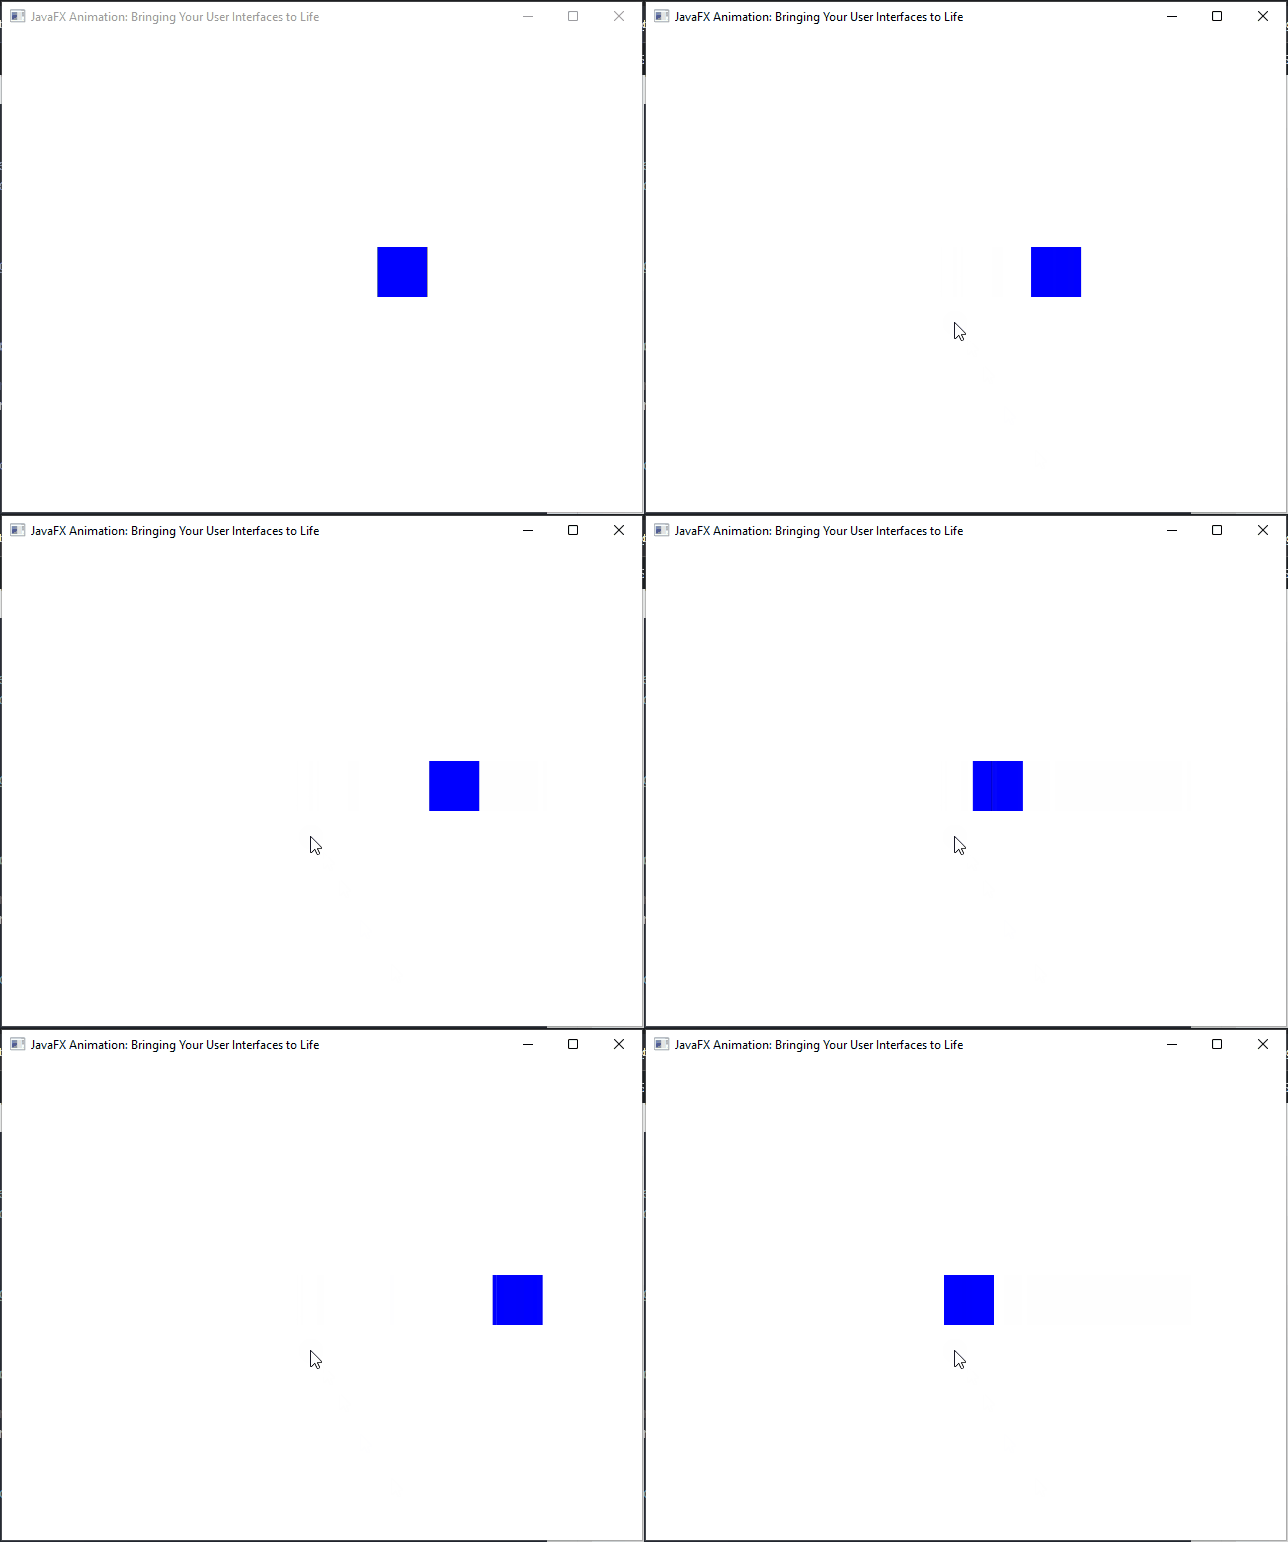
The TranslateTransition animates the translation (movement) of a node along the X, Y, or Z-axis. Here’s an example that moves a Rectangle from its current position to a new position over a specified duration:
import javafx.animation.TranslateTransition;
import javafx.application.Application;
import javafx.scene.Scene;
import javafx.scene.layout.*;
import javafx.scene.paint.Color;
import javafx.scene.shape.Rectangle;
import javafx.stage.Stage;
import javafx.util.Duration;

public class Main extends Application {

    // This is our layout manager
    private final StackPane parent = new StackPane();

    @Override
    public void init() throws Exception {
        super.init();
        buildUI();
    }

    private void buildUI() {

        // Create a blue Rectangle
        Rectangle rectangle = new Rectangle(50, 50, Color.BLUE);

        // Create a translation animation with a duration of 2 seconds for the rectangle
        TranslateTransition translateTransition = new TranslateTransition(Duration.seconds(2), rectangle);

        // Set the target X-coordinate to move the rectangle 200 pixels to the right
        translateTransition.setToX(200);

        // Enable auto-reverse to make the animation go back and forth
        translateTransition.setAutoReverse(true);

        // Set the cycle count to make the animation repeat indefinitely
        translateTransition.setCycleCount(TranslateTransition.INDEFINITE);

        // Start the translation animation
        translateTransition.play();

        // Add the rectangle to our layout
        this.parent.getChildren().add(rectangle);
    }

    @Override
    public void start(Stage stage) throws Exception {

        // Create a scene with the StackPane as the root
        Scene scene = new Scene(parent, 640, 480);

        // Set the stage title
        stage.setTitle("JavaFX Animation: Bringing Your User Interfaces to Life");

        // Set the scene for the stage
        stage.setScene(scene);

        // Center the stage on the screen
        stage.centerOnScreen();

        // Show the stage
        stage.show();
    }
}
In this example, we create a blue Rectangle, define a TranslateTransition to move it 200 pixels to the right with a 2-second duration. The animation is set to auto-reverse and repeat indefinitely.
RotateTransition
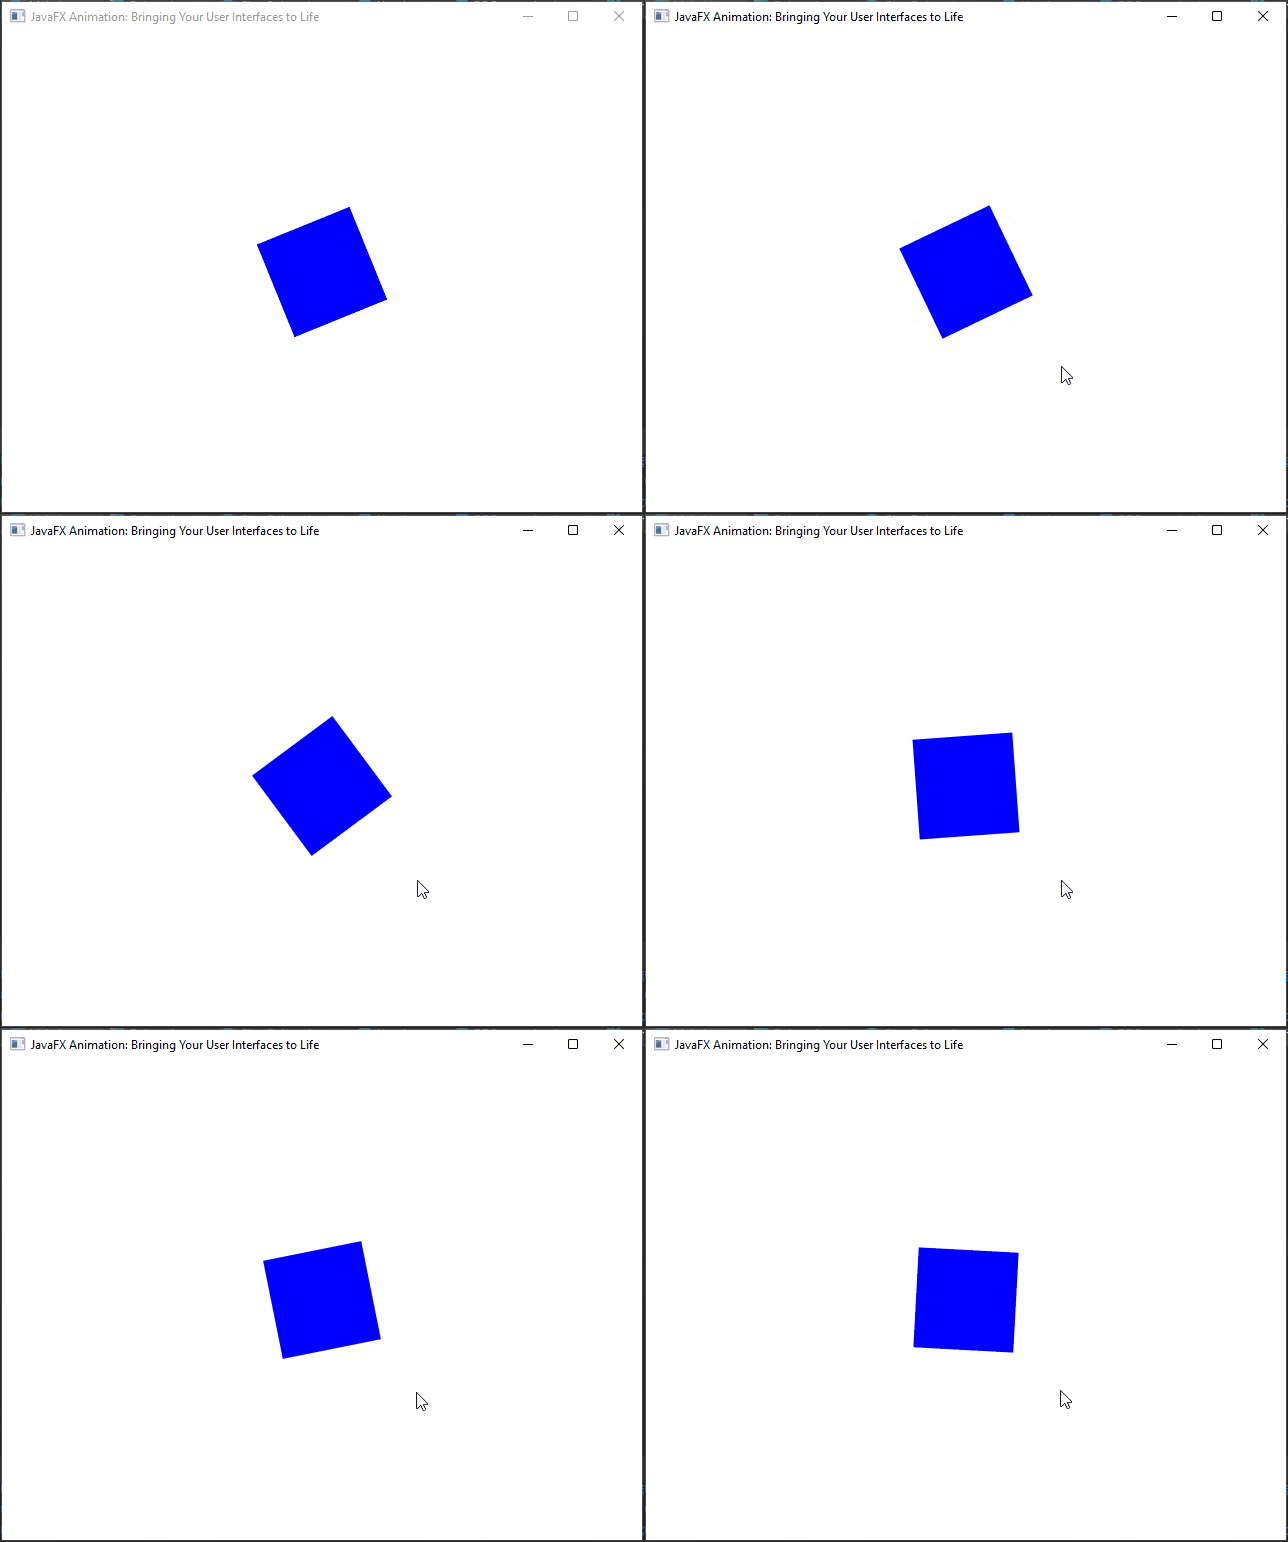
The RotateTransition allows for smooth rotation of a node around its center point. This snippet demonstrates a 360-degree rotation of a Node:
import javafx.animation.RotateTransition;
import javafx.application.Application;
import javafx.scene.Scene;
import javafx.scene.layout.*;
import javafx.scene.paint.Color;
import javafx.scene.shape.Rectangle;
import javafx.stage.Stage;
import javafx.util.Duration;

public class Main extends Application {

    // The parent layout manager
    private final StackPane parent = new StackPane();

    @Override
    public void init() throws Exception {
        super.init();
        buildUI();
    }

    private void buildUI() {

        // Create a Rectangle
        Rectangle rectangle = new Rectangle(100, 100, Color.BLUE);

        // Create a rotation animation for the rectangle
        RotateTransition rotateTransition = new RotateTransition(Duration.seconds(2), rectangle);

        // Rotate the rectangle by 360 degrees
        rotateTransition.setByAngle(360);

        // Repeat the rotation animation indefinitely
        rotateTransition.setCycleCount(RotateTransition.INDEFINITE);

        // Start the rotation animation
        rotateTransition.play();

        // Add the rotating rectangle to the parent StackPane
        this.parent.getChildren().add(rectangle);
    }

    @Override
    public void start(Stage stage) throws Exception {

        // Create a scene with the StackPane as the root
        Scene scene = new Scene(parent, 640, 480);

        // Set the stage title
        stage.setTitle("JavaFX Animation: Bringing Your User Interfaces to Life");

        // Set the scene for the stage
        stage.setScene(scene);

        // Center the stage on the screen
        stage.centerOnScreen();

        // Display the stage
        stage.show();
    }
}
In this example, we create a blue rectangle and add a spinning effect to it using RotateTransition. The rectangle spins a full 360 degrees smoothly and continues indefinitely.
ScaleTransition
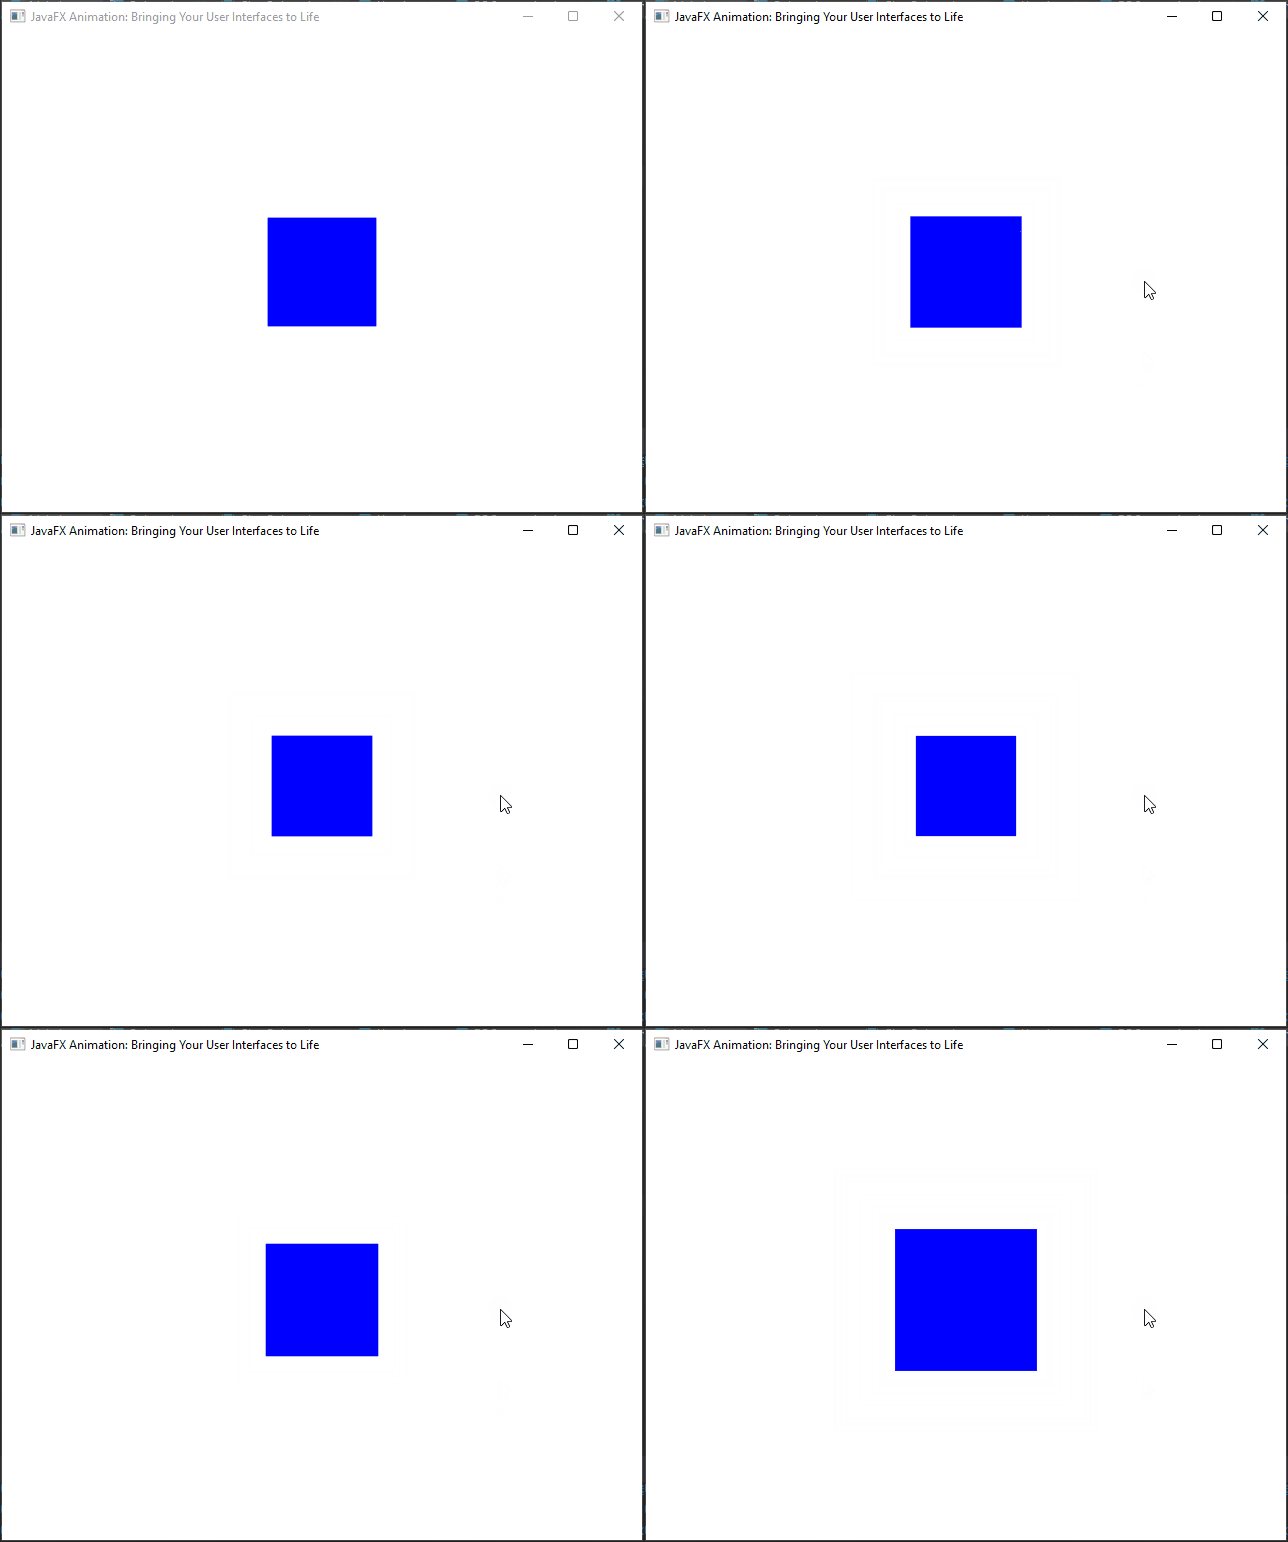
With ScaleTransition, you can smoothly scale a node in both the X and Y dimensions. This example scales a Node to twice its original size:
import javafx.animation.ScaleTransition;
import javafx.application.Application;
import javafx.scene.Scene;
import javafx.scene.layout.*;
import javafx.scene.paint.Color;
import javafx.scene.shape.Rectangle;
import javafx.stage.Stage;
import javafx.util.Duration;

public class Main extends Application {

    // The parent layout manager
    private final StackPane parent = new StackPane();

    @Override
    public void init() throws Exception {
        super.init();
        buildUI();
    }

    private void buildUI() {

        // Create a blue Rectangle
        Rectangle rectangle = new Rectangle(100, 100, Color.BLUE);

        // Create a scaling animation with a duration of 2 seconds for the rectangle
        ScaleTransition scaleTransition = new ScaleTransition(Duration.seconds(2), rectangle);

        // Set the target scale factors for X and Y to make it 3 times larger
        scaleTransition.setToX(3.0);
        scaleTransition.setToY(3.0);

        // Enable auto-reverse to make the animation reverse after reaching the target scale
        scaleTransition.setAutoReverse(true);

        // Set the cycle count to make the animation repeat indefinitely
        scaleTransition.setCycleCount(ScaleTransition.INDEFINITE);

        // Start the scaling animation
        scaleTransition.play();

        // Add the scaled rectangle to our layout
        this.parent.getChildren().add(rectangle);

    }

    @Override
    public void start(Stage stage) throws Exception {

        // Create a scene with the StackPane as the root
        Scene scene = new Scene(parent, 640, 480);

        // Set the stage title
        stage.setTitle("JavaFX Animation: Bringing Your User Interfaces to Life");

        // Set the scene for the stage
        stage.setScene(scene);

        // Center the stage on the screen
        stage.centerOnScreen();

        // Display the stage
        stage.show();
    }
}
In this example, we create a blue rectangle and apply a scaling animation to it, making it grow larger and smaller repeatedly. The animation is set to last for 2 seconds, and it cycles indefinitely.
FadeTransition
The FadeTransition controls the opacity of a node. This snippet demonstrates fading a Node from fully visible (1.0) to completely transparent (0.0):
import javafx.animation.FadeTransition;
import javafx.application.Application;
import javafx.scene.Scene;
import javafx.scene.layout.*;
import javafx.scene.paint.Color;
import javafx.scene.shape.Rectangle;
import javafx.stage.Stage;
import javafx.util.Duration;

public class Main extends Application {

    // The parent layout manager
    private final StackPane parent = new StackPane();

    @Override
    public void init() throws Exception {
        super.init();
        buildUI();
    }

    private void buildUI() {

        // Create a Rectangle
        Rectangle rectangle = new Rectangle(100, 100, Color.BLUE);

        // Create a fade animation for the Rectangle
        FadeTransition fadeTransition = new FadeTransition(Duration.seconds(2), rectangle);

        // Starting opacity (fully visible)
        fadeTransition.setFromValue(1.0);

        // Ending opacity (completely transparent)
        fadeTransition.setToValue(0.0);

        // Reverse the animation when it reaches the end
        fadeTransition.setAutoReverse(true);

        // Repeat the animation indefinitely
        fadeTransition.setCycleCount(FadeTransition.INDEFINITE);

        // Start the animation
        fadeTransition.play();

        // Add the Rectangle to the parent layout
        this.parent.getChildren().add(rectangle);

    }

    @Override
    public void start(Stage stage) throws Exception {

        // Create a scene with the StackPane as the root
        Scene scene = new Scene(parent, 640, 480);

        // Set the stage title
        stage.setTitle("JavaFX Animation: Bringing Your User Interfaces to Life");

        // Set the scene for the stage
        stage.setScene(scene);

        // Center the stage on the screen
        stage.centerOnScreen();

        // Display the stage
        stage.show();
    }
}
In this example, we create a blue rectangle and apply a fade animation to it. The rectangle starts with full opacity and gradually becomes completely transparent over a 2-second duration. The animation reverses when it reaches the end and repeats indefinitely.
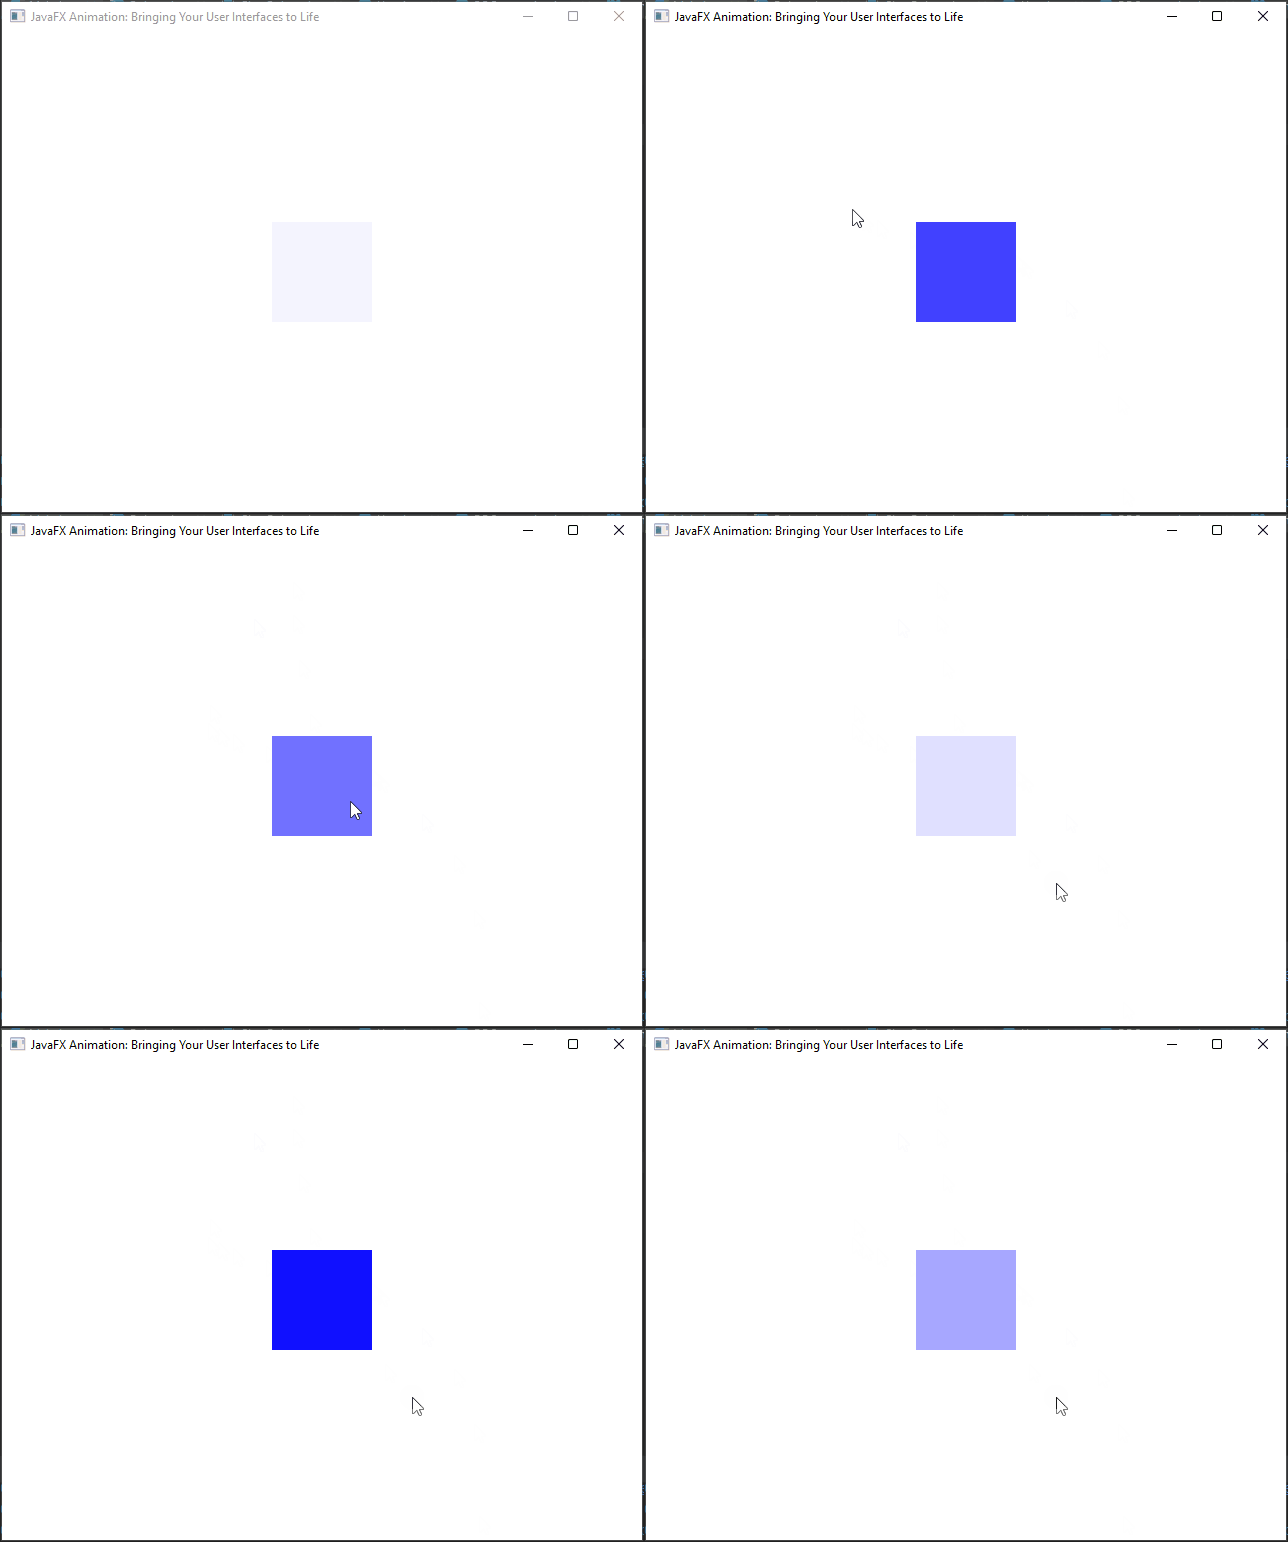
FillTransition
FillTransition enables you to animate the fill color of a Shape node. This transition is particularly useful for altering the color of shapes in a visually engaging manner.
import javafx.animation.FillTransition;
import javafx.application.Application;
import javafx.scene.Scene;
import javafx.scene.layout.*;
import javafx.scene.paint.Color;
import javafx.scene.shape.Rectangle;
import javafx.stage.Stage;
import javafx.util.Duration;

public class Main extends Application {

    // The parent layout manager
    private final StackPane parent = new StackPane();

    @Override
    public void init() throws Exception {
        super.init();
        buildUI();
    }

    private void buildUI() {

        // Create a Rectangle
        Rectangle rectangle = new Rectangle(100, 100, Color.BLUE);

        // Create a fill color transition animation for the Rectangle
        FillTransition fillTransition = new FillTransition(Duration.seconds(2), rectangle);

        // Starting color (Red)
        fillTransition.setFromValue(Color.RED);

        // Ending color (Blue)
        fillTransition.setToValue(Color.BLUE);

        // Reverse the animation when it reaches the end
        fillTransition.setAutoReverse(true);

        // Repeat the animation indefinitely
        fillTransition.setCycleCount(FillTransition.INDEFINITE);

        // Start the animation
        fillTransition.play();

        // Add the Rectangle to the parent layout
        this.parent.getChildren().add(rectangle);

    }

    @Override
    public void start(Stage stage) throws Exception {

        // Create a scene with the StackPane as the root
        Scene scene = new Scene(parent, 640, 480);

        // Set the stage title
        stage.setTitle("JavaFX Animation: Bringing Your User Interfaces to Life");

        // Set the scene for the stage
        stage.setScene(scene);

        // Center the stage on the screen
        stage.centerOnScreen();

        // Display the stage
        stage.show();
    }
}
In this example, a blue rectangle is created, and a fill color transition animation is applied to it. The rectangle smoothly changes from red to blue over a 2-second duration, with the animation reversing when it completes and repeating indefinitely.
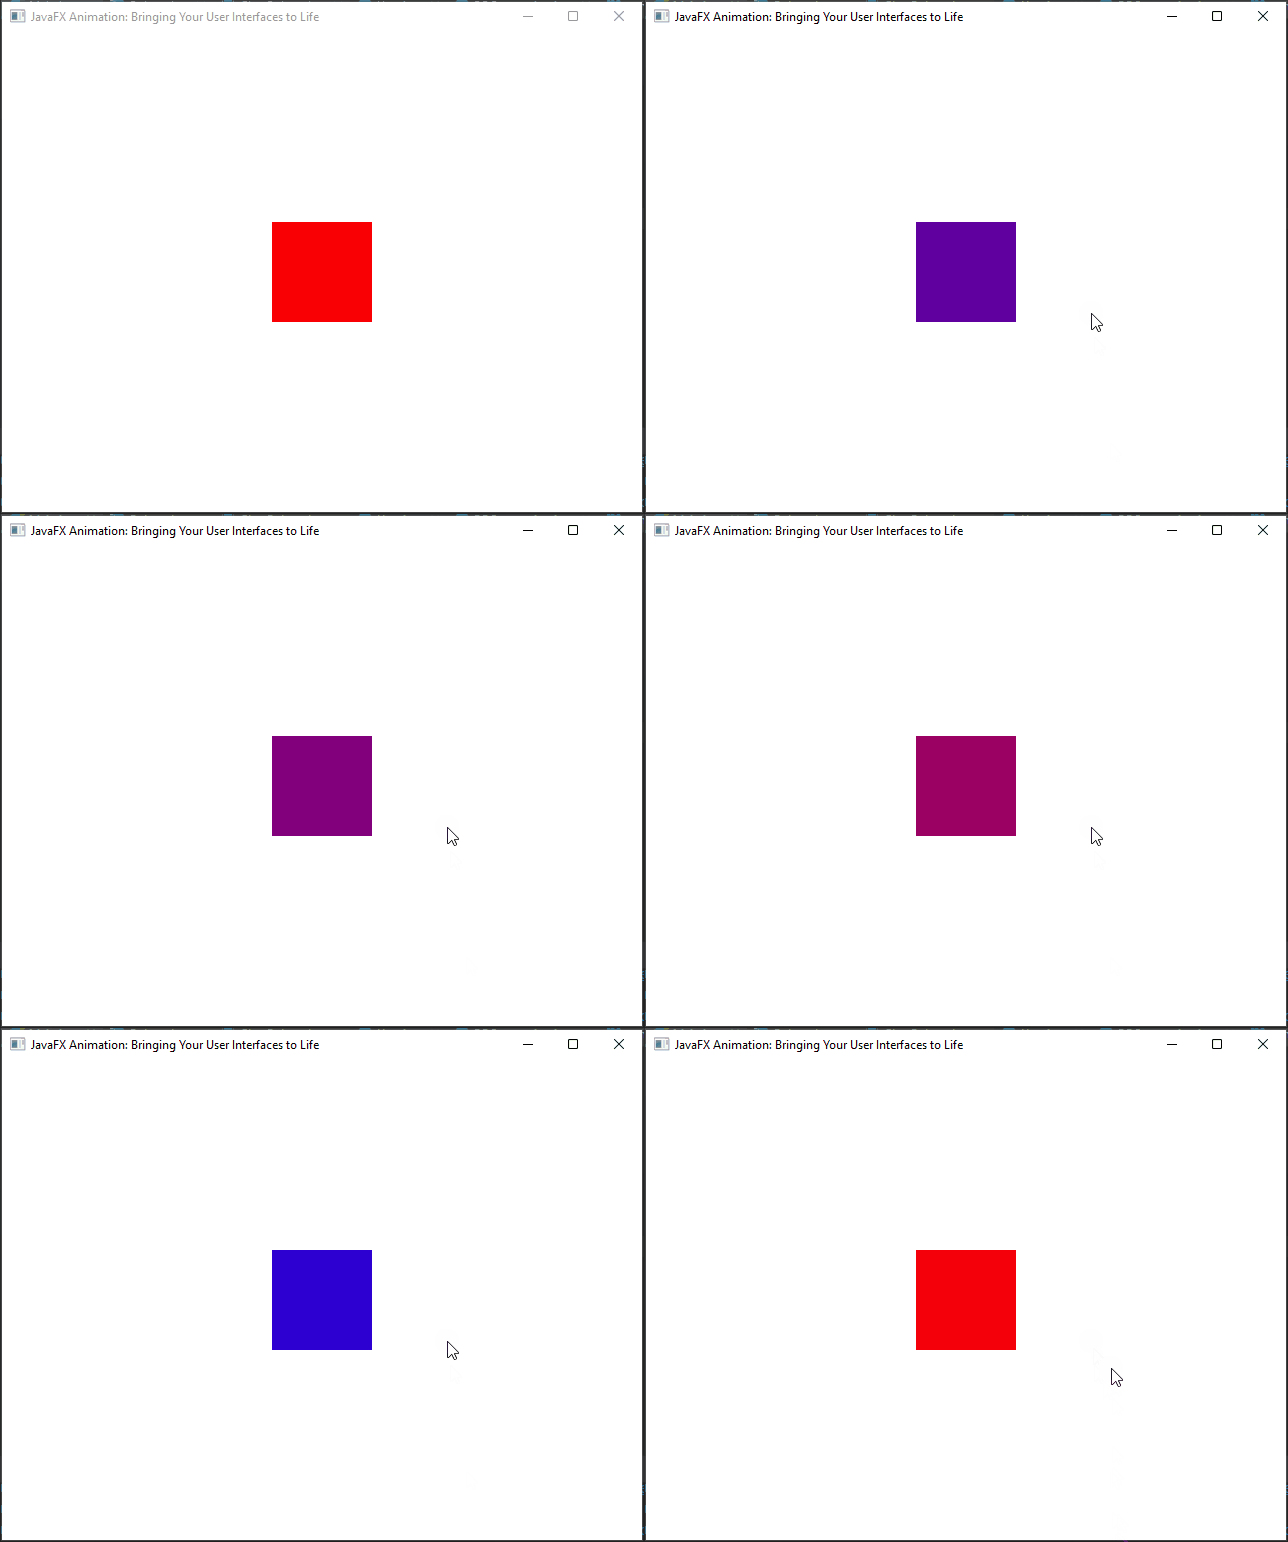
PathTransition
PathTransition animates a node along a specified path. It’s perfect for creating custom motion paths and complex animations.
import javafx.animation.PathTransition;
import javafx.application.Application;
import javafx.scene.Scene;
import javafx.scene.layout.*;
import javafx.scene.paint.Color;
import javafx.scene.shape.LineTo;
import javafx.scene.shape.MoveTo;
import javafx.scene.shape.Path;
import javafx.scene.shape.Rectangle;
import javafx.stage.Stage;
import javafx.util.Duration;

public class Main extends Application {

    // The parent layout manager
    private final StackPane parent = new StackPane();

    @Override
    public void init() throws Exception {
        super.init();
        buildUI();
    }

    private void buildUI() {

        // Create a Rectangle
        Rectangle rectangle = new Rectangle(20, 20, Color.BLUE);

        // Create a path for the animation
        Path path = new Path();
        path.getElements().add(new MoveTo(0, 0));
        path.getElements().add(new LineTo(200, 0));
        path.getElements().add(new LineTo(200, 200));
        path.getElements().add(new LineTo(0, 200));
        path.getElements().add(new LineTo(100, 100));
        path.getElements().add(new LineTo(0, 0));

        // Create a path transition animation
        PathTransition pathTransition = new PathTransition(Duration.seconds(10), path, rectangle);

        // Reverse the animation when it completes
        pathTransition.setAutoReverse(true);

        // Repeat the animation indefinitely
        pathTransition.setCycleCount(PathTransition.INDEFINITE);

        // Start the animation
        pathTransition.play();

        // Add the Rectangle to the parent layout
        this.parent.getChildren().add(rectangle);

    }

    @Override
    public void start(Stage stage) throws Exception {

        // Create a scene with the StackPane as the root
        Scene scene = new Scene(parent, 640, 480);

        // Set the stage title
        stage.setTitle("JavaFX Animation: Bringing Your User Interfaces to Life");

        // Set the scene for the stage
        stage.setScene(scene);

        // Center the stage on the screen
        stage.centerOnScreen();

        // Display the stage
        stage.show();
    }
}
In this example, a blue rectangle is created, and a PathTransition animation is applied to it. The rectangle moves along a predefined path, forming a looping animation that reverses direction when completed and continues indefinitely.
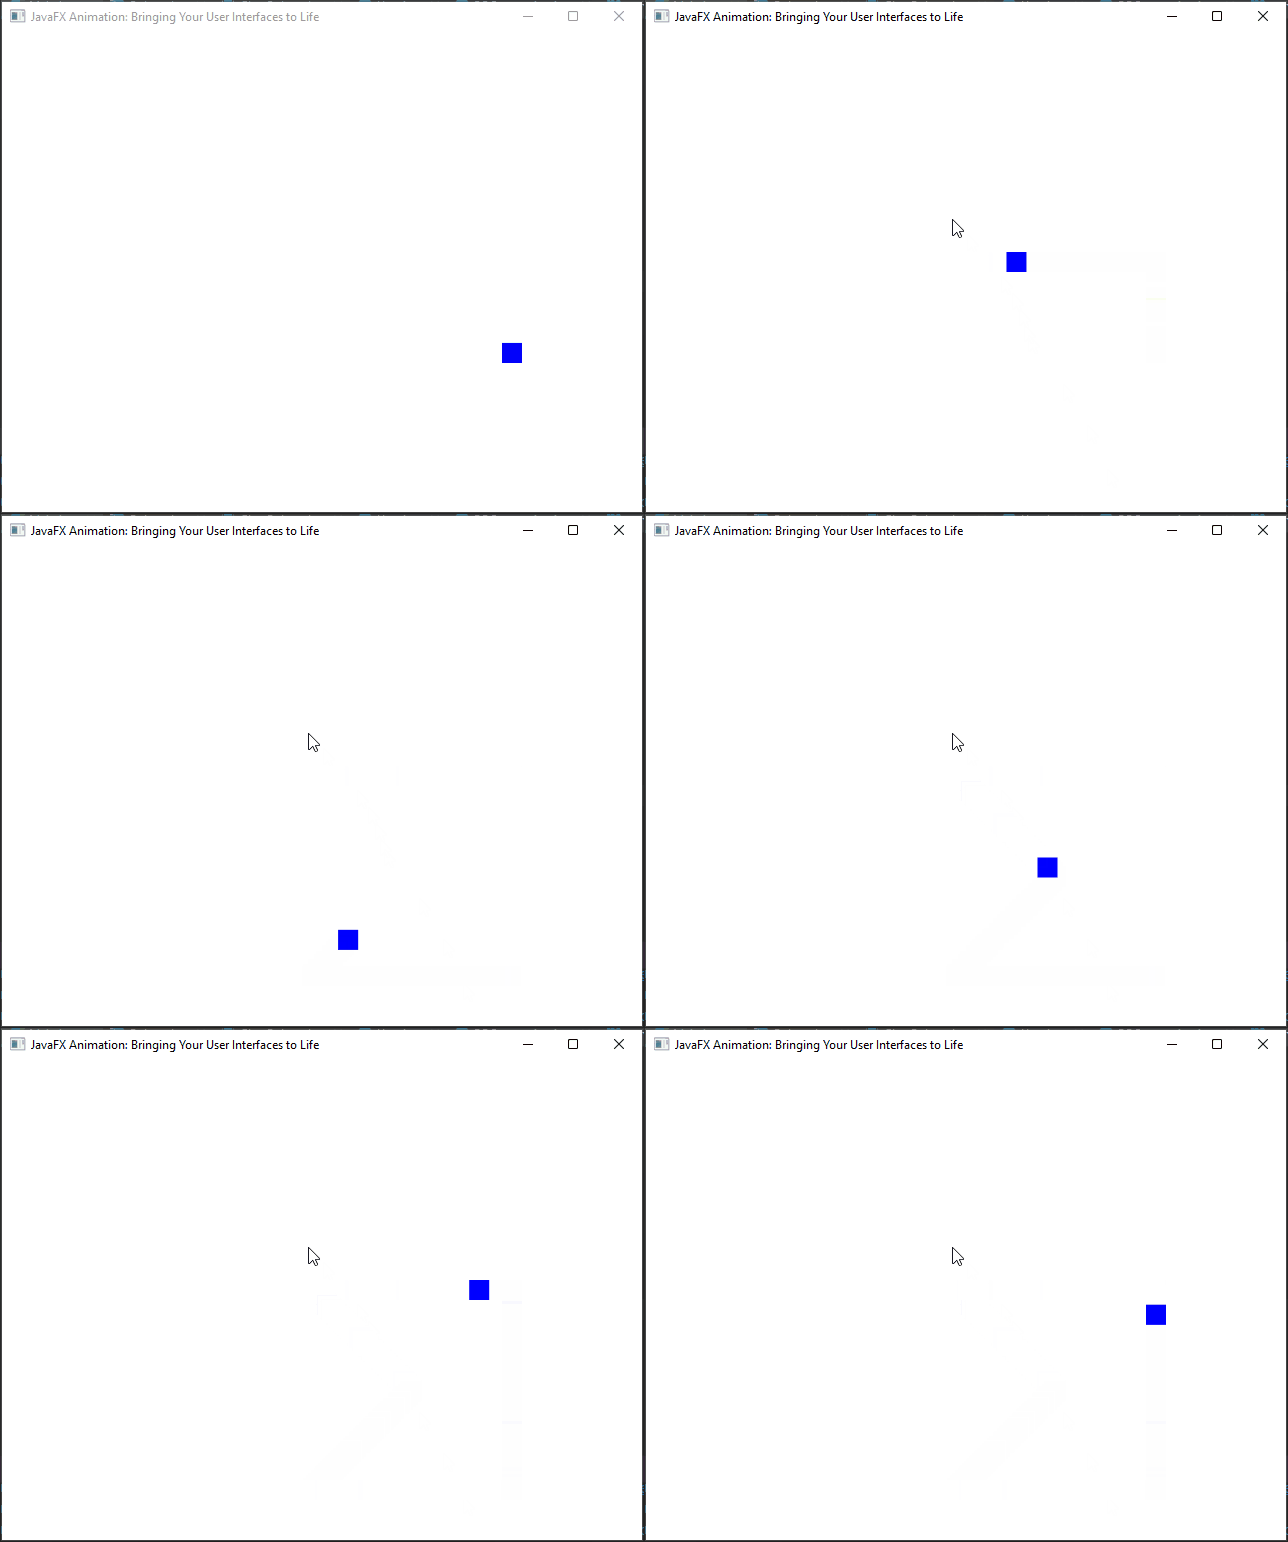
StrokeTransition
StrokeTransition animates the stroke color of a Shape node, similar to FillTransition, but for the outline of the shape.
import javafx.animation.StrokeTransition;
import javafx.application.Application;
import javafx.scene.Scene;
import javafx.scene.layout.*;
import javafx.scene.paint.Color;
import javafx.scene.shape.Rectangle;
import javafx.stage.Stage;
import javafx.util.Duration;

public class Main extends Application {

    // The parent layout manager
    private final StackPane parent = new StackPane();

    @Override
    public void init() throws Exception {
        super.init();
        buildUI();
    }

    private void buildUI() {

        // Create a Rectangle
        Rectangle rectangle = new Rectangle(100, 100, Color.BLUE);

        // Create a stroke color transition animation for the Rectangle
        StrokeTransition strokeTransition = new StrokeTransition(Duration.seconds(1), rectangle);

        // Starting stroke color (Red)
        strokeTransition.setFromValue(Color.RED);

        // Ending stroke color (Blue)
        strokeTransition.setToValue(Color.BLUE);

        // Reverse the animation when it completes
        strokeTransition.setAutoReverse(true);

        // Repeat the animation indefinitely
        strokeTransition.setCycleCount(StrokeTransition.INDEFINITE);

        // Start the animation
        strokeTransition.play();

        // Add the Rectangle to the parent layout
        this.parent.getChildren().add(rectangle);

    }

    @Override
    public void start(Stage stage) throws Exception {

        // Create a scene with the StackPane as the root
        Scene scene = new Scene(parent, 640, 480);

        // Set the stage title
        stage.setTitle("JavaFX Animation: Bringing Your User Interfaces to Life");

        // Set the scene for the stage
        stage.setScene(scene);

        // Center the stage on the screen
        stage.centerOnScreen();

        // Display the stage
        stage.show();
    }
}
In this example, a blue rectangle is created, and a StrokeTransition animation is applied to it. The animation smoothly transitions the rectangle’s stroke color from red to blue over a 1-second duration, reversing direction when completed and repeating indefinitely.
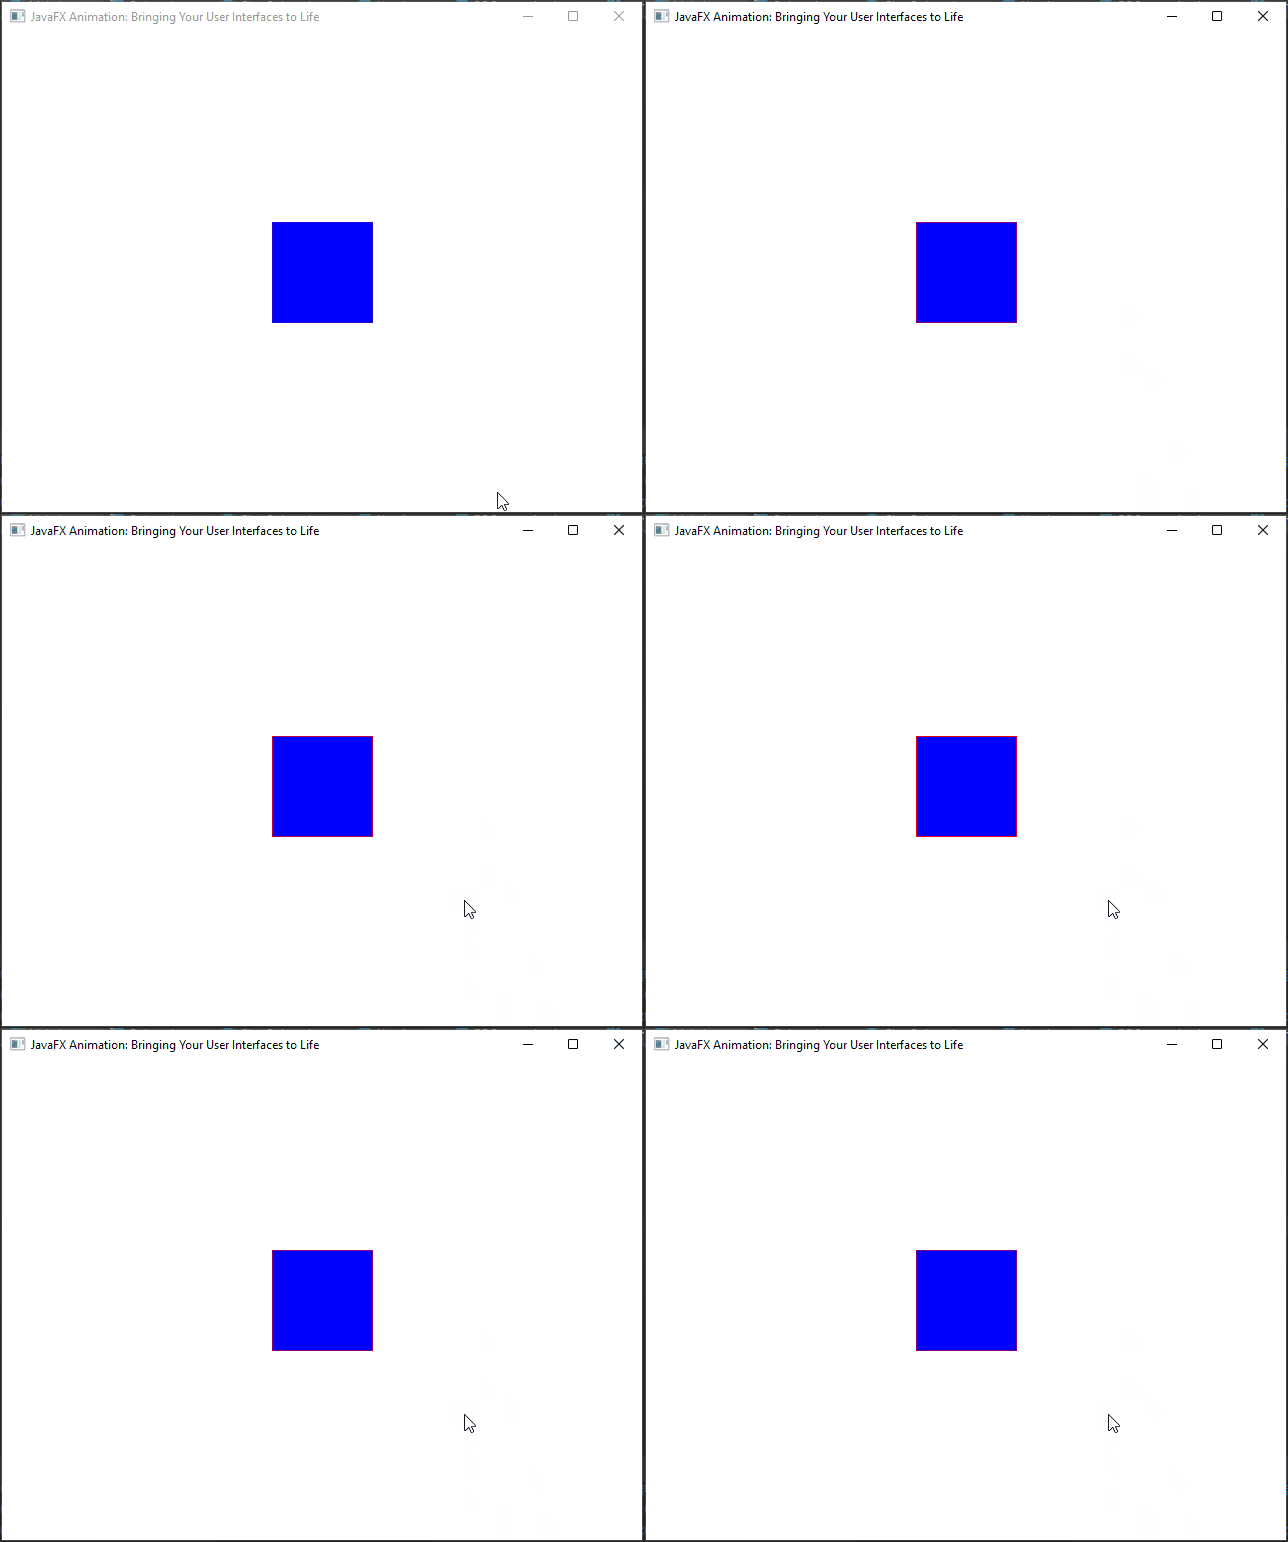
Complex Animations: Combining Transitions
JavaFX enables the creation of complex animations by combining multiple transitions. You can orchestrate these transitions to play sequentially or in parallel, achieving intricate and visually appealing effects.
SequentialTransition
The SequentialTransition class lets you execute a series of transitions in sequence. For example, you can fade in a node and then move it:
import javafx.animation.FadeTransition;
import javafx.animation.SequentialTransition;
import javafx.animation.TranslateTransition;
import javafx.application.Application;
import javafx.scene.Scene;
import javafx.scene.layout.*;
import javafx.scene.paint.Color;
import javafx.scene.shape.Rectangle;
import javafx.stage.Stage;
import javafx.util.Duration;

public class Main extends Application {

    // The parent layout manager
    private final StackPane parent = new StackPane();

    @Override
    public void init() throws Exception {
        super.init();
        buildUI();
    }

    private void buildUI() {

        // Create a Rectangle
        Rectangle rectangle = new Rectangle(100, 100, Color.BLUE);

        // Create a SequentialTransition to combine multiple animations sequentially
        SequentialTransition sequentialTransition = new SequentialTransition();

        // Enable auto-reversal and indefinite repetition for the SequentialTransition
        sequentialTransition.setAutoReverse(true);
        sequentialTransition.setCycleCount(SequentialTransition.INDEFINITE);

        // Create a FadeTransition to animate opacity from 0.0 to 1.0 over 2 seconds
        FadeTransition fadeTransition = new FadeTransition(Duration.seconds(2), rectangle);
        fadeTransition.setFromValue(0.0);
        fadeTransition.setToValue(1.0);

        // Create a TranslateTransition to move the rectangle horizontally by 100 units over 2 seconds
        TranslateTransition translateTransition = new TranslateTransition(Duration.seconds(2), rectangle);
        translateTransition.setToX(100);

        // Add the FadeTransition and TranslateTransition to the SequentialTransition
        sequentialTransition.getChildren().addAll(fadeTransition, translateTransition);

        // Start the SequentialTransition animation
        sequentialTransition.play();

        // Add the Rectangle to the parent layout
        this.parent.getChildren().add(rectangle);

    }

    @Override
    public void start(Stage stage) throws Exception {

        // Create a scene with the StackPane as the root
        Scene scene = new Scene(parent, 640, 480);

        // Set the stage title
        stage.setTitle("JavaFX Animation: Bringing Your User Interfaces to Life");

        // Set the scene for the stage
        stage.setScene(scene);

        // Center the stage on the screen
        stage.centerOnScreen();

        // Display the stage
        stage.show();
    }
}
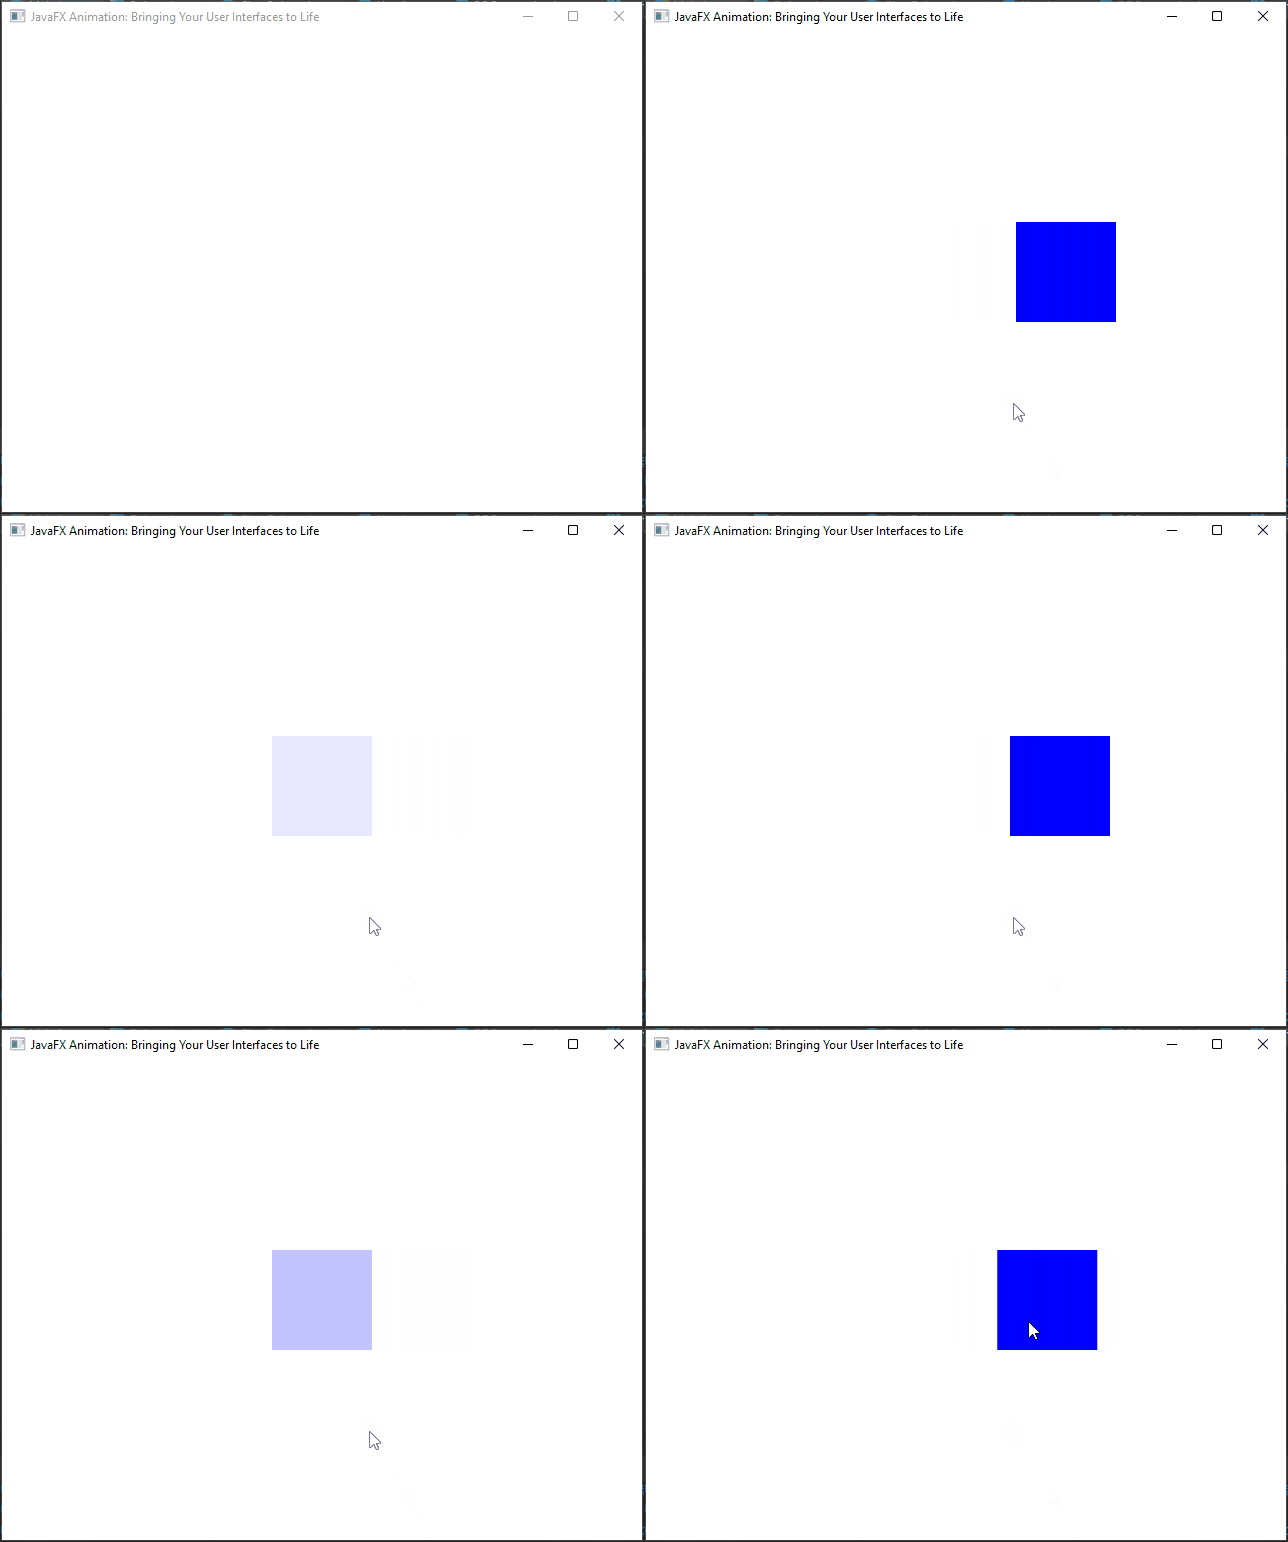
In this example, a blue rectangle is created, and a SequentialTransition is applied to it. The SequentialTransition combines two animations: a FadeTransition that gradually changes the rectangle’s opacity from 0 to 1 over 2 seconds, and a TranslateTransition that moves the rectangle horizontally by 100 units over the same duration. These animations are played sequentially, reversing direction when completed and repeating indefinitely.
ParallelTransition
The ParallelTransition class allows you to execute multiple transitions simultaneously. Here’s an example of fading in and scaling a node simultaneously:
import javafx.animation.*;
import javafx.application.Application;
import javafx.scene.Scene;
import javafx.scene.layout.*;
import javafx.scene.paint.Color;
import javafx.scene.shape.Rectangle;
import javafx.stage.Stage;
import javafx.util.Duration;

public class Main extends Application {

    // The parent layout manager
    private final StackPane parent = new StackPane();

    @Override
    public void init() throws Exception {
        super.init();
        buildUI();
    }

    private void buildUI() {

        // Create a Rectangle
        Rectangle rectangle = new Rectangle(100, 100, Color.BLUE);

        // Create a ParallelTransition to combine multiple animations
        ParallelTransition parallelTransition = new ParallelTransition();

        // Set the ParallelTransition to auto-reverse and repeat indefinitely
        parallelTransition.setAutoReverse(true);
        parallelTransition.setCycleCount(ParallelTransition.INDEFINITE);

        // Create a FadeTransition for the rectangle
        FadeTransition fadeTransition = new FadeTransition(Duration.seconds(1), rectangle);

        // Start with full transparency
        fadeTransition.setFromValue(0.0);

        // End with full opacity
        fadeTransition.setToValue(1.0);

        // Create a ScaleTransition for the rectangle
        ScaleTransition scaleTransition = new ScaleTransition(Duration.seconds(2), rectangle);

        // Scale horizontally by a factor of 3
        scaleTransition.setToX(3.0);

        // Scale vertically by a factor of 3
        scaleTransition.setToY(3.0);

        // Add the FadeTransition and ScaleTransition to the ParallelTransition
        parallelTransition.getChildren().addAll(fadeTransition, scaleTransition);

        // Start the ParallelTransition animation
        parallelTransition.play();

        // Add the Rectangle to the parent layout
        this.parent.getChildren().add(rectangle);

    }

    @Override
    public void start(Stage stage) throws Exception {

        // Create a scene with the StackPane as the root
        Scene scene = new Scene(parent, 640, 480);

        // Set the stage title
        stage.setTitle("JavaFX Animation: Bringing Your User Interfaces to Life");

        // Set the scene for the stage
        stage.setScene(scene);

        // Center the stage on the screen
        stage.centerOnScreen();

        // Display the stage
        stage.show();
    }
}
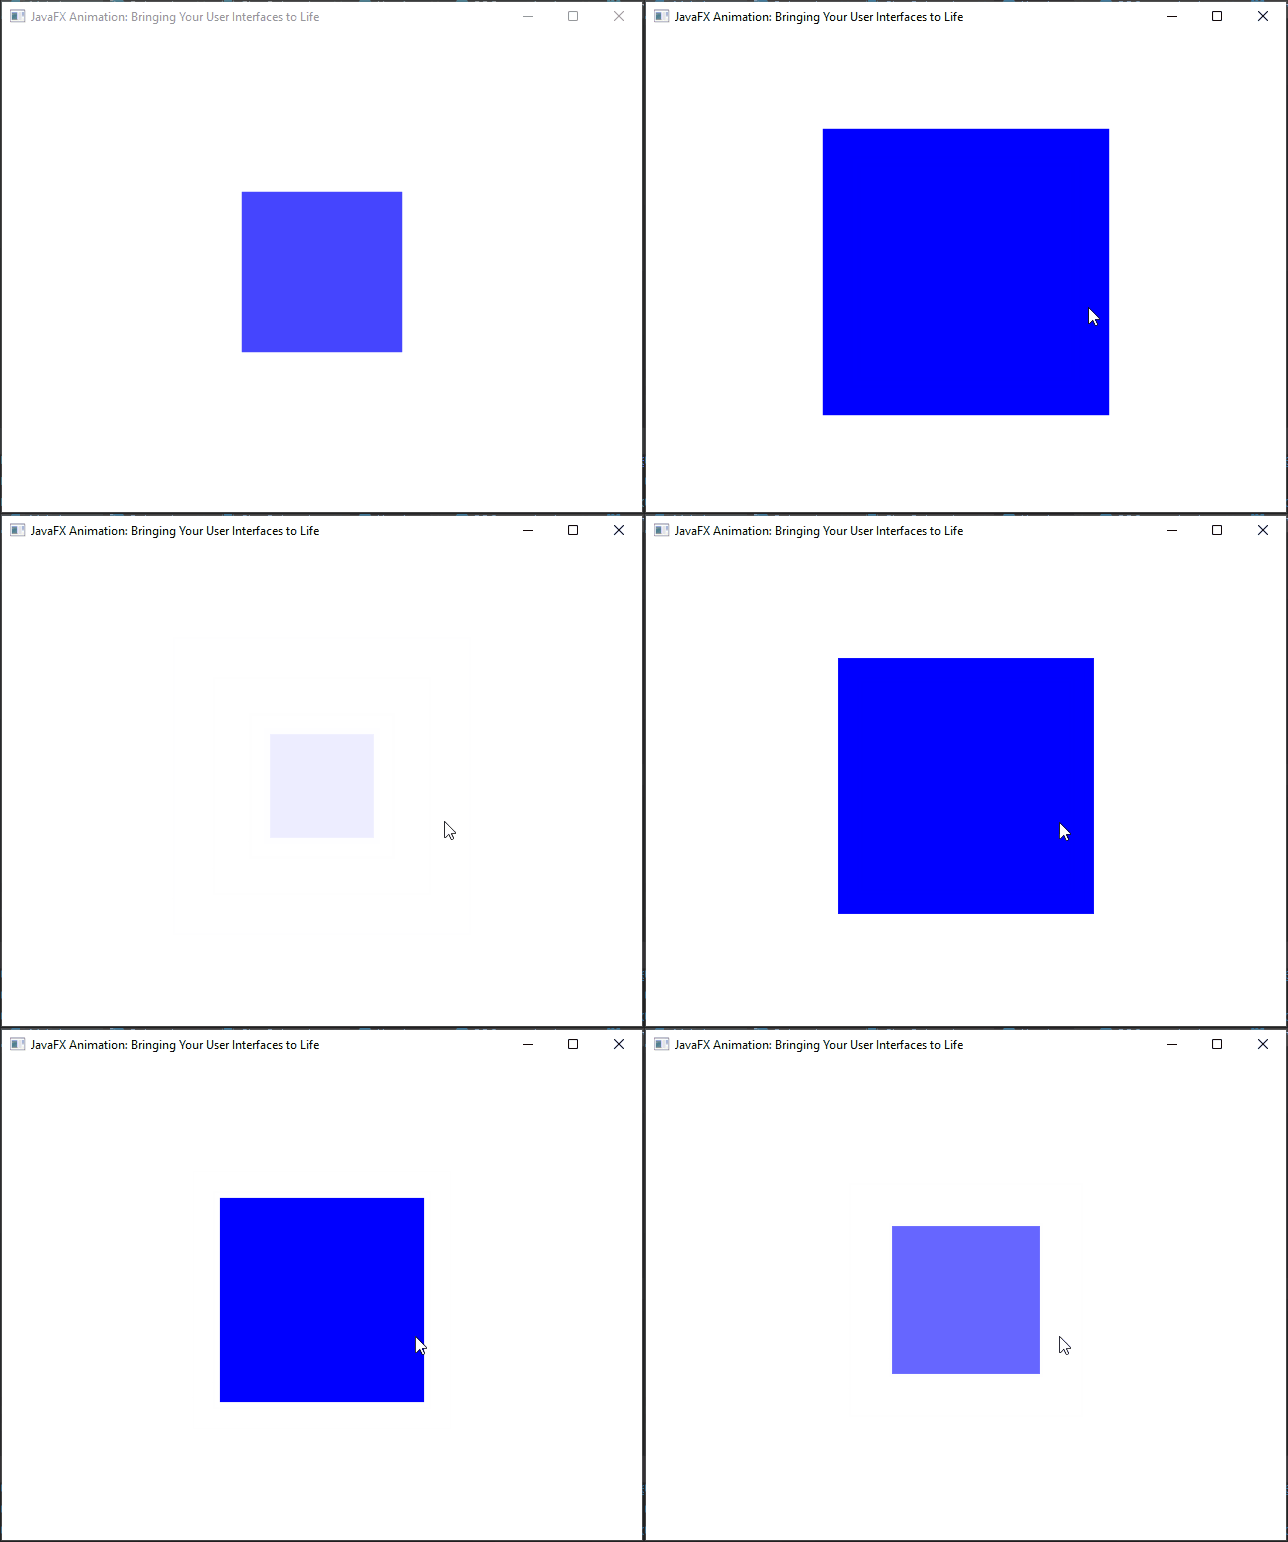
In this example, we create a blue rectangle and applies a ParallelTransition animation to it. The animation includes a simultaneous FadeTransition and ScaleTransition. The rectangle smoothly fades in and scales up, with the animation set to auto-reverse and repeat indefinitely.
PauseTransition
PauseTransition introduces a pause or delay in the animation timeline, allowing you to control the timing of animations within a sequence.
import javafx.animation.*;
import javafx.application.Application;
import javafx.scene.Scene;
import javafx.scene.layout.*;
import javafx.scene.paint.Color;
import javafx.scene.shape.Rectangle;
import javafx.stage.Stage;
import javafx.util.Duration;

public class Main extends Application {

    // The parent layout manager
    private final StackPane parent = new StackPane();

    @Override
    public void init() throws Exception {
        super.init();
        buildUI();
    }

    private void buildUI() {

        // Create a Rectangle
        Rectangle rectangle = new Rectangle(100, 100, Color.BLUE);

        // Create a SequentialTransition to sequence the animations
        SequentialTransition sequentialTransition = new SequentialTransition();

        sequentialTransition.setCycleCount(SequentialTransition.INDEFINITE);

        // Create a FadeTransition to fade the rectangle in
        FadeTransition fadeTransition = new FadeTransition(Duration.seconds(2), rectangle);
        fadeTransition.setFromValue(0); // Start with full transparency
        fadeTransition.setToValue(1);   // End with full opacity

        // Create a PauseTransition to pause for 2 seconds
        PauseTransition pauseTransition = new PauseTransition(Duration.seconds(2));

        // Create a RotateTransition to rotate the rectangle by 360 degrees
        RotateTransition rotateTransition = new RotateTransition(Duration.seconds(2), rectangle);
        rotateTransition.setByAngle(360);

        // Add the animations to the sequential transition
        sequentialTransition.getChildren().addAll(
                fadeTransition,
                pauseTransition, // Pause for 2 seconds
                rotateTransition
        );

        // Play the sequential transition
        sequentialTransition.play();

        // Add the Rectangle to the parent layout
        this.parent.getChildren().add(rectangle);

    }

    @Override
    public void start(Stage stage) throws Exception {

        // Create a scene with the StackPane as the root
        Scene scene = new Scene(parent, 640, 480);

        // Set the stage title
        stage.setTitle("JavaFX Animation: Bringing Your User Interfaces to Life");

        // Set the scene for the stage
        stage.setScene(scene);

        // Center the stage on the screen
        stage.centerOnScreen();

        // Display the stage
        stage.show();
    }
}
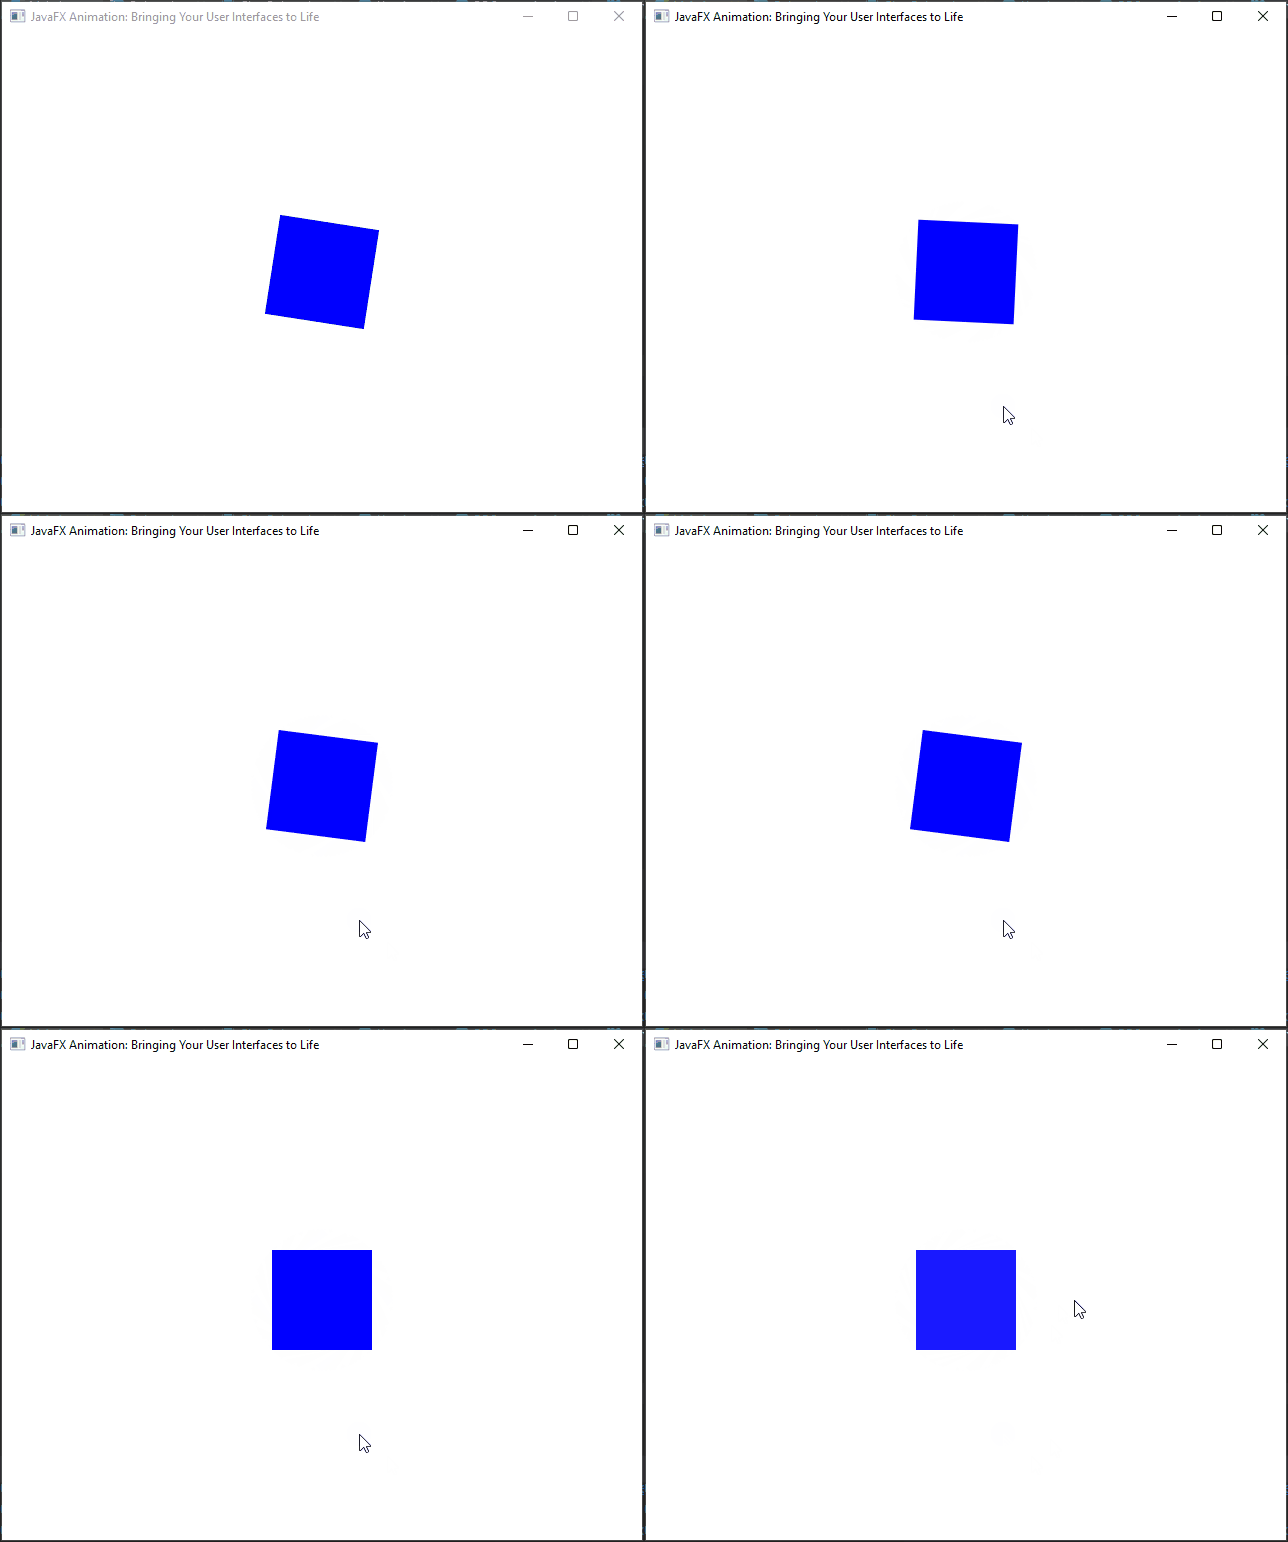
In this example, a blue rectangle is created in a JavaFX application, and a SequentialTransition is used to orchestrate multiple animations in sequence. The animations include a FadeTransition that gradually fades in the rectangle, a PauseTransition to pause for 2 seconds, and a RotateTransition that rotates the rectangle by 360 degrees.
Fine-Tuning with Interpolators
Interpolators determine the rate at which a transition occurs, allowing for precise control over animations. JavaFX provides a set of built-in interpolators tailored for different animation styles:
Linear Interpolator
A linear interpolator maintains a constant speed throughout the animation, resulting in uniform motion from start to finish.
import javafx.animation.*;
import javafx.application.Application;
import javafx.scene.Scene;
import javafx.scene.layout.*;
import javafx.scene.paint.Color;
import javafx.scene.shape.Rectangle;
import javafx.stage.Stage;
import javafx.util.Duration;

public class Main extends Application {

    // The parent layout manager
    private final StackPane parent = new StackPane();

    @Override
    public void init() throws Exception {
        super.init();
        buildUI();
    }

    private void buildUI() {

        // Create a Rectangle
        Rectangle rectangle = new Rectangle(100, 100, Color.BLUE);

        // Create a TranslateTransition animation for the Rectangle
        TranslateTransition translateTransition = new TranslateTransition(Duration.seconds(2), rectangle);

        // Set linear interpolation for smooth movement
        translateTransition.setInterpolator(Interpolator.LINEAR);

        // Translate the rectangle horizontally by 200 units
        translateTransition.setByX(200);

        // Reverse the animation when it completes
        translateTransition.setAutoReverse(true);

        // Repeat the animation indefinitely
        translateTransition.setCycleCount(TranslateTransition.INDEFINITE);

        // Start the animation
        translateTransition.play();

        // Add the Rectangle to the parent layout
        this.parent.getChildren().add(rectangle);

    }

    @Override
    public void start(Stage stage) throws Exception {

        // Create a scene with the StackPane as the root
        Scene scene = new Scene(parent, 640, 480);

        // Set the stage title
        stage.setTitle("JavaFX Animation: Bringing Your User Interfaces to Life");

        // Set the scene for the stage
        stage.setScene(scene);

        // Center the stage on the screen
        stage.centerOnScreen();

        // Display the stage
        stage.show();
    }
}
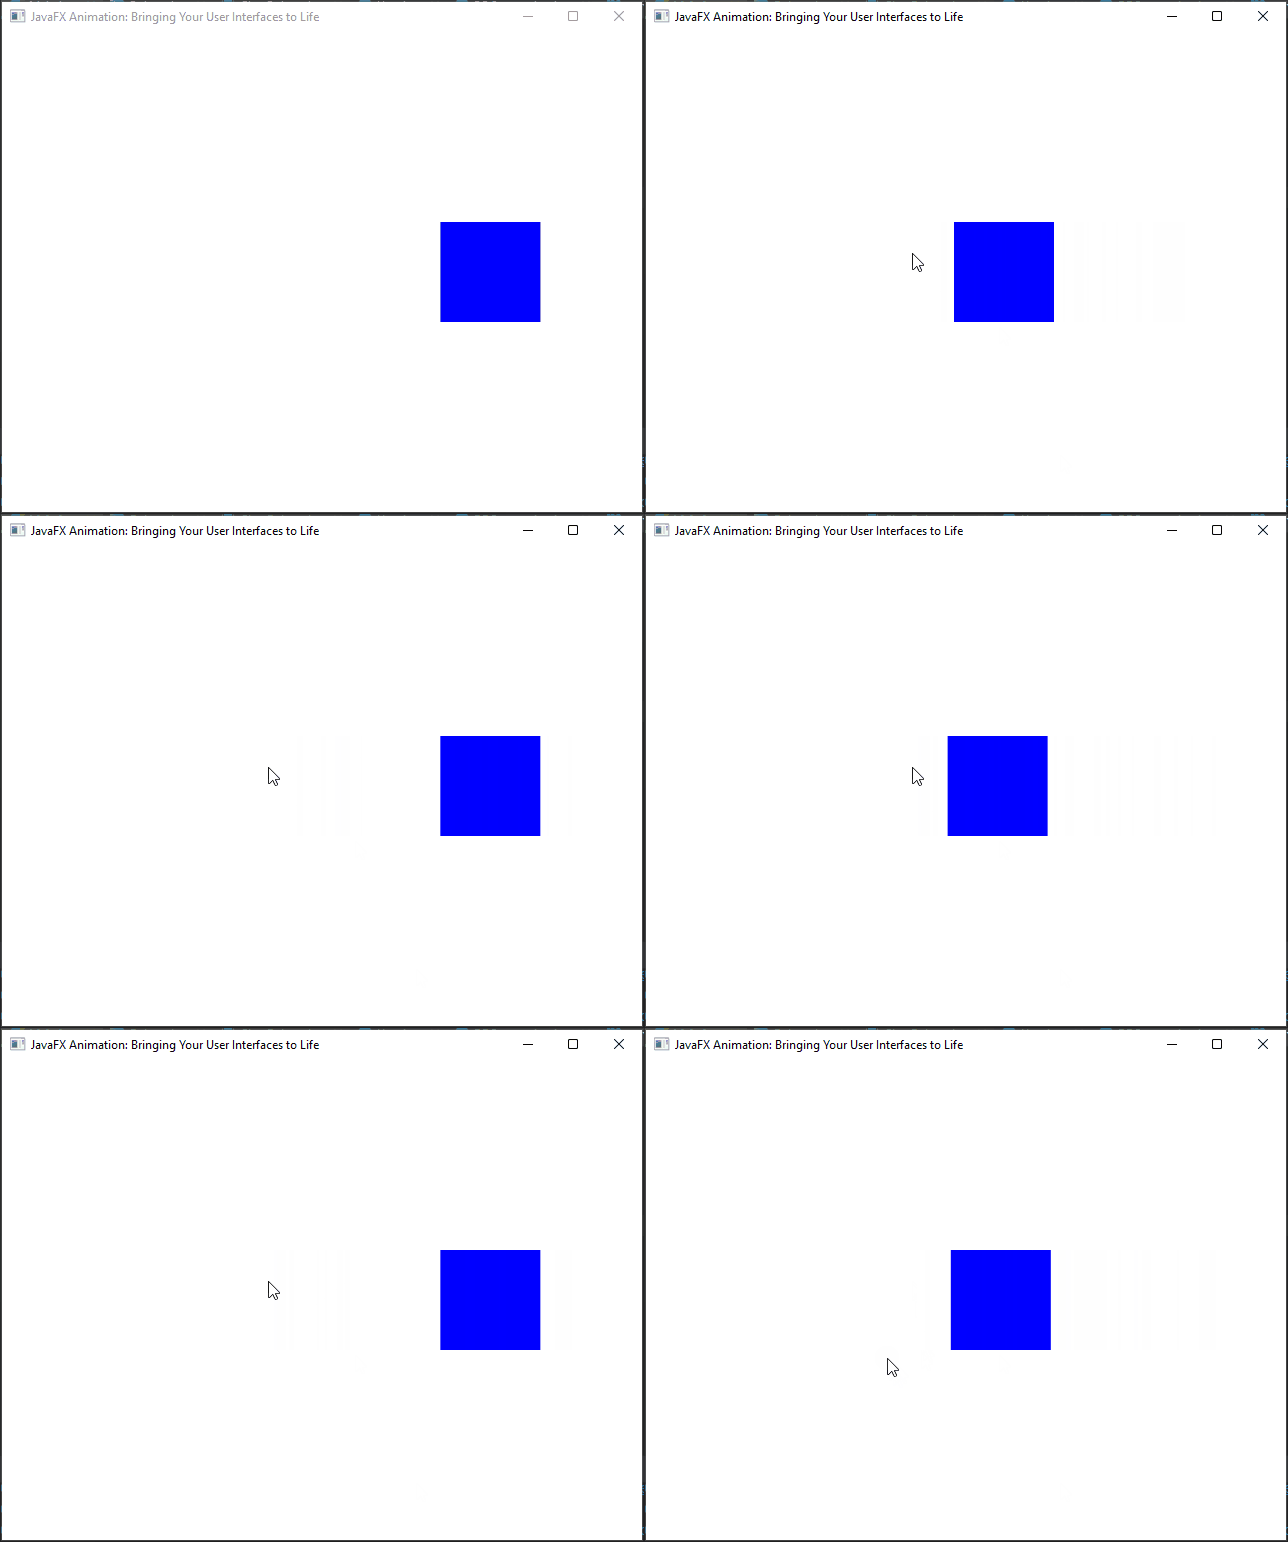
In this example, a blue rectangle is created, and a TranslateTransition animation is applied. The animation smoothly translates the rectangle horizontally by 200 units over a 2-second duration, with linear interpolation. It then reverses direction when completed and repeats indefinitely.
Ease In/Ease Out Interpolators
Ease-in and ease-out interpolators gradually accelerate or decelerate the animation, creating a more natural and visually appealing effect.
import javafx.animation.*;
import javafx.application.Application;
import javafx.scene.Scene;
import javafx.scene.layout.*;
import javafx.scene.paint.Color;
import javafx.scene.shape.Rectangle;
import javafx.stage.Stage;
import javafx.util.Duration;

public class Main extends Application {

    // The parent layout manager
    private final StackPane parent = new StackPane();

    @Override
    public void init() throws Exception {
        super.init();
        buildUI();
    }

    private void buildUI() {

        // Create a Rectangle
        Rectangle rectangle = new Rectangle(100, 100, Color.BLUE);

        // Create a TranslateTransition animation for the Rectangle
        TranslateTransition translateTransition = new TranslateTransition(Duration.seconds(2), rectangle);

        // Set the easing-in interpolation for a smoother motion
        translateTransition.setInterpolator(Interpolator.EASE_IN);

        // Move the Rectangle horizontally by 200 units
        translateTransition.setByX(200);

        // Reverse the animation when it completes
        translateTransition.setAutoReverse(true);

        // Repeat the animation indefinitely
        translateTransition.setCycleCount(TranslateTransition.INDEFINITE);

        // Start the animation
        translateTransition.play();

        // Add the Rectangle to the parent layout
        this.parent.getChildren().add(rectangle);

    }

    @Override
    public void start(Stage stage) throws Exception {

        // Create a scene with the StackPane as the root
        Scene scene = new Scene(parent, 640, 480);

        // Set the stage title
        stage.setTitle("JavaFX Animation: Bringing Your User Interfaces to Life");

        // Set the scene for the stage
        stage.setScene(scene);

        // Center the stage on the screen
        stage.centerOnScreen();

        // Display the stage
        stage.show();
    }
}
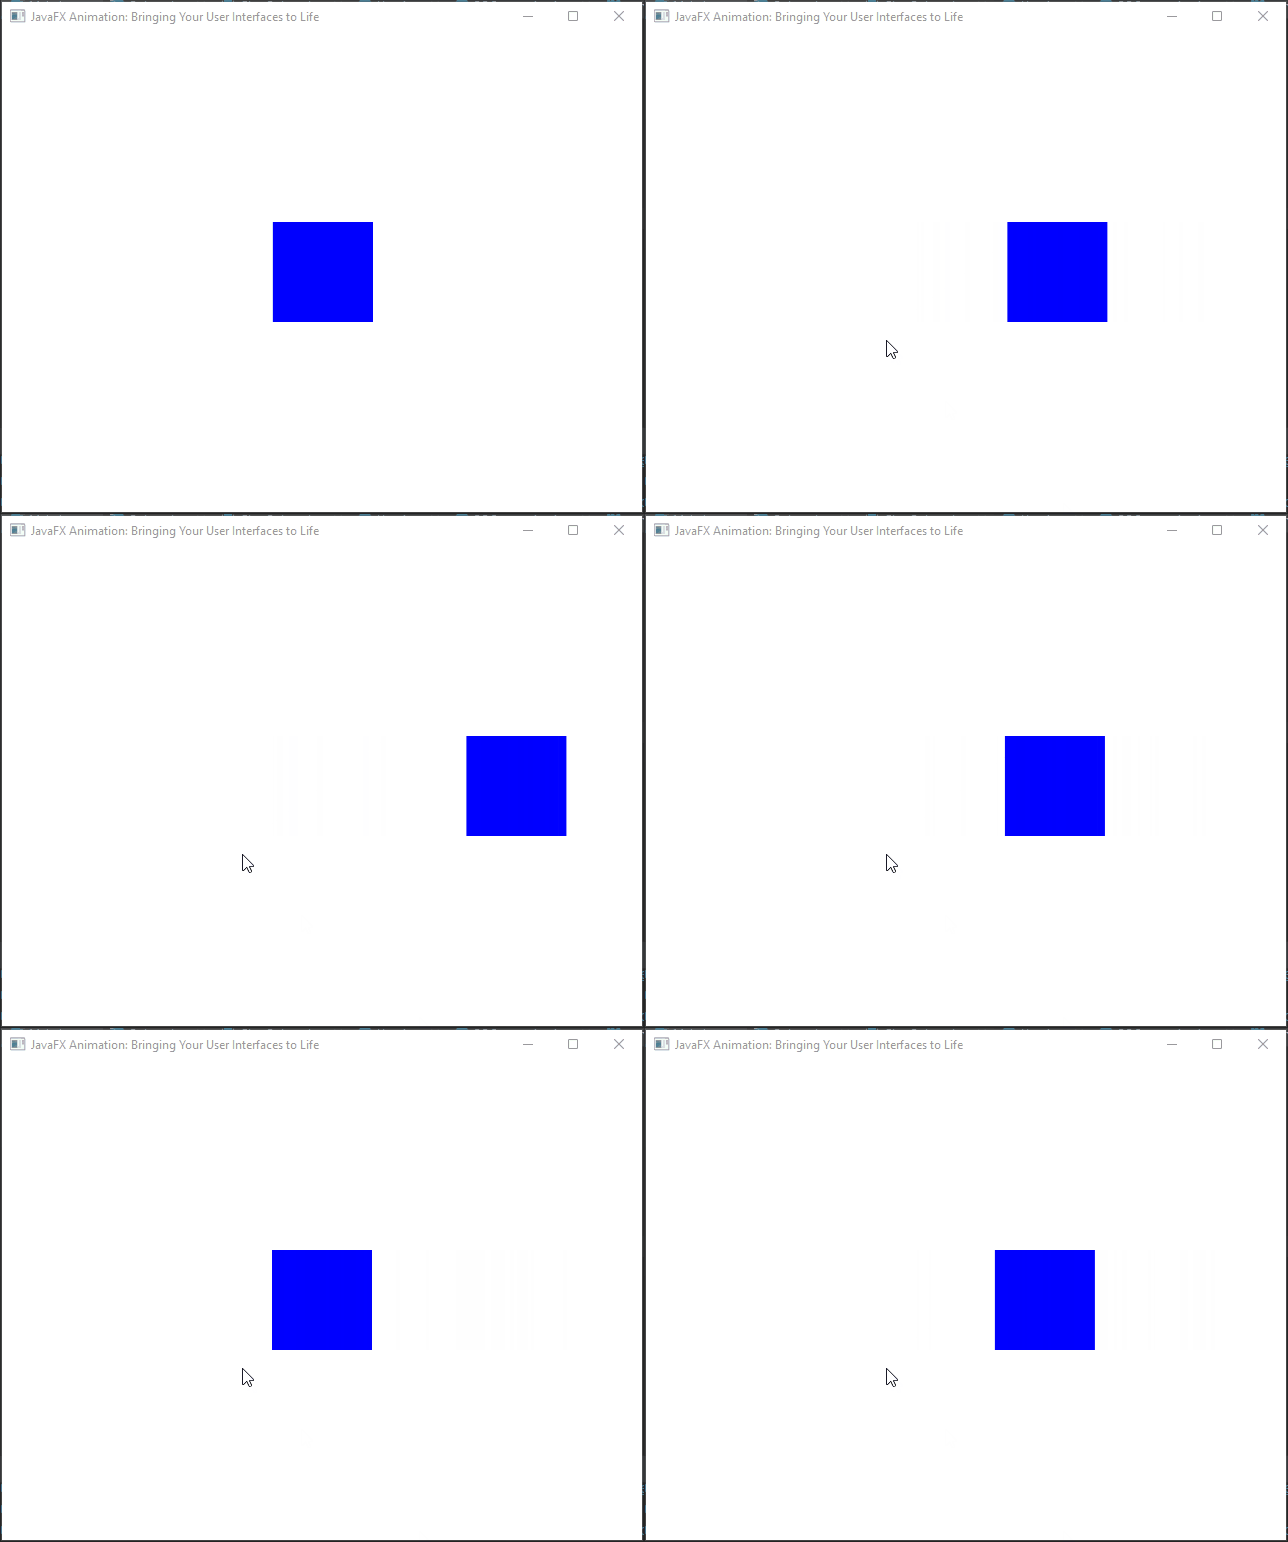
In this example, a blue rectangle is created, and a TranslateTransition animation is applied to it. The animation moves the rectangle horizontally by 200 units over a 2-second duration with an easing-in effect. The animation reverses direction when completed and continues indefinitely.
Bounce Interpolator
The bounce interpolator simulates a bouncing motion, which can be especially useful for playful or attention-grabbing animations.
import javafx.animation.*;
import javafx.application.Application;
import javafx.scene.Scene;
import javafx.scene.layout.*;
import javafx.scene.paint.Color;
import javafx.scene.shape.Rectangle;
import javafx.stage.Stage;
import javafx.util.Duration;

public class Main extends Application {

    // The parent layout manager
    private final StackPane parent = new StackPane();

    @Override
    public void init() throws Exception {
        super.init();
        buildUI();
    }

    private void buildUI() {

        // Create a Rectangle
        Rectangle rectangle = new Rectangle(50, 50, Color.BLUE);

        // Create a TranslateTransition animation for the Rectangle
        TranslateTransition translateTransition = new TranslateTransition(Duration.seconds(1), rectangle);

        // Apply a custom bounce effect using the SPLINE interpolator
        translateTransition.setInterpolator(Interpolator.SPLINE(0.1, 0.7, 0.7, 1.0));

        // Move the rectangle vertically by 100 units
        translateTransition.setByY(100);

        // Reverse the animation when it completes
        translateTransition.setAutoReverse(true);

        // Repeat the animation indefinitely
        translateTransition.setCycleCount(TranslateTransition.INDEFINITE);

        // Start the animation
        translateTransition.play();

        // Add the Rectangle to the parent layout
        this.parent.getChildren().add(rectangle);

    }

    @Override
    public void start(Stage stage) throws Exception {

        // Create a scene with the StackPane as the root
        Scene scene = new Scene(parent, 640, 480);

        // Set the stage title
        stage.setTitle("JavaFX Animation: Bringing Your User Interfaces to Life");

        // Set the scene for the stage
        stage.setScene(scene);

        // Center the stage on the screen
        stage.centerOnScreen();

        // Display the stage
        stage.show();
    }
}
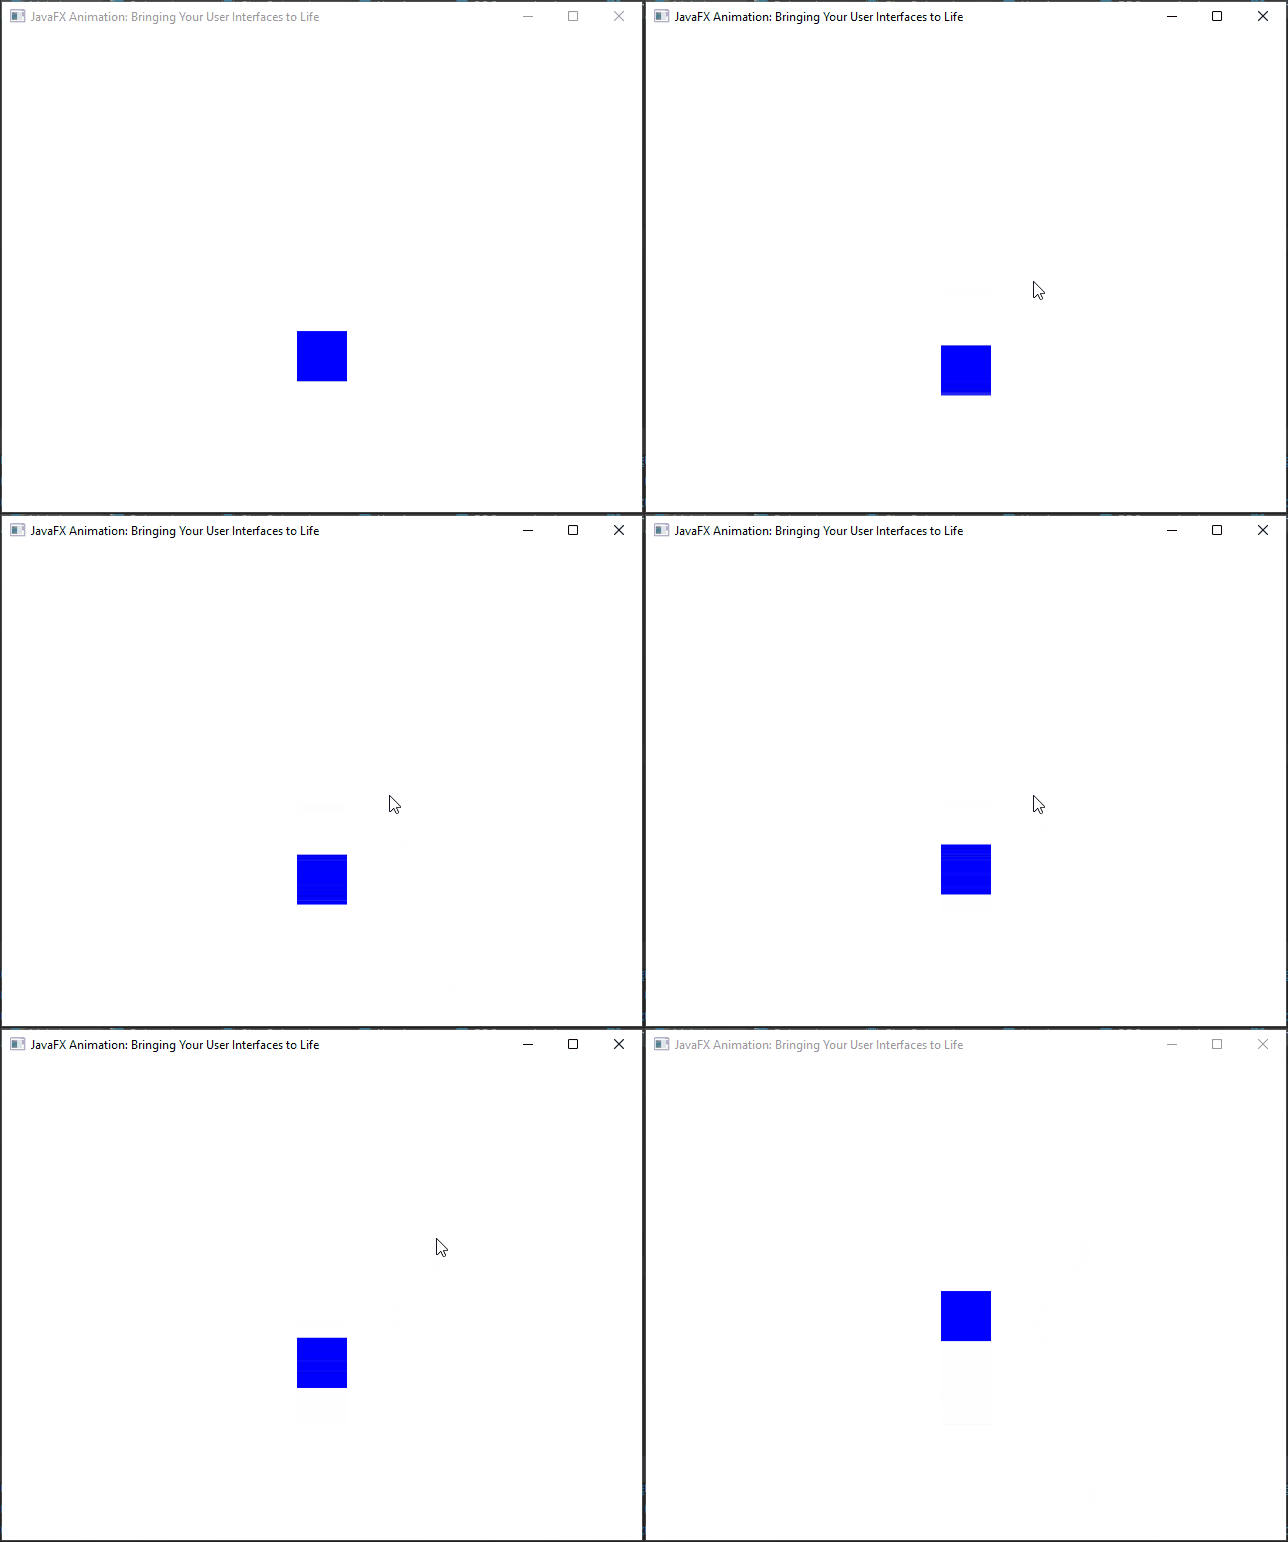
In this example, a blue rectangle is created, and a TranslateTransition animation is applied to it. The animation smoothly moves the rectangle vertically by 100 units with a custom bounce effect, creating a bouncing animation. This animation repeats indefinitely and reverses direction when it reaches the end.
Keyframes and Timelines: Orchestrating Dynamic Animations
In the realm of JavaFX animations, the synergy between keyframes and timelines forms the bedrock of intricate control and captivating visual effects. Keyframes serve as snapshots of property values at specific points in time, while timelines dictate the overall progression of animations. This hierarchical structure empowers developers to craft animations that seamlessly transition scenes, produce pulsating buttons, or respond dynamically to user interactions. Let’s delve into keyframes and timelines, and explore how they enable you to bring your user interfaces to life.
Keyframes: Capturing Moments in Time
Keyframes are essential building blocks of animations in JavaFX. They pinpoint the values of specific properties at precise moments in the animation timeline. This capability enables you to create animations with property changes that vary smoothly over time. A keyframe typically consists of two fundamental components:
KeyValue
KeyValue associates a property (e.g., translation along the X-axis) with a specific value (e.g., 100) at a particular moment in time. It signifies the transformation or modification you wish to apply to a property during the animation.
KeyValue keyValue = new KeyValue(node.translateXProperty(), 100);KeyFrame
A KeyFrame wraps a KeyValue along with a specified duration, indicating when this transformation should take place in the animation timeline.
KeyFrame keyFrame = new KeyFrame(Duration.seconds(1), keyValue);By combining multiple keyframes, you can orchestrate complex animations where properties of various UI elements evolve smoothly over time.
Timelines: The Conductor of Animations
Timelines in JavaFX serve as the conductor of your animation orchestra. They control the flow and synchronization of keyframes, determining when each keyframe’s transformations should occur. A timeline is responsible for the overall coordination and execution of animations. Here’s how you create and play a simple timeline:
Timeline timeline = new Timeline(keyFrame);
timeline.play();
KeyFrame represents a single keyframe, but you can add multiple keyframes to the timeline to create more sophisticated animations. The timeline’s play() method initiates the animation.
Here’s an example of a KeyFrame Animation that combines multiple keyframes:
import javafx.animation.*;
import javafx.application.Application;
import javafx.scene.Scene;
import javafx.scene.layout.*;
import javafx.scene.paint.Color;
import javafx.scene.shape.Circle;
import javafx.stage.Stage;
import javafx.util.Duration;

public class Main extends Application {

    // The parent layout manager
    private final StackPane parent = new StackPane();

    @Override
    public void init() throws Exception {
        super.init();
        buildUI();
    }

    private void buildUI() {

        // Create a Circle with a radius of 50 and red fill color
        Circle circle = new Circle(50, Color.RED);

        // Create a KeyValue for changing the circle's radius from 50 to 100
        KeyValue keyValue = new KeyValue(circle.radiusProperty(), 100);

        // Create a KeyFrame with the KeyValue at 2 seconds
        KeyFrame keyFrame = new KeyFrame(Duration.seconds(2), keyValue);

        // Create a Timeline to manage the animation
        Timeline timeline = new Timeline(keyFrame);

        // Run the animation indefinitely
        timeline.setCycleCount(Timeline.INDEFINITE);

        // Start the animation
        timeline.play();

        // Add the Circle to the parent layout
        this.parent.getChildren().add(circle);

    }

    @Override
    public void start(Stage stage) throws Exception {

        // Create a scene with the StackPane as the root
        Scene scene = new Scene(parent, 640, 480);

        // Set the stage title
        stage.setTitle("JavaFX Animation: Bringing Your User Interfaces to Life");

        // Set the scene for the stage
        stage.setScene(scene);

        // Center the stage on the screen
        stage.centerOnScreen();

        // Display the stage
        stage.show();
    }
}
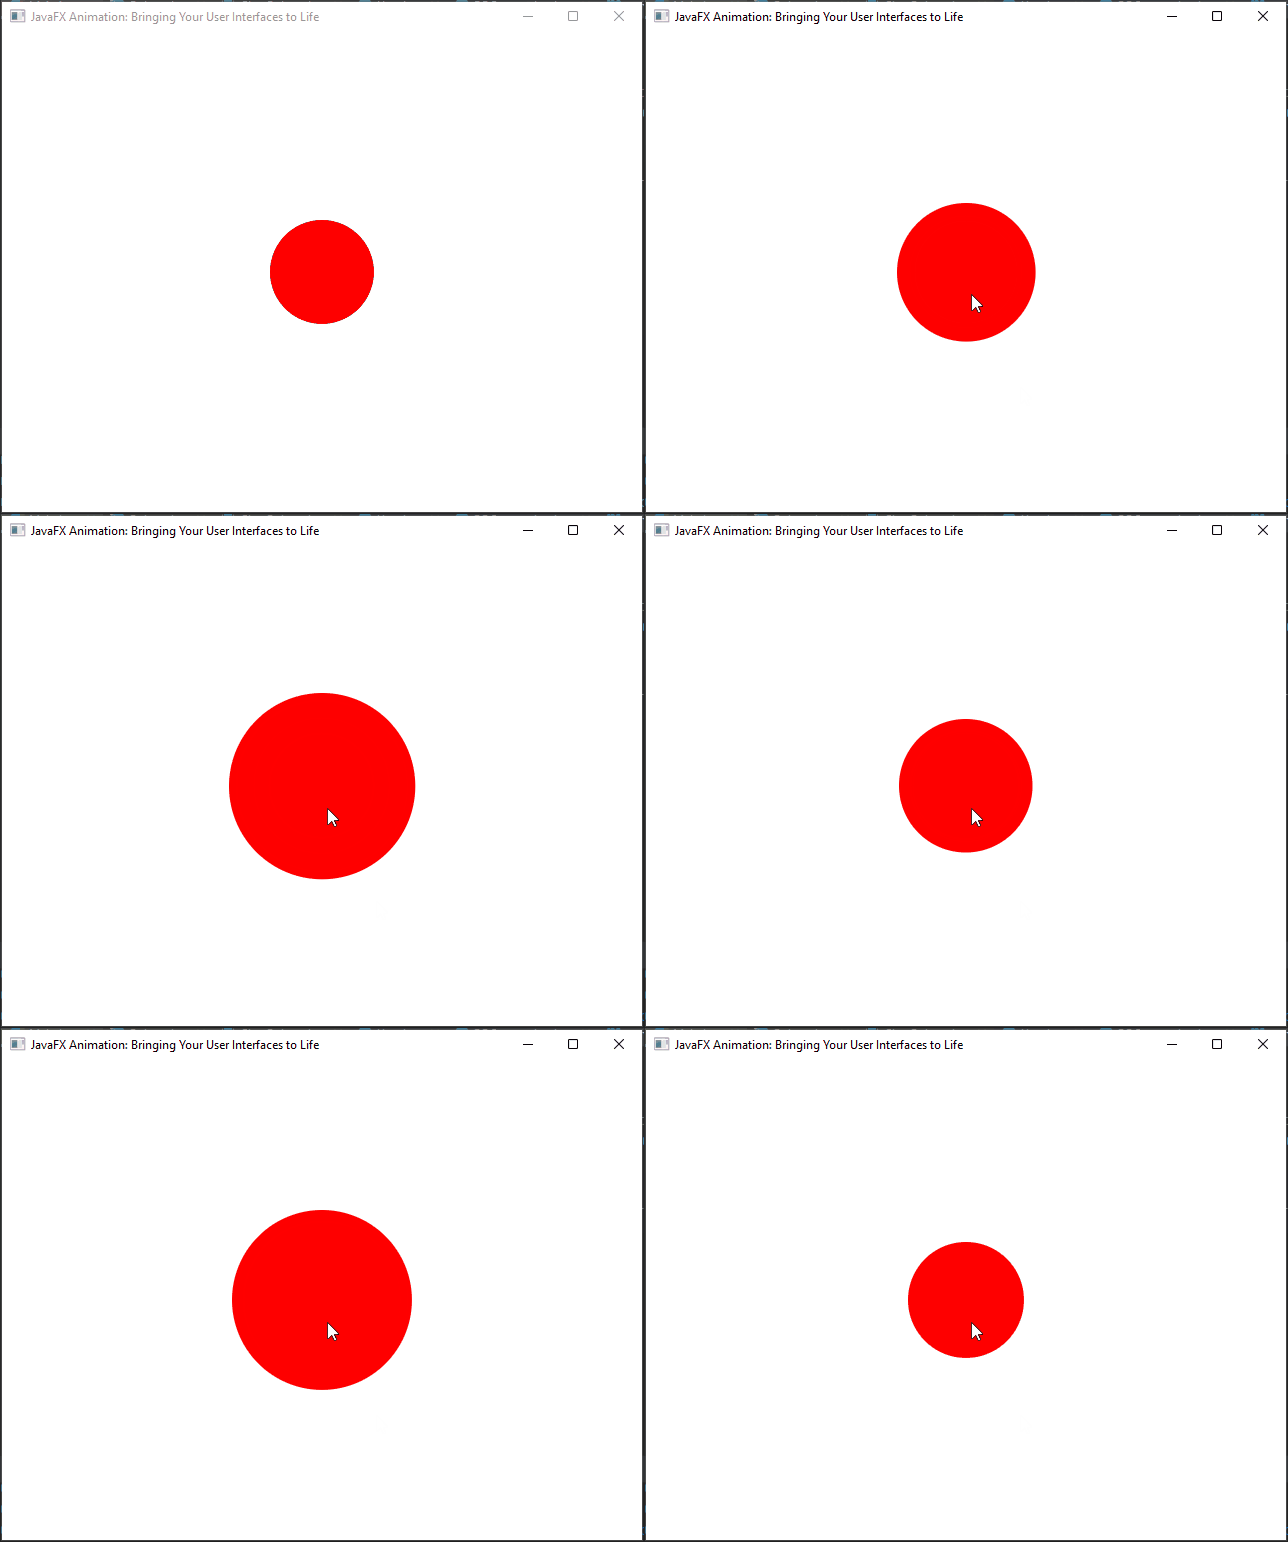
In this example, we create a Circle and use a KeyValue to change its radius. We then define a KeyFrame with the KeyValue and create a Timeline to run the animation. The circle’s radius will increase from 50 to 100 over 2 seconds.
Event-Driven Animation
JavaFX animations can be seamlessly integrated with event handling, enabling you to create UIs that respond dynamically to user actions. For instance, you can trigger animations when a button is clicked, in response to mouse movements, or based on changes in application data.
import javafx.animation.*;
import javafx.application.Application;
import javafx.geometry.Pos;
import javafx.scene.Scene;
import javafx.scene.control.Button;
import javafx.scene.layout.*;
import javafx.scene.paint.Color;
import javafx.scene.shape.Circle;
import javafx.stage.Stage;
import javafx.util.Duration;

public class Main extends Application {

    // The parent layout manager
    private final StackPane parent = new StackPane();

    @Override
    public void init() throws Exception {
        super.init();
        buildUI();
    }

    private void buildUI() {

        // Create a Circle
        Circle circle = new Circle(50, Color.RED);

        // Create a button
        Button button = new Button("Animate");

        // Define an action for the button click event
        button.setOnAction(event -> {

            // Create a fade animation for the circle
            FadeTransition fadeTransition = new FadeTransition(Duration.seconds(2), circle);

            // Starting opacity (fully visible)
            fadeTransition.setFromValue(1.0);

            // Ending opacity (completely transparent)
            fadeTransition.setToValue(0.0);

            // Reverse the animation once
            fadeTransition.setAutoReverse(true);

            // Play the animation 2 times
            fadeTransition.setCycleCount(2);

            // Start the animation
            fadeTransition.play();

        });

        // Create a container for the circle and button
        VBox container = new VBox(20, circle, button);
        container.setAlignment(Pos.CENTER);

        // Add the container to the parent layout
        this.parent.getChildren().add(container);

    }

    @Override
    public void start(Stage stage) throws Exception {

        // Create a scene with the StackPane as the root
        Scene scene = new Scene(parent, 640, 480);

        // Set the stage title
        stage.setTitle("JavaFX Animation: Bringing Your User Interfaces to Life");

        // Set the scene for the stage
        stage.setScene(scene);

        // Center the stage on the screen
        stage.centerOnScreen();

        // Display the stage
        stage.show();
    }
}
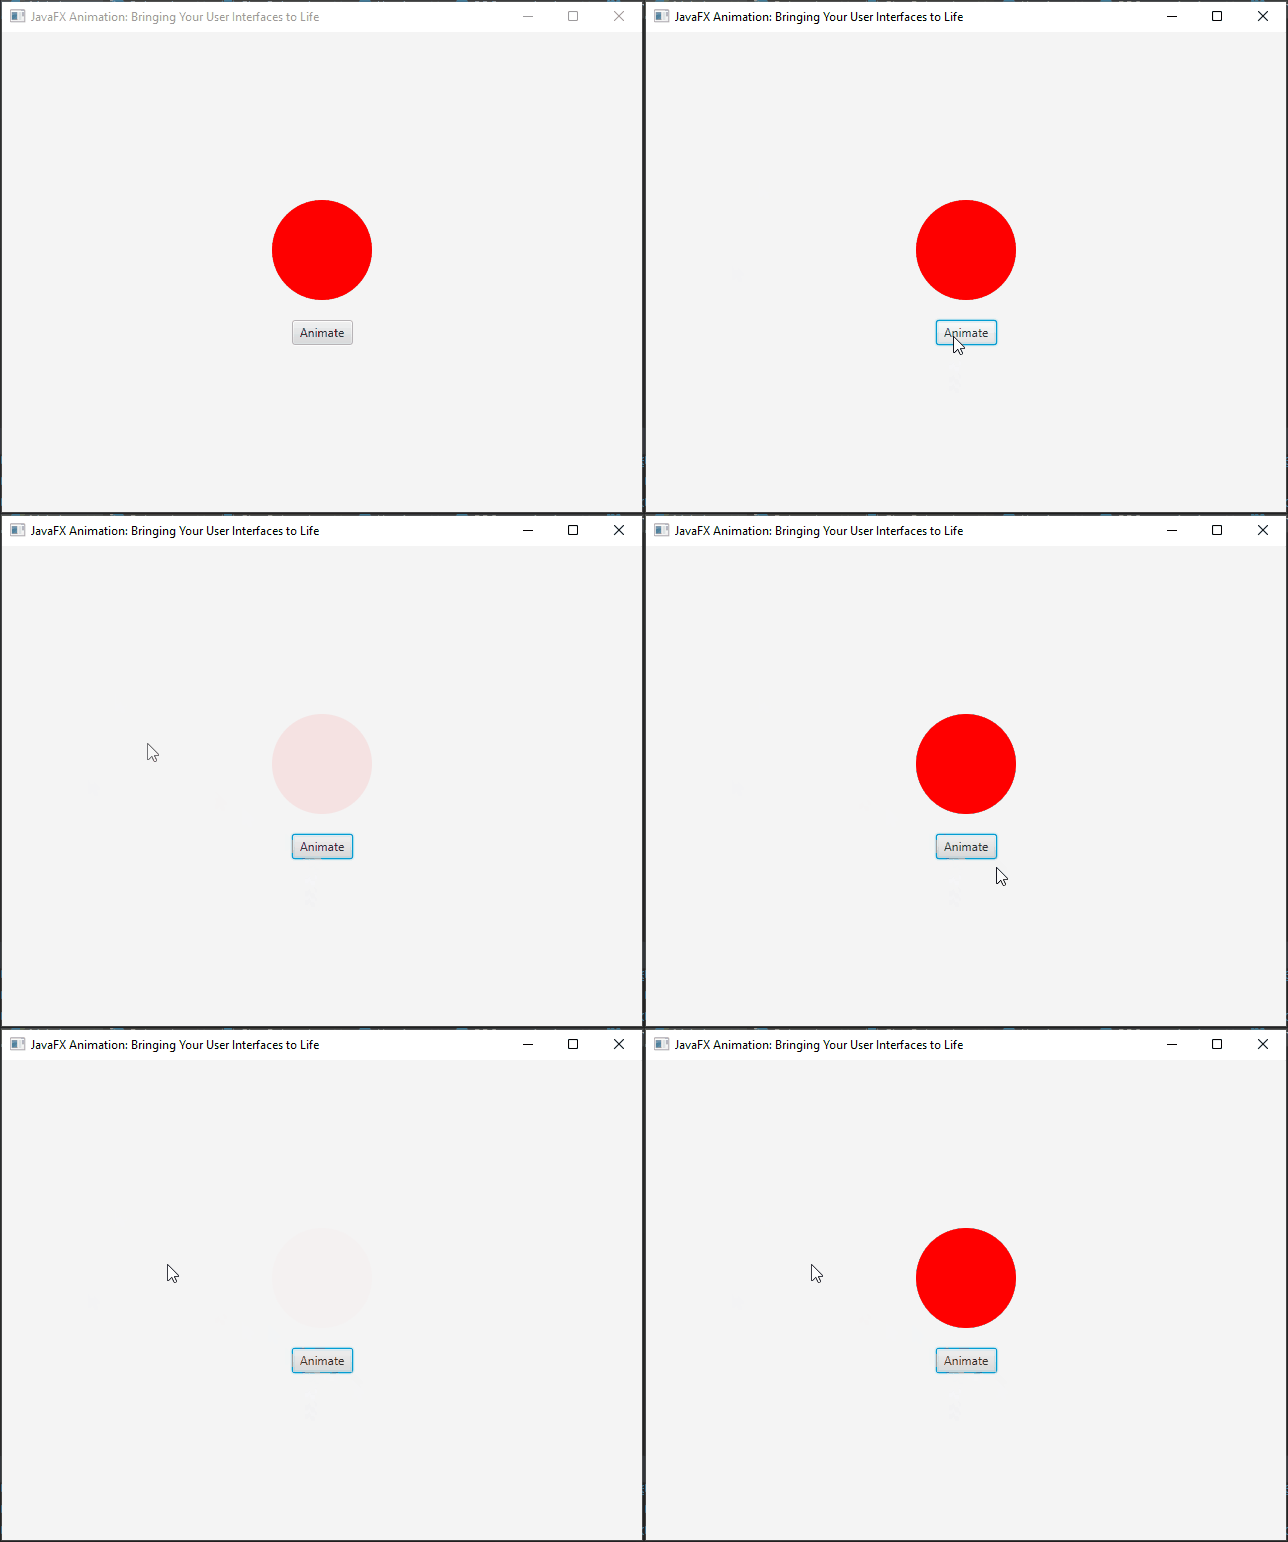
In this example, a red circle and a button are created. When the “Animate” button is clicked, a FadeTransition animation is triggered on the circle, causing it to smoothly fade in and out over a 2-second duration. The animation reverses once and plays a total of two times.
Complex Animations and Interactivity
To create more complex animations and interactivity, you can combine multiple timelines and transitions, listen for events, and use the JavaFX scene graph to manipulate nodes dynamically. Below is an example demonstrating how to create a simple interactive animation:
import javafx.animation.*;
import javafx.application.Application;
import javafx.scene.Scene;
import javafx.scene.layout.*;
import javafx.scene.paint.Color;
import javafx.scene.shape.Circle;
import javafx.stage.Stage;
import javafx.util.Duration;

public class Main extends Application {

    // The parent layout manager
    private final StackPane parent = new StackPane();

    @Override
    public void init() throws Exception {
        super.init();
        buildUI();
    }

    private void buildUI() {

        // Create a Circle
        Circle circle = new Circle(50, Color.RED);

        // Create a timeline with keyframes for horizontal movement
        Timeline timeline = new Timeline(
                new KeyFrame(Duration.seconds(6), e -> circle.setTranslateX(-150)), // Move left
                new KeyFrame(Duration.seconds(4), e -> circle.setTranslateX(0)),    // Return to the center
                new KeyFrame(Duration.seconds(2), e -> circle.setTranslateX(150))   // Move right
        );

        // Repeat the animation indefinitely
        timeline.setCycleCount(Timeline.INDEFINITE);

        // Reverse the animation when completed
        timeline.setAutoReverse(true);

        // Add an event listener to pause/resume animation on circle click
        circle.setOnMouseClicked(e -> {
            if (timeline.getStatus() == Timeline.Status.RUNNING) {
                timeline.pause();
            } else {
                timeline.play();
            }
        });

        // Add the circle to the parent layout
        this.parent.getChildren().add(circle);

    }

    @Override
    public void start(Stage stage) throws Exception {

        // Create a scene with the StackPane as the root
        Scene scene = new Scene(parent, 640, 480);

        // Set the stage title
        stage.setTitle("JavaFX Animation: Bringing Your User Interfaces to Life");

        // Set the scene for the stage
        stage.setScene(scene);

        // Center the stage on the screen
        stage.centerOnScreen();

        // Display the stage
        stage.show();
    }
}
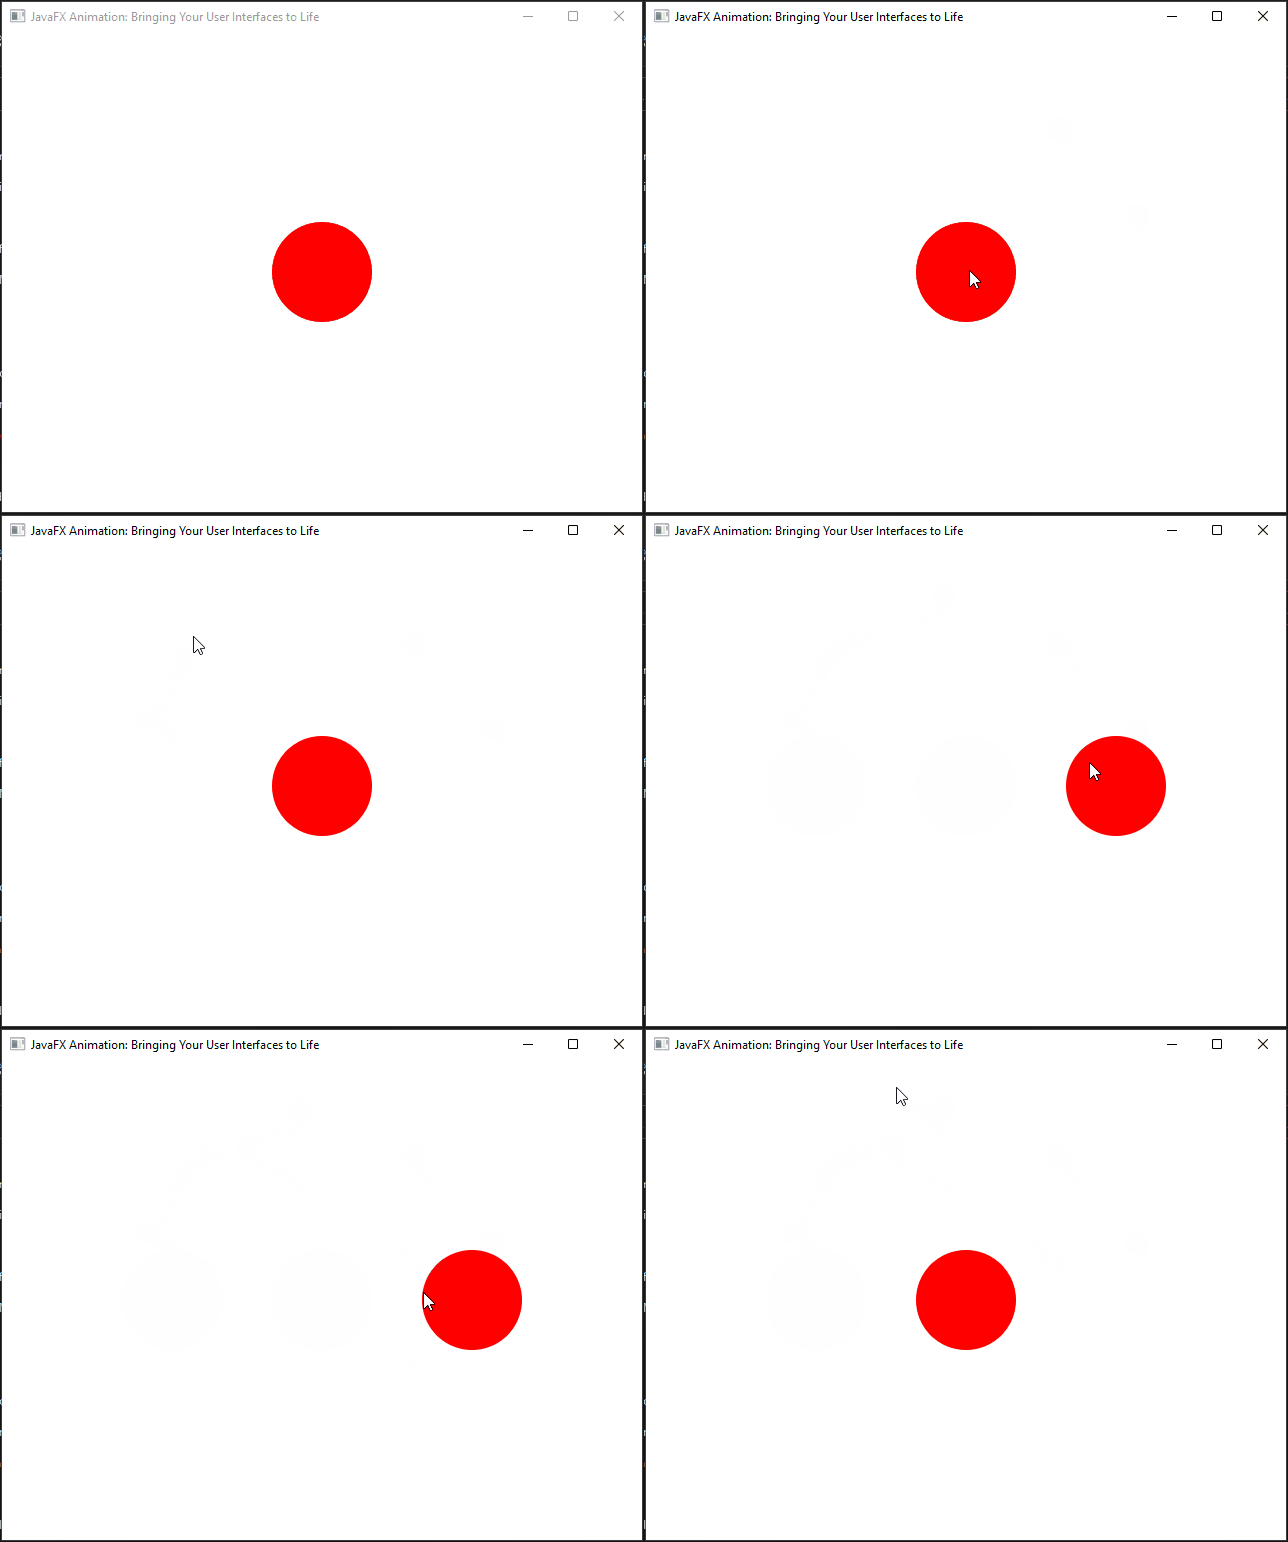
In this example, a red circle is created, and a Timeline animation is applied to it. The circle moves horizontally in a repeating pattern, shifting to the left, then back to its original position, and finally to the right, with a cycle duration of 6 seconds. This animation continues indefinitely, and it can be paused or resumed by clicking on the circle.
Conclusion
JavaFX animation is a powerful tool for elevating your user interfaces to new heights. Whether you’re building a desktop application, a web-based tool, or a data visualization dashboard, animations can enhance user engagement, improve usability, and add a touch of sophistication to your project. By mastering the principles and techniques of JavaFX animation, you can create user interfaces that not only meet functional requirements but also delight and captivate your users. So, don’t hesitate to explore the world of JavaFX animation and bring your user interfaces to life.
I hope you found this article informative and useful. If you would like to receive more content, please consider subscribing to our newsletter.


