JavaFX is a popular framework for building desktop applications with rich user interfaces. It provides a wide range of built-in controls to create interactive and visually appealing applications. One such enhancement to JavaFX is the ControlsFX library, which offers additional custom controls and utilities to make your applications even more feature-rich. In this article, we will delve into one of the notable components of ControlsFX – the StatusBar.

with hands-on learning.
get the skills and confidence to land your next move.
What is ControlsFX StatusBar?
ControlsFX is an open-source project that extends the capabilities of JavaFX with additional custom controls, enhancements, and utilities. One of its components is the StatusBar, which is a versatile control designed to provide feedback, status updates, and contextual information to users. The StatusBar is especially useful in applications where users need to be informed about ongoing processes, status changes, or other relevant information.
Setting Up ControlsFX
Before diving into the code, it’s essential to set up the ControlsFX library in your JavaFX project. Here’s a step-by-step guide to help you get started:
- Download the ControlsFX library JAR file from the official repository or via a dependency management tool like Maven or Gradle.
- Add the downloaded JAR file to your project’s classpath.
Creating a Basic StatusBar
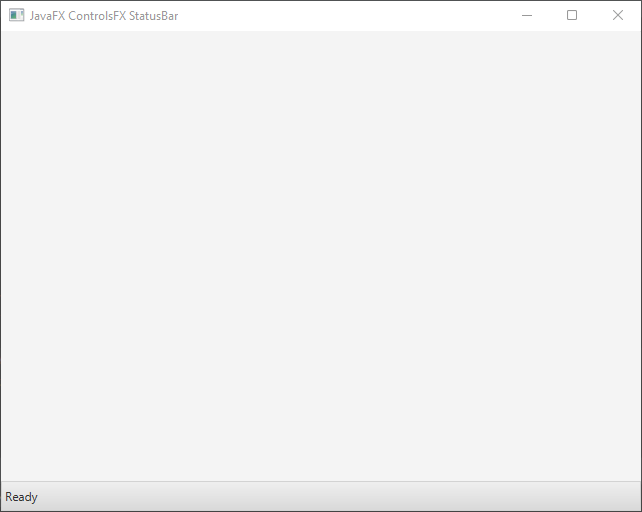
In this example, we will create a simple StatusBar with a label displaying a static message.
import javafx.application.Application;
import javafx.scene.Scene;
import javafx.scene.layout.*;
import javafx.stage.Stage;
import org.controlsfx.control.StatusBar;

public class Main extends Application {

    private final BorderPane parent = new BorderPane();

    @Override
    public void start(Stage stage) throws Exception {
        this.setupStage(stage);
    }

    @Override
    public void init() throws Exception {
        super.init();
        this.buildUI();
    }

    private void buildUI() {

        StatusBar statusBar = new StatusBar();

        // Set initial status message
        statusBar.setText("Ready");

        // Add the StatusBar to the BorderPane layout manager
        this.parent.setBottom(statusBar);

    }

    private void setupStage(Stage stage) {

        Scene scene = new Scene(this.parent, 640, 480);

        // Set the stage title
        stage.setTitle("JavaFX ControlsFX StatusBar");

        // Set the stage scene
        stage.setScene(scene);

        // Center the stage on the screen
        stage.centerOnScreen();

        // Show the stage on the screen
        stage.show();

    }

}
Updating StatusBar Content
Now that you have a basic StatusBar in place, let’s explore how to update its content dynamically. The StatusBar can display various types of information, such as text, progress indicators, and custom nodes.
Updating Text
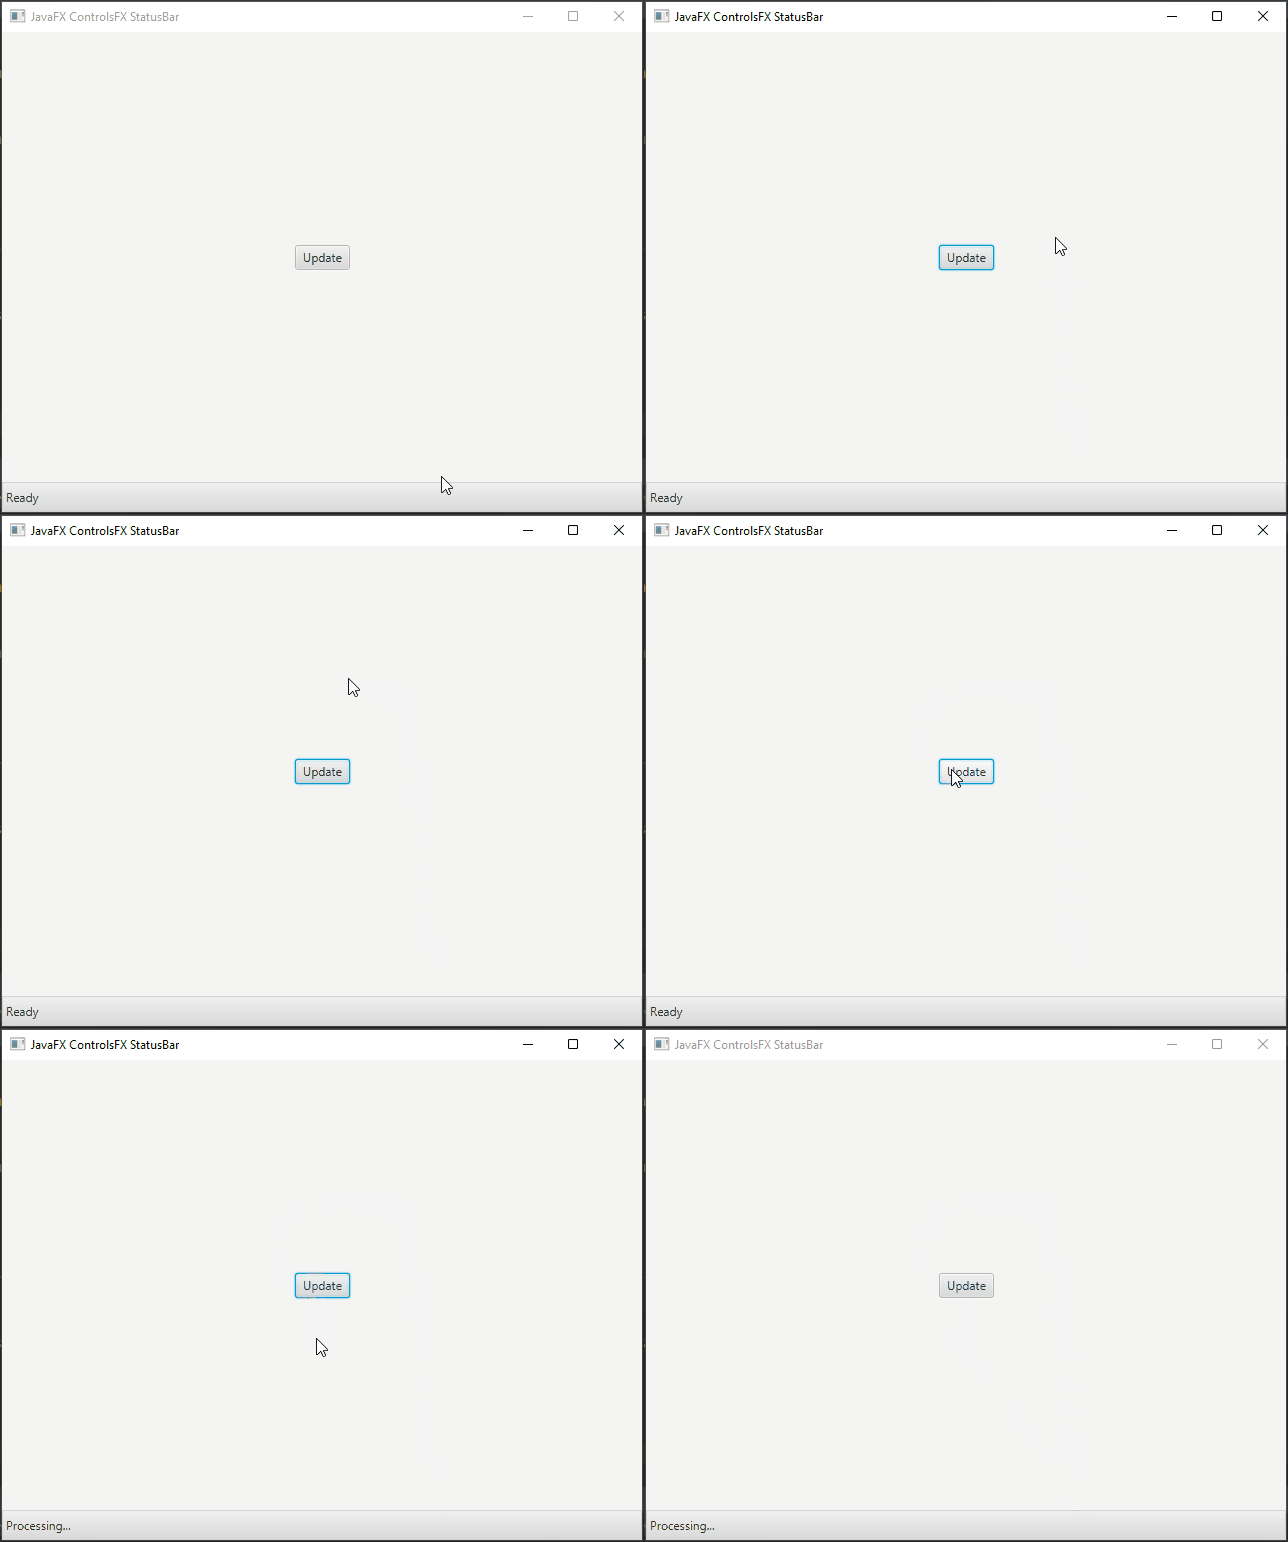
Updating the text of the StatusBar is as simple as calling the setText method on the StatusBar instance.
import javafx.application.Application;
import javafx.scene.Scene;
import javafx.scene.control.Button;
import javafx.scene.layout.*;
import javafx.stage.Stage;
import org.controlsfx.control.StatusBar;

public class Main extends Application {

    private final BorderPane parent = new BorderPane();

    @Override
    public void start(Stage stage) throws Exception {
        this.setupStage(stage);
    }

    @Override
    public void init() throws Exception {
        super.init();
        this.buildUI();
    }

    private void buildUI() {

        StatusBar statusBar = new StatusBar();

        // Set initial status message
        statusBar.setText("Ready");

        Button buttonUpdate = new Button("Update");

        buttonUpdate.setOnAction(actionEvent -> statusBar.setText("Processing..."));

        // Add the Button to the BorderPane layout manager
        this.parent.setCenter(buttonUpdate);

        // Add the StatusBar to the BorderPane layout manager
        this.parent.setBottom(statusBar);

    }

    private void setupStage(Stage stage) {

        Scene scene = new Scene(this.parent, 640, 480);

        // Set the stage title
        stage.setTitle("JavaFX ControlsFX StatusBar");

        // Set the stage scene
        stage.setScene(scene);

        // Center the stage on the screen
        stage.centerOnScreen();

        // Show the stage on the screen
        stage.show();

    }

}
Adding Progress Indicator
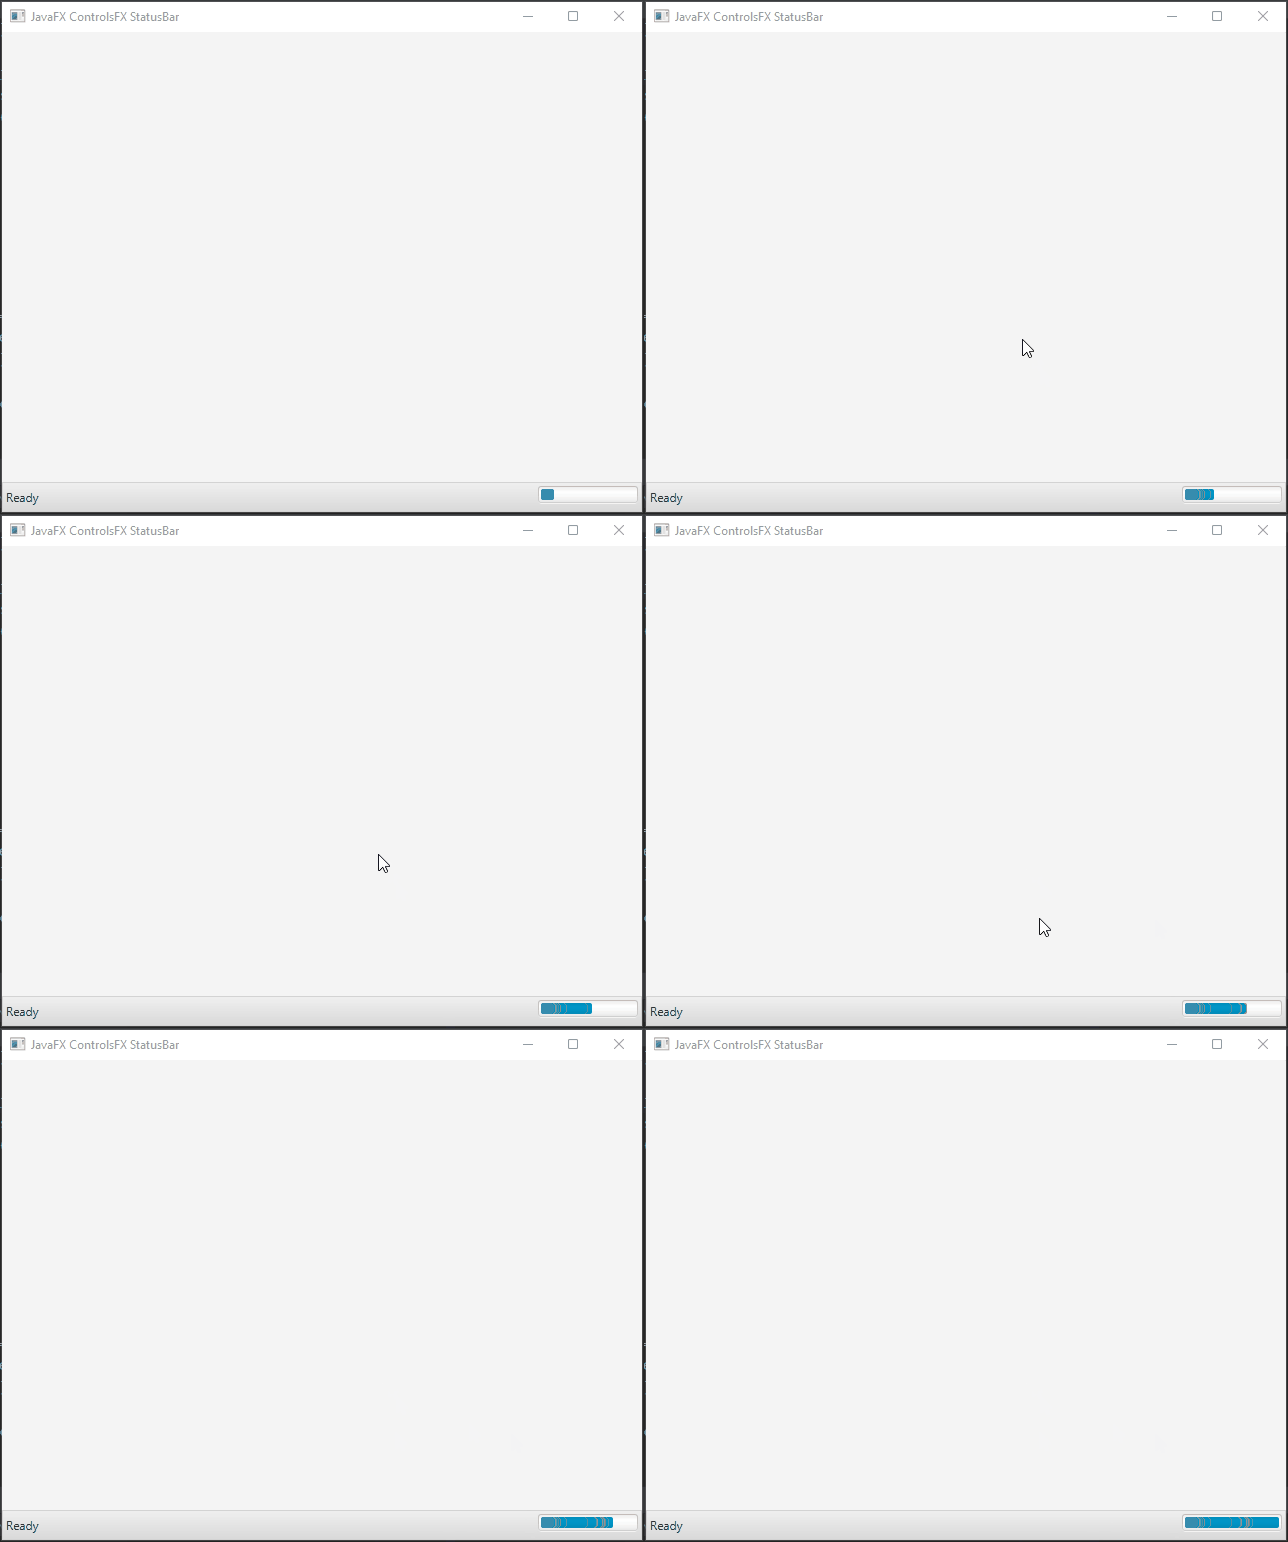
You can also display a progress indicator in the StatusBar to show ongoing tasks.
import javafx.application.Application;
import javafx.concurrent.Task;
import javafx.scene.Scene;
import javafx.scene.control.ProgressBar;
import javafx.scene.layout.*;
import javafx.stage.Stage;
import org.controlsfx.control.StatusBar;

public class Main extends Application {

    private final BorderPane parent = new BorderPane();

    @Override
    public void start(Stage stage) throws Exception {
        this.setupStage(stage);
    }

    @Override
    public void init() throws Exception {
        super.init();
        this.buildUI();
    }

    private void buildUI() {

        StatusBar statusBar = new StatusBar();

        // Set initial status message
        statusBar.setText("Ready");

        Task<Void> task = new Task<>() {

            @Override
            protected Void call() throws Exception {

                for (int i = 0; i <= 100; i++) {
                    updateProgress(i, 100);
                    Thread.sleep(100);
                }

                return null;

            }

        };

        ProgressBar progressBar = new ProgressBar();
        progressBar.progressProperty().bind(task.progressProperty());
        statusBar.getRightItems().addAll(progressBar);

        Thread thread = new Thread(task);
        thread.start();

        // Add the StatusBar to the BorderPane layout manager
        this.parent.setBottom(statusBar);

    }

    private void setupStage(Stage stage) {

        Scene scene = new Scene(this.parent, 640, 480);

        // Set the stage title
        stage.setTitle("JavaFX ControlsFX StatusBar");

        // Set the stage scene
        stage.setScene(scene);

        // Center the stage on the screen
        stage.centerOnScreen();

        // Show the stage on the screen
        stage.show();

    }

}
Adding Custom Nodes
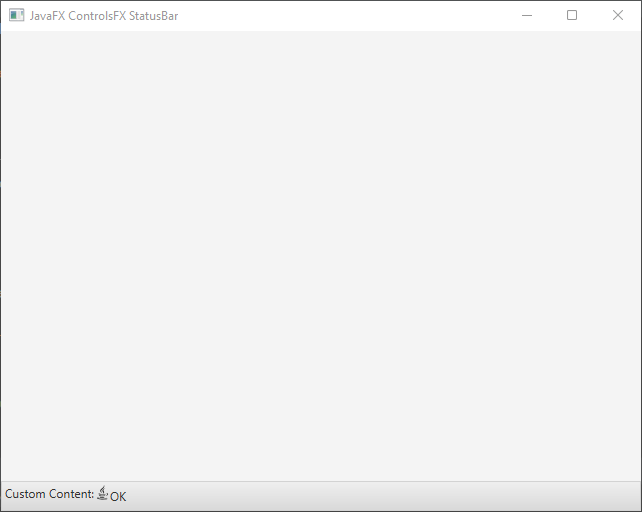
You can customize the StatusBar further by adding your own nodes to it.
import javafx.application.Application;
import javafx.scene.Scene;
import javafx.scene.control.Label;
import javafx.scene.image.Image;
import javafx.scene.image.ImageView;
import javafx.scene.layout.*;
import javafx.stage.Stage;
import org.controlsfx.control.StatusBar;

public class Main extends Application {

    private final BorderPane parent = new BorderPane();

    @Override
    public void start(Stage stage) throws Exception {
        this.setupStage(stage);
    }

    @Override
    public void init() throws Exception {
        super.init();
        this.buildUI();
    }

    private void buildUI() {

        StatusBar statusBar = new StatusBar();

        Label customLabel = new Label("Custom Content:");

        ImageView customIcon = new ImageView(new Image("java.png"));

        statusBar.getLeftItems().addAll(customLabel, customIcon);

        // Add the StatusBar to the BorderPane layout manager
        this.parent.setBottom(statusBar);

    }

    private void setupStage(Stage stage) {

        Scene scene = new Scene(this.parent, 640, 480);

        // Set the stage title
        stage.setTitle("JavaFX ControlsFX StatusBar");

        // Set the stage scene
        stage.setScene(scene);

        // Center the stage on the screen
        stage.centerOnScreen();

        // Show the stage on the screen
        stage.show();

    }

}
Conclusion
The ControlsFX StatusBar is a powerful tool that allows you to add a status bar to your JavaFX applications with ease. Whether you need to display status messages, progress indicators, or custom content, the StatusBar provides the flexibility to enhance the user experience of your application. By following the steps and code examples provided in this article, you can seamlessly integrate the ControlsFX StatusBar into your projects and provide users with valuable feedback and information.
Sources:
I hope you found this code informative and useful. If you would like to receive more content, please consider subscribing to our newsletter!
