Are you a Java developer seeking an efficient way to build and manage your JavaFX applications? Look no further than Gradle. In this article, we’ll explore the power of Gradle and how to set up JavaFX projects using this versatile build automation tool. By the end of this article, you’ll be equipped with the knowledge and skills to supercharge your JavaFX development process.
What is Gradle?
Gradle is an open-source build automation tool designed to manage and automate the build process of software projects. It is renowned for its flexibility, performance, and scalability, making it a top choice among developers for building Java applications and beyond.
Key Features of Gradle:
- Declarative Build Scripts: Gradle uses Groovy or Kotlin-based scripts that enable developers to define build tasks and dependencies in a highly readable and declarative manner.
- Dependency Management: Gradle simplifies dependency management by automatically resolving and fetching libraries and dependencies from remote repositories.
- Plugin Ecosystem: Gradle offers a vast ecosystem of plugins, including ones for Java, Android, and, importantly for our discussion, JavaFX.
- Incremental Builds: It builds only what has changed, reducing build times and improving development efficiency.
Installing Gradle
To get started with Gradle, you need to install it on your system. Follow these steps:
- Download Gradle: Visit the Gradle download page here and download the latest distribution for your platform.
- Extract the Archive: Once downloaded, extract the contents of the archive to a directory of your choice.
- Add to PATH (Optional): To run Gradle commands from any location in your terminal, add the Gradle bin directory to your system’s PATH variable.
- Verify Installation: To confirm that Gradle is installed correctly, open a terminal window and run:
gradle --versionYou should see information about the installed Gradle version, indicating a successful installation.
Setting up JavaFX with Gradle
Now that you have Gradle installed, let’s create a new JavaFX project and set it up with Gradle. Follow these steps:
Create a New Directory: Start by creating a new directory for your JavaFX project. You can do this using your system’s file explorer or with the following command:
mkdir GradleFXInitialize a Gradle Project: To create a new Gradle project, open a terminal or command prompt and navigate to the directory where you want to create your project.
cd GradleFXUse the following command to initialize a new Gradle project:
gradle init --type java-applicationThis command will guide you through the project initialization process, allowing you to select the project type and other options. If you’re unsure, it’s recommended to choose the default options. This article uses Kotlin as the domain-specific language (DSL), and it’s recommended to use the same for consistency.
Configure the Gradle Build File: Open the build.gradle.kts file in your project directory using a text editor. This file contains the project’s build configuration. Modify it to include the JavaFX dependencies and configure the JavaFX plugin. Replace the contents of build.gradle.kts with the following:
plugins {
    id("org.openjfx.javafxplugin") version "0.0.10"
    application
}

repositories {
    mavenCentral()
}

dependencies {
    implementation("org.junit.jupiter:junit-jupiter:5.9.3")
    runtimeOnly("org.junit.platform:junit-platform-launcher")
    implementation("com.google.guava:guava:32.1.1-jre")
}

java {
    toolchain {
        languageVersion.set(JavaLanguageVersion.of(18))
    }
}

application {
    mainClass.set("your.package.name.Main") // Replace with your main class
}

tasks.test {
    useJUnitPlatform()
}

javafx {
    version = "22-ea+11"
    modules = listOf("javafx.controls", "javafx.fxml")
}
In this configuration, we’ve added the JavaFX controls and FXML libraries as dependencies. Make sure to replace “your.package.name.Main” with the fully qualified name of your main JavaFX application class.
Write a Simple JavaFX Application: With your Gradle project configured for JavaFX, you can now write a simple JavaFX application. Here’s an example JavaFX application:
package your.package.name;

import javafx.application.Application;
import javafx.scene.Scene;
import javafx.scene.control.Label;
import javafx.scene.layout.StackPane;
import javafx.stage.Stage;

public class Main extends Application {

    @Override
    public void start(Stage primaryStage) {

        primaryStage.setTitle("JavaFX with Gradle");

        Label label = new Label("Hello, JavaFX!");

        StackPane root = new StackPane(label);

        Scene scene = new Scene(root, 640, 480);

        primaryStage.setScene(scene);

        primaryStage.show();
    }
}
Ensure that your project structure matches the package structure, and that the Main class is in the specified package.
Build and Run Your JavaFX Application: With everything in place, you can now build and run your JavaFX application using Gradle. Open your terminal and navigate to your project’s root directory.
To build the project, run:
gradle buildTo run the application, execute:
gradle run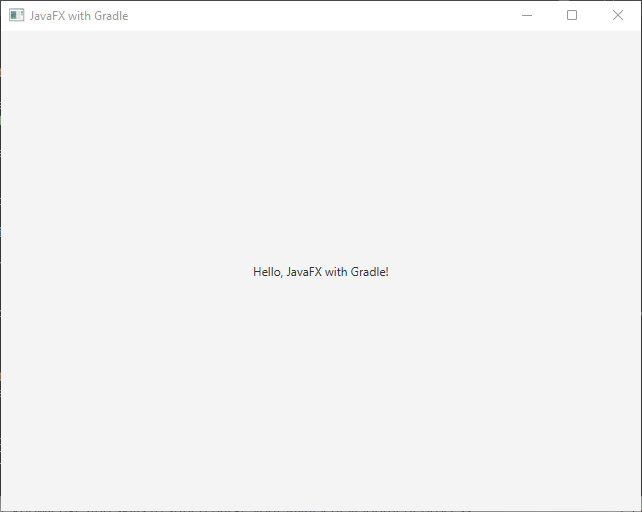
Congratulations! You’ve successfully set up a JavaFX project with Gradle.
Conclusion
In this article, we’ve explored the integration of JavaFX with Gradle, a powerful combination for developing Java desktop applications. We covered what Gradle is, how to install it, and the steps to set up a JavaFX project with Gradle. With Gradle’s dependency management and build automation capabilities, you can streamline your JavaFX development process and create robust desktop applications more efficiently.
Related:
I hope you found this article informative and useful. If you would like to receive more content, please consider subscribing to our newsletter.