The HTML Canvas element allows you to create dynamic, interactive graphics directly within a web page. Among its many capabilities, drawing text onto a canvas is a powerful way to combine visuals and typography for games, animations, or artistic effects. Unlike regular HTML text that is part of the DOM and styled with CSS, canvas text is rendered as part of a bitmap image controlled through JavaScript, giving you pixel-level control over its appearance and positioning.
Learn C Programming For Free on Windows
A beginner-friendly course that teaches real C programming using a Windows compiler. Learn arrays, pointers, functions, and file handling step by step with practical lessons.
Start Learning C ProgrammingDrawing text on canvas involves using specific methods of the canvas 2D context, such as fillText() and strokeText(). These methods let you paint filled or outlined text directly on the canvas. You also have control over fonts, colors, alignment, and transformations, making it possible to create visually rich and fun text effects. This article will guide you step-by-step through how to draw and style text on a canvas with practical, engaging examples.
Setting Up the Canvas for Text Drawing
Before drawing any text, you need a canvas element in your HTML and access its 2D drawing context in JavaScript. The 2D context is an object that provides all the drawing methods, including those for text.
Here is a simple example that sets up a canvas and gets the 2D context:
<!DOCTYPE html>
<html lang="en">
<head>
  <meta charset="UTF-8" />
  <title>Canvas Text Setup</title>
</head>
<body>

  <canvas id="myCanvas" width="500" height="200" style="border:1px solid #000"></canvas>

  <script>

    const canvas = document.getElementById('myCanvas');
    const ctx = canvas.getContext('2d');

    // Clear the canvas with white background
    ctx.fillStyle = 'white';
    ctx.fillRect(0, 0, canvas.width, canvas.height);

  </script>

</body>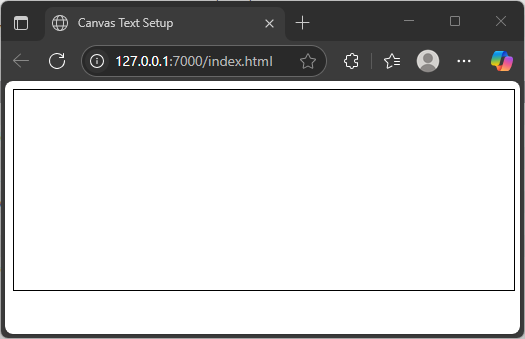
</html>This code creates a 500×200 pixel canvas with a black border, then retrieves the 2D drawing context named ctx. We fill the entire canvas with white so that any future drawings stand out clearly.
Drawing Basic Text with fillText()
The simplest way to draw text is using the fillText() method, which paints filled text at a specified position.
Consider this example, where we greet visitors with a bright welcome message:
<!DOCTYPE html>
<html lang="en">
<head>
  <meta charset="UTF-8" />
  <title>Basic Canvas Text</title>
</head>
<body>

  <canvas id="canvas1" width="500" height="150" style="border:1px solid #000"></canvas>

  <script>

    const canvas = document.getElementById('canvas1');
    const ctx = canvas.getContext('2d');

    ctx.fillStyle = 'orange';
    ctx.font = '30px Arial';
    ctx.fillText('Hello from Zambia!', 50, 80);

  </script>

</body>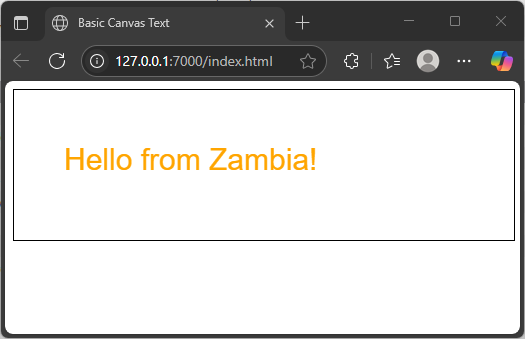
</html>Here, we set the fill color to orange and the font to 30 pixels Arial. The text “Hello from Zambia!” is drawn at the coordinate (50, 80). The text appears filled with the chosen color. This example demonstrates how straightforward it is to display a colorful message on the canvas.
Drawing Text Outlines with strokeText()
If you want to create an outlined effect instead of solid fill, use the strokeText() method. This draws the outline of the text using the current stroke style.
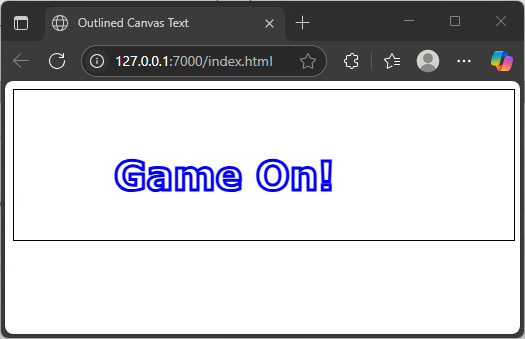
Below is a playful example that draws an outlined “Game On!” message:
<!DOCTYPE html>
<html lang="en">
<head>
  <meta charset="UTF-8" />
  <title>Outlined Canvas Text</title>
</head>
<body>

  <canvas id="canvas2" width="500" height="150" style="border:1px solid #000"></canvas>

  <script>

    const canvas = document.getElementById('canvas2');
    const ctx = canvas.getContext('2d');

    ctx.strokeStyle = 'blue';
    ctx.lineWidth = 3;
    ctx.font = 'bold 40px Verdana';
    ctx.strokeText('Game On!', 100, 100);

  </script>

</body>
</html>In this code, we set the stroke color to blue and line width to 3 pixels for a bold outline. The text “Game On!” is rendered as a crisp outline, creating a striking visual without filling the text interior.
Using font Property to Style Text
The font property allows you to specify the font size, style, weight, and family, just like in CSS. This gives you the ability to customize text to match your canvas theme.
Imagine displaying a sports message “Basketball Time” styled like a team jersey:
<!DOCTYPE html>
<html lang="en">
<head>
  <meta charset="UTF-8" />
  <title>Styled Canvas Text</title>
</head>
<body>

  <canvas id="canvas3" width="500" height="150" style="border:1px solid #000"></canvas>

  <script>

    const canvas = document.getElementById('canvas3');
    const ctx = canvas.getContext('2d');

    ctx.fillStyle = 'darkred';
    ctx.font = 'italic bold 48px "Comic Sans MS", cursive, sans-serif';
    ctx.fillText('Basketball Time', 50, 100);

  </script>

</body>
</html>This code uses an italic, bold, 48px Comic Sans MS font, giving the text a playful, sporty look. By combining multiple font attributes, you can create rich, engaging text visuals on the canvas.

Positioning Text on Canvas
The fillText() and strokeText() methods require x and y coordinates that specify where the text baseline will start. Positioning text is crucial for your layout or graphics.
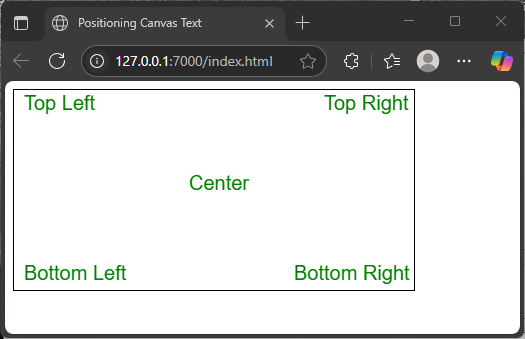
Here’s an example drawing “Chess Time” in each corner and the center of the canvas:
<!DOCTYPE html>
<html lang="en">
<head>
  <meta charset="UTF-8" />
  <title>Positioning Canvas Text</title>
</head>
<body>

  <canvas id="canvas4" width="400" height="200" style="border:1px solid #000"></canvas>

  <script>

    const canvas = document.getElementById('canvas4');
    const ctx = canvas.getContext('2d');
    ctx.font = '20px Arial';
    ctx.fillStyle = 'green';

    ctx.fillText('Top Left', 10, 20);
    ctx.fillText('Top Right', canvas.width - 90, 20);
    ctx.fillText('Bottom Left', 10, canvas.height - 10);
    ctx.fillText('Bottom Right', canvas.width - 120, canvas.height - 10);
    ctx.fillText('Center', canvas.width / 2 - 25, canvas.height / 2);

  </script>

</body>
</html>This code places text at the four corners and the center by calculating x and y coordinates relative to the canvas size. This helps you understand how to control exact text placement.
Aligning Text Horizontally and Vertically
By default, canvas text alignment starts at the x coordinate on the left and the y coordinate on the baseline. The textAlign property controls horizontal alignment, and textBaseline controls vertical alignment.
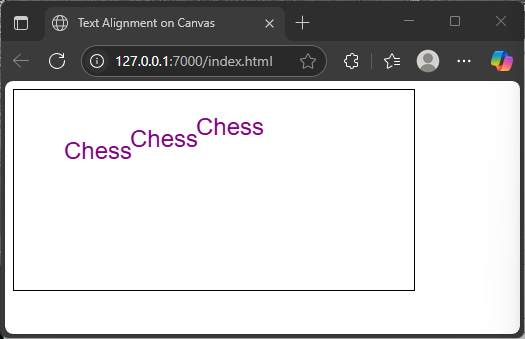
In this example, we demonstrate different alignments with the word “Chess” inside canvas squares:
<!DOCTYPE html>
<html lang="en">
<head>
  <meta charset="UTF-8" />
  <title>Text Alignment on Canvas</title>
</head>
<body>

  <canvas id="canvas5" width="400" height="200" style="border:1px solid #000"></canvas>

  <script>

    const canvas = document.getElementById('canvas5');
    const ctx = canvas.getContext('2d');
    ctx.font = '24px Arial';
    ctx.fillStyle = 'purple';

    const positions = [
      { x: 50, y: 50, align: 'left', baseline: 'top' },
      { x: 150, y: 50, align: 'center', baseline: 'middle' },
      { x: 250, y: 50, align: 'right', baseline: 'bottom' },
    ];

    positions.forEach(pos => {
      ctx.textAlign = pos.align;
      ctx.textBaseline = pos.baseline;
      ctx.fillText('Chess', pos.x, pos.y);
    });

  </script>

</body>
</html>Here, the text “Chess” is drawn three times, each with different horizontal and vertical alignments. This technique is useful for fine-tuning text layout in your canvas projects.
Combining Text with Colors and Transparency
Canvas text color is controlled with fillStyle for filled text and strokeStyle for outlines. You can also use globalAlpha to adjust transparency.
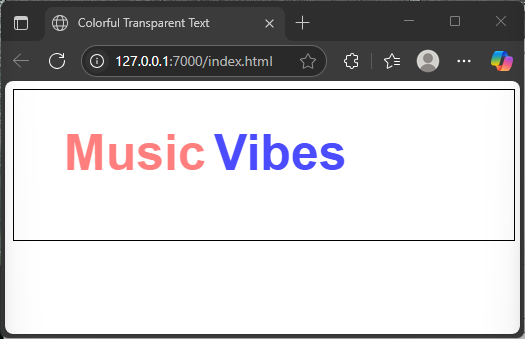
Let’s create a colorful “Music Vibes” text with semi-transparent layers:
<!DOCTYPE html>
<html lang="en">
<head>
  <meta charset="UTF-8" />
  <title>Colorful Transparent Text</title>
</head>
<body>

  <canvas id="canvas6" width="500" height="150" style="border:1px solid #000"></canvas>

  <script>

    const canvas = document.getElementById('canvas6');
    const ctx = canvas.getContext('2d');

    ctx.font = 'bold 50px Arial';

    ctx.fillStyle = 'red';
    ctx.globalAlpha = 0.5;
    ctx.fillText('Music', 50, 80);

    ctx.fillStyle = 'blue';
    ctx.globalAlpha = 0.7;
    ctx.fillText('Vibes', 200, 80);

    // Reset alpha for other drawings
    ctx.globalAlpha = 1;

  </script>

</body>
</html>The semi-transparent overlapping text creates a layered visual effect with vibrant red and blue colors, showing how color and opacity enhance canvas text.
Rotating and Transforming Text
You can rotate or transform text on canvas by using save(), restore(), and rotate() methods on the context.
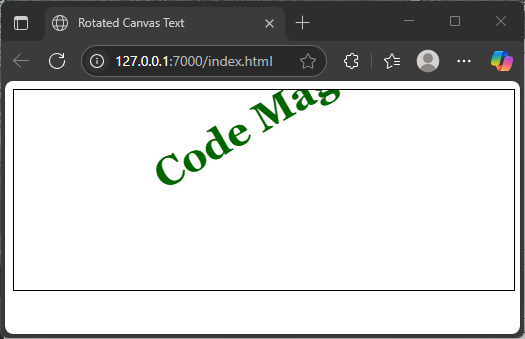
Here’s an example drawing the phrase “Code Magic” rotated diagonally:
<!DOCTYPE html>
<html lang="en">
<head>
  <meta charset="UTF-8" />
  <title>Rotated Canvas Text</title>
</head>
<body>

  <canvas id="canvas7" width="500" height="200" style="border:1px solid #000"></canvas>

  <script>

    const canvas = document.getElementById('canvas7');
    const ctx = canvas.getContext('2d');
    ctx.font = 'bold 40px Georgia';
    ctx.fillStyle = 'darkgreen';

    ctx.save(); // Save current state
    ctx.translate(150, 100); // Move origin to (150, 100)
    ctx.rotate(-Math.PI / 6); // Rotate 30 degrees counter-clockwise
    ctx.fillText('Code Magic', 0, 0);
    ctx.restore(); // Restore original state

  </script>

</body>
</html>This code first moves the origin to (150, 100), rotates the canvas, draws the text at the new origin, then restores the canvas. This technique allows for creative text placements and animations.
Measuring Text Size with measureText()
Knowing the width of your text string is useful for precise positioning or aligning.
For example, you can center text exactly by measuring its width and calculating its starting x coordinate:
<!DOCTYPE html>
<html lang="en">
<head>
  <meta charset="UTF-8" />
  <title>Measuring Text Width</title>
</head>
<body>

  <canvas id="canvas8" width="500" height="150" style="border:1px solid #000"></canvas>

  <script>

    const canvas = document.getElementById('canvas8');
    const ctx = canvas.getContext('2d');
    ctx.font = '36px Tahoma';
    ctx.fillStyle = 'black';

    const text = "Centered Text";
    const textWidth = ctx.measureText(text).width;

    const x = (canvas.width - textWidth) / 2;
    const y = canvas.height / 2;

    ctx.fillText(text, x, y);

  </script>

</body>
</html>This example uses measureText() to get the text width and then calculates the x coordinate so that the text is perfectly centered horizontally.

Creating Fun Text Effects Using Multiple Draw Calls
By combining fillText(), strokeText(), shadows, and multiple draw calls, you can create lively text effects.
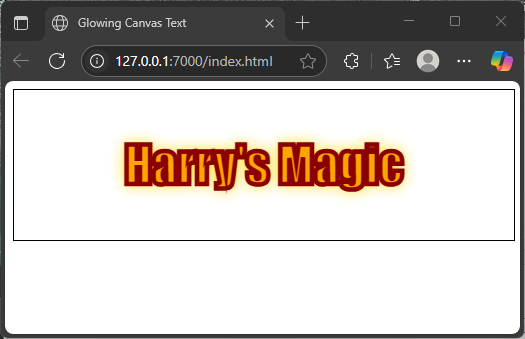
Consider this example with glowing “Harry’s Magic” text:
<!DOCTYPE html>
<html lang="en">
<head>
  <meta charset="UTF-8" />
  <title>Glowing Canvas Text</title>
</head>
<body>

  <canvas id="canvas9" width="500" height="150" style="border:1px solid #000"></canvas>

  <script>

    const canvas = document.getElementById('canvas9');
    const ctx = canvas.getContext('2d');

    ctx.font = 'bold 50px Impact';
    ctx.textAlign = 'center';
    ctx.textBaseline = 'middle';

    const x = canvas.width / 2;
    const y = canvas.height / 2;

    // Shadow for glow
    ctx.shadowColor = 'gold';
    ctx.shadowBlur = 15;

    ctx.fillStyle = 'orange';
    ctx.fillText("Harry's Magic", x, y);

    // Outline for emphasis
    ctx.shadowBlur = 0;
    ctx.strokeStyle = 'darkred';
    ctx.lineWidth = 3;
    ctx.strokeText("Harry's Magic", x, y);

  </script>

</body>
</html>This example uses shadows for a glowing effect, fills the text with bright orange, then draws a dark red outline for contrast, resulting in eye-catching text.
Conclusion
Drawing text on the HTML canvas is straightforward yet flexible. By mastering methods like fillText(), strokeText(), and properties such as font, textAlign, and transformations, you can create rich text-based graphics for games, art, and interactive designs. Experimenting with positioning, colors, rotation, and shadows opens up endless creative possibilities on the canvas.
References
- MDN Web Docs: CanvasRenderingContext2D.fillText()
- MDN Web Docs: CanvasRenderingContext2D.strokeText()
- MDN Web Docs: CanvasRenderingContext2D.font
- MDN Web Docs: CanvasRenderingContext2D.textAlign
- MDN Web Docs: CanvasRenderingContext2D.measureText()