
In modern web development, controlling what appears inside an element—be it a heading, a paragraph, or a button—is a key part of how we build interfaces. This inner content is what users read, click, or interact with, and JavaScript gives us direct tools to read and change this content on the fly.
When we talk about “element content,” we’re referring to what lives between an element’s opening and closing tags. It can be simple text, or it can contain HTML like <strong> and <em>. JavaScript provides three main ways to handle this content: textContent, innerHTML, and innerText. This tutorial explains each one through examples, showing how to read and update content with ease.
Getting Text Content with textContent
Reading content from an element in JavaScript is easy using the textContent property. This method gives you only the visible text—no HTML tags or formatting, just plain readable characters, including spaces and line breaks. It returns the text exactly as it appears in the HTML, without any tags—just the plain text and spaces, exactly as it was written.
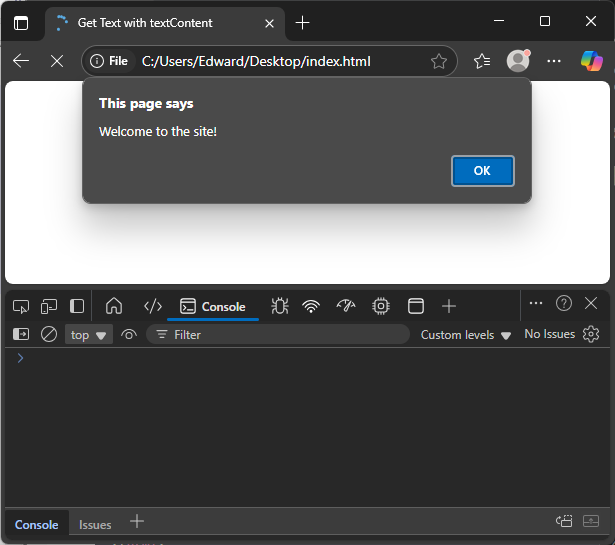
Let’s start with a simple message inside a <div>. We’ll use JavaScript to get its text and show it in an alert:
<!DOCTYPE html>
<html>
<head>
  <title>Get Text with textContent</title>
</head>
<body>

  <div id="message">Welcome to the site!</div>

  <script>

    const msg = document.getElementById('message');
    alert(msg.textContent);

  </script>

</body>
</html>This shows that .textContent returns the entire text inside the element — even if there are line breaks or spaces — but skips any tags.
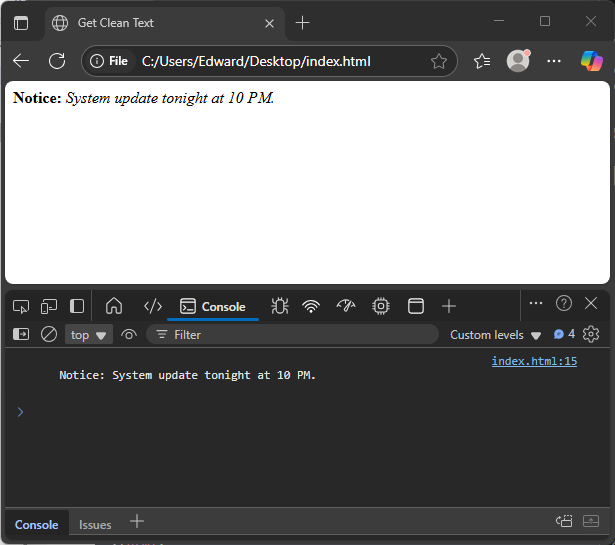
Now let’s try a more realistic example: a box that contains some HTML, like bold and italic tags. Even in this case, textContent will give you only the actual text, without any formatting.
<!DOCTYPE html>
<html>
<head>
  <title>Get Clean Text</title>
</head>
<body>

  <div id="info">
    <strong>Notice:</strong> <em>System update tonight at 10 PM.</em>
  </div>

  <script>

    const cleanText = document.getElementById('info').textContent;
    console.log(cleanText);

  </script>

</body>
</html>Even though the element contains <strong> and <em>, textContent returns only the combined plain text. No tags are included — just the readable text as if the HTML formatting wasn’t there at all. This makes textContent very useful when you want a clean, tag-free version of what’s inside an element including whitespace. Basically, textContent strips out any HTML tags and keeps everything as plain text, including spaces and line breaks exactly as they are.
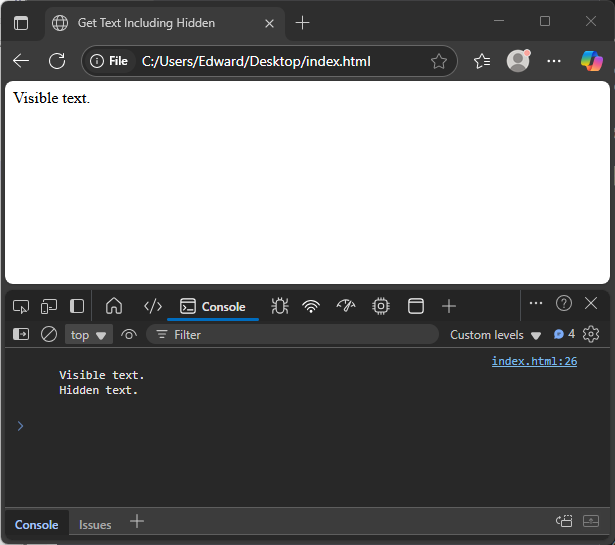
Finally, consider this example where some text is hidden using CSS:
<!DOCTYPE html>
<html>
<head>

  <title>Get Text Including Hidden</title>

  <style>

    .hidden {
      display: none;
    }

  </style>

</head>
<body>

  <div id="container">
    Visible text.
    <span class="hidden">Hidden text.</span>
  </div>

  <script>

    const containerText = document.getElementById('container').textContent;
    console.log(containerText);

  </script>

</body>
</html>Even though the <span> with class hidden is not visible on the page, textContent still includes “Hidden text.” in the returned string. This shows that textContent reads all text inside the element, ignoring CSS styles or visibility — including hidden content, extra spaces, and line breaks.
Setting Text Content with textContent
You can also set plain text using textContent. This is useful when you want to replace existing text with something new, without inserting any HTML.
Here’s a setup where clicking a button updates the content of a paragraph:
<!DOCTYPE html>
<html>
<head>
  <title>Set Text with textContent</title>
</head>
<body>

  <p id="joke">Why did the chicken cross the road?</p>
  <button id="reveal">Show Answer</button>

  <script>

    document.getElementById('reveal').addEventListener('click', () => {

      document.getElementById('joke').textContent = 'To get to the other side!';

    });

  </script>

</body>
</html>In this example, textContent is used to change the text inside the paragraph with the joke. When you click the button, the script sets the paragraph’s text to the answer using textContent. This replaces the old text with new plain text, showing the joke’s answer clearly on the page.
Using .textContent ensures the replacement is just raw text—no bold or italics, even if your string has angle brackets. For example:
<!DOCTYPE html>
<html>
<head>
  <title>textContent Displays Tags as Text</title>
</head>
<body>

  <div id="output"></div>
  <button id="showText">Insert Text</button>

  <script>
    document.getElementById('showText').addEventListener('click', () => {

      document.getElementById('output').textContent = '<strong>Hello</strong>';

    });

  </script>

</body>
</html>In this example, clicking the button will place the text <strong>Hello</strong> inside the <div>. The tags are not interpreted as HTML. They appear just as they are — with the angle brackets and tag names included.
This is helpful when you want to display code examples or prevent any unwanted formatting. Since textContent does not parse the text as HTML, it also adds a layer of safety when inserting user-provided content.
Getting Text Content with innerText
The innerText property also lets you get the text inside an element, but it works a bit differently from textContent. Unlike textContent, innerText looks at how the text appears visually on the page. This means it respects CSS styles like display: none or visibility: hidden and skips any hidden text. Basically, it gives you the text as seen on screen.
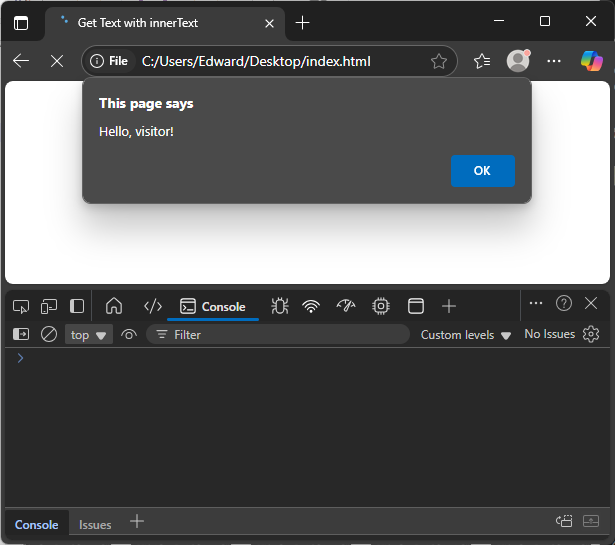
Let’s start with a simple example where we read the text inside a <div>:
<!DOCTYPE html>
<html>
<head>
  <title>Get Text with innerText</title>
</head>
<body>

  <div id="message">Hello, visitor!</div>

  <script>

    const msg = document.getElementById('message');
    alert(msg.innerText);

  </script>

</body>
</html>This works similarly to textContent in that it returns the text you see on screen. However, the difference becomes clear when some text is hidden.
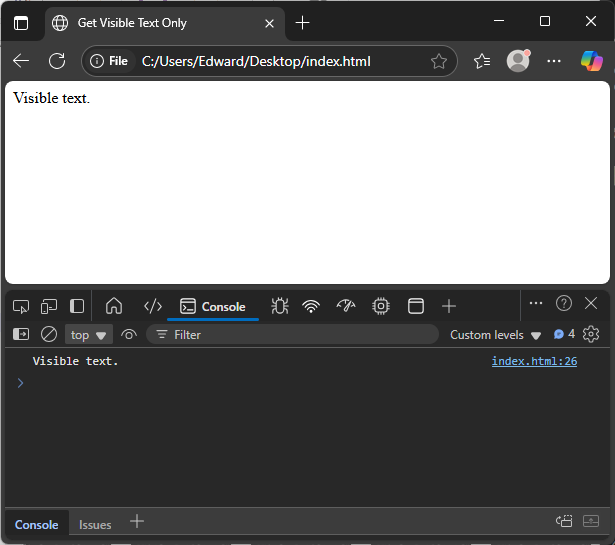
Consider this example where part of the text is hidden using CSS:
<!DOCTYPE html>
<html>
<head>

  <title>Get Visible Text Only</title>

  <style>

    .hidden {
      display: none;
    }

  </style>

</head>
<body>

  <div id="container">
    Visible text.
    <span class="hidden">Hidden text.</span>
  </div>

  <script>

    const visibleText = document.getElementById('container').innerText;
    console.log(visibleText);

  </script>

</body>
</html>In this case, innerText will return only “Visible text.” because it excludes the hidden “Hidden text.” This shows that innerText reflects what a user actually sees on the page.
Another key difference is that reading innerText triggers a reflow in the browser to calculate the current styles and visibility. This means it asks the browser to update layout information before returning the text, which can be slower than textContent.
To illustrate, if you have multiple elements with changing styles or visibility, calling innerText repeatedly could impact performance because of these reflows.
Setting Text Content with innerText
Just like you can get visible text with innerText, you can also set it to update what users see on the page. When you assign a new value to innerText, it changes the visible text inside the element and respects how text should appear.
Here’s a simple example where clicking a button changes the text inside a paragraph:
<!DOCTYPE html>
<html>
<head>
  <title>Set Text with innerText</title>
</head>
<body>

  <p id="joke">Why did the chicken cross the road?</p>
  <button id="changeBtn">Change Joke</button>

  <script>

    const jokePara = document.getElementById('joke');
    const button = document.getElementById('changeBtn');

    button.addEventListener('click', () => {

      jokePara.innerText = "To get to the other side!";

    });

  </script>

</body>
</html>In this example, when the button is clicked, the paragraph’s visible text changes to the new joke. Since innerText respects line breaks and spacing as shown on screen, the updated text will display exactly as assigned.
One important note: when you use innerText to set content, any HTML tags included in the string will be treated as plain text, not HTML. For example:
<!DOCTYPE html>
<html>
<head>
  <title>innerText Shows Tags as Text</title>
</head>
<body>

  <div id="container"></div>
  <button id="showBtn">Show Text with Tags</button>

  <script>

    const container = document.getElementById('container');
    const button = document.getElementById('showBtn');

    button.addEventListener('click', () => {

      container.innerText = "<strong>Hi</strong>";

    });

  </script>

</body>
</html>When you click the button, the text <strong>Hi</strong> appears exactly as typed — with the angle brackets and tags visible — instead of showing Hi in bold. This makes innerText safe for inserting text without worrying about accidentally running HTML or scripts.
Getting HTML Content with innerHTML
While textContent gives plain text, innerHTML gives you everything inside an element—including any nested tags.
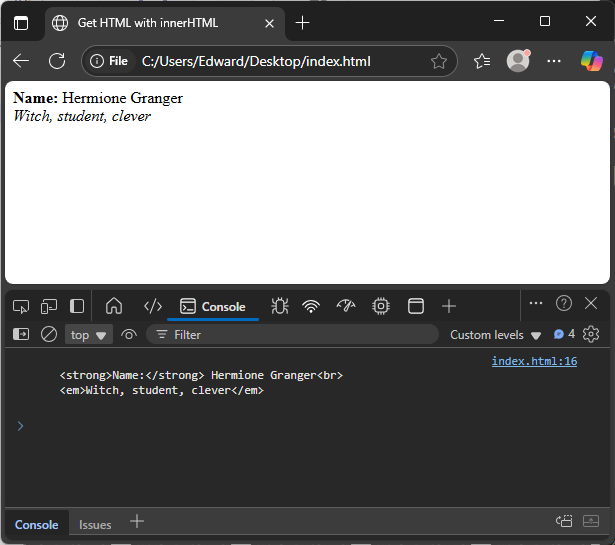
In this next example, we inspect a card that contains formatted HTML:
<!DOCTYPE html>
<html>
<head>
  <title>Get HTML with innerHTML</title>
</head>
<body>

  <div id="card">
    <strong>Name:</strong> Hermione Granger<br>
    <em>Witch, student, clever</em>
  </div>

  <script>

    const content = document.getElementById('card').innerHTML;
    console.log(content);

  </script>

</body>
</html>The console.log() will show a full HTML string—exactly what’s inside #card, tags and all.
Setting HTML Content with innerHTML
You can also use innerHTML to insert formatted content. This lets you add tags like <strong>, <br>, and <em> dynamically.
Here’s a simple example that replaces content inside a box:
<!DOCTYPE html>
<html>
<head>
  <title>Set HTML with innerHTML</title>
</head>
<body>

  <div id="infoBox">Loading...</div>
  <button onclick="updateInfo()">Show Info</button>

  <script>

    function updateInfo() {
      document.getElementById('infoBox').innerHTML = '<strong>Success!</strong> Your settings are saved.';
    }

  </script>

</body>
</html>This lets you control formatting through the string itself—ideal when you want bold, line breaks, or embedded elements.
Updating Content Dynamically
Let’s say you want to show fun facts about animals when buttons are clicked. We’ll update the content of a box using both textContent and innerHTML.
<!DOCTYPE html>
<html>
<head>
  <title>Animal Facts</title>
</head>
<body>

  <div id="factBox">Click an animal to learn a fact.</div>

  <button id="lionBtn">Lion</button>
  <button id="dogBtn">Dog</button>
  <button id="catBtn">Cat</button>

  <script>

    const factBox = document.getElementById('factBox');

    document.getElementById('lionBtn').addEventListener('click', () => {
      factBox.innerHTML = 'Lions are the <strong>king of the jungle</strong>.';
    });

    document.getElementById('dogBtn').addEventListener('click', () => {
      factBox.textContent = 'Dogs can hear sounds four times farther than humans.';
    });

    document.getElementById('catBtn').addEventListener('click', () => {
      factBox.innerHTML = 'Cats can jump <em>five times</em> their height.';
    });

  </script>

</body>
</html>This shows how innerHTML lets you add formatting like bold or italics, while textContent keeps the message clean and tag-free.
Real-world Combo Example
Let’s build a simple language info switcher. When a user clicks on a language button, we update the content box with some HTML-formatted information.
<!DOCTYPE html>
<html>
<head>
  <title>Language Info</title>
</head>
<body>

  <h2>Programming Languages</h2>

  <button onclick="showInfo('python')">Python</button>
  <button onclick="showInfo('js')">JavaScript</button>
  <button onclick="showInfo('ruby')">Ruby</button>

  <div id="langInfo">Select a language to learn more.</div>

  <script>

    function showInfo(lang) {

      const infoBox = document.getElementById('langInfo');

      if (lang === 'python') {

        infoBox.innerHTML = '<strong>Python:</strong> A clean and readable language.';

      } else if (lang === 'js') {

        infoBox.innerHTML = '<strong>JavaScript:</strong> Powers the web and browsers.';

      } else if (lang === 'ruby') {

        infoBox.innerHTML = '<strong>Ruby:</strong> Focuses on simplicity and developer happiness.';

      }

    }

  </script>

</body>
</html>Each time a button is clicked, the innerHTML updates the content box with a styled description. This is a practical way to build tabs or toggle views in real apps.
Differences Between textContent, innerText, and innerHTML
It’s easy to confuse textContent and innerText because their names are similar, but they behave quite differently.
The textContent property retrieves the text content of all elements, including those inside <script> and <style> tags. It simply returns the raw text inside the element and its children, ignoring any CSS styles or visibility. This means even hidden elements’ text is included.
On the other hand, innerText returns only the visible, human-readable text. It respects CSS styles and won’t include text from elements hidden by styles like display: none or visibility: hidden. Because innerText depends on computed styles, reading it causes a reflow in the browser to update layout and styles, which can slow down performance if used excessively.
Meanwhile, innerHTML returns the full HTML markup inside the element as a string, including tags. Developers often use innerHTML to get or set content with HTML formatting. However, working with innerHTML involves parsing the string as HTML, which can be slower than textContent that just deals with plain text.
Another key point is security: using textContent to set content is safer because it treats everything as text, preventing injection of malicious HTML or scripts (XSS attacks), while innerHTML can introduce security risks if untrusted input is inserted directly.
Comparison Table
| Property | Includes Hidden Text | Parses HTML Tags | Triggers Layout Reflow | Best Use Case |
|---|---|---|---|---|
textContent | ✅ Yes | ❌ No | ❌ No | Fast, safe handling of plain text or code — the text as written in the HTML file, but with all tags stripped. |
innerText | ❌ No | ❌ No | ✅ Yes | Text as seen on screen — ignores hidden parts and follows page styling. |
innerHTML | ✅ Yes | ✅ Yes | ❌ No | Insert or get rich HTML with formatting |
When to Use Each One
textContent– Use this when you want just the text, no formatting, and no surprises. It’s safe for displaying user input, showing code examples, or stripping out tags.innerText– Use this when you care about what the user actually sees. It skips hidden elements and formats output closer to what’s on screen, making it ideal for copying visible text.innerHTML– Use this to inject or extract HTML, like when inserting bold, italics, links, or structured layouts. Just be cautious: never use it with untrusted input (risk of XSS).
By understanding the differences, you can choose the right tool for the job and write faster, safer, and more readable web code.
Conclusion
You’ve just explored how JavaScript can read and write both plain and formatted content in HTML elements. Whether you’re adding plain facts with textContent, inserting rich HTML with innerHTML, or checking how something looks with innerText, these tools give you full control over your page’s content.
These are foundational techniques used in real-world apps—from updating article titles to building interactive tabs. Once you’re comfortable with them, you’ll find manipulating content with JavaScript fast, flexible, and fun.
References
- MDN: Node.textContent
Official documentation for working with text content of HTML elements using JavaScript. - MDN: Element.innerHTML
Reference for getting and setting HTML content as a string. - MDN: HTMLElement.innerText
Guide for reading text exactly as it appears in the browser, respecting CSS styling.