HTML, which stands for HyperText Markup Language, is the backbone of web development. It’s the language that allows us to create and structure content on the World Wide Web. Whether you’re a seasoned developer or just starting your journey into web development, understanding HTML is essential. This article explores the basics of HTML and why it’s crucial for anyone aspiring to build websites.

with hands-on learning.
get the skills and confidence to land your next move.
Why Learn HTML?
Before diving into the code, let’s explore why learning HTML is crucial. HTML is the language that web browsers understand and use to render web pages. It allows you to structure content, insert images, create links, and more. Without HTML, the web would be a chaotic jumble of text and media, devoid of the organized and visually appealing content we’re accustomed to. Whether you aspire to be a web developer, designer, or just want to understand the building blocks of the internet, learning HTML is your starting point.
Creating Your First HTML Document
To create an HTML document, you only need a simple text editor, such as Notepad on Windows or TextEdit on Mac. Open your text editor and start by creating a new file. Save it with a “.html” extension, for example, “index.html”:
<!DOCTYPE html>
<html lang="en">
<head>
        <meta charset="UTF-8">
        <meta name="viewport" content="width=device-width, initial-scale=1.0">

        <!-- Document Title -->
        <title>HTML Getting Started</title>
    </head>
    <body>
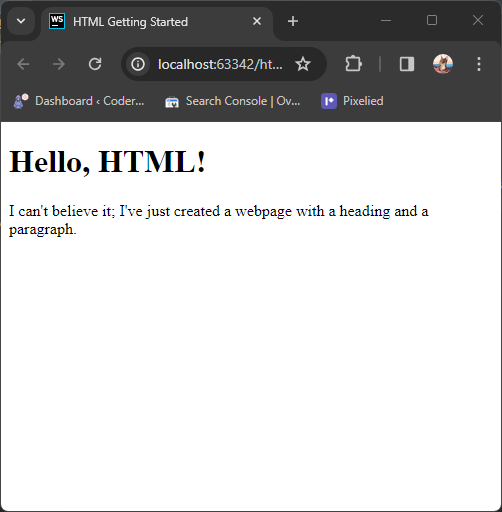
        <h1>Hello, HTML!</h1>
        <p>
			I can't believe it; I've just created a webpage with a heading and a paragraph.
			</p>
    </body>
</html>
This code may look a bit overwhelming at first, but let’s break it down. The declaration tells the browser that this is an HTML5 document. The <html> element is the root of the HTML document, containing everything from the opening <html> tag to the closing tag.
Inside the <html> tags, you’ll find two main sections – <head> and <body>. The <head> section contains meta-information about the document, while the <body> section holds the actual content of the webpage.
Save the file and open it in your web browser. Congratulations! You’ve just created your first HTML page. You should now see a simple page as depicted in the image below:
Adding Elements and Attributes
HTML is all about elements – the building blocks of a webpage. Elements are represented by tags, and they can contain content and attributes. Here is an example:
<!DOCTYPE html>
<html lang="en">
<head>
        <meta charset="UTF-8">
        <meta name="viewport" content="width=device-width, initial-scale=1.0">

        <!-- Document Title -->
        <title>HTML Getting Started</title>
    </head>
    <body>
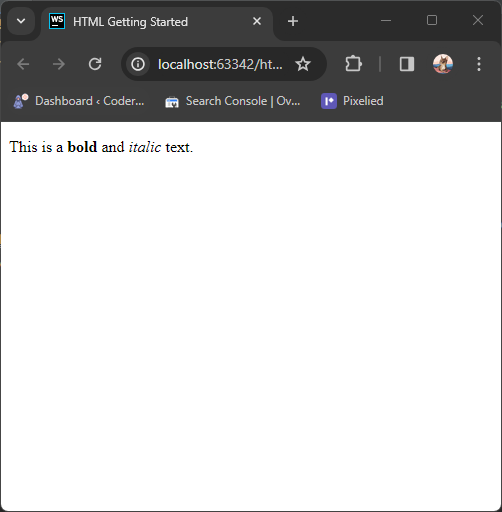
        <p>This is a <strong>bold</strong> and <em>italic</em> text.</p>
    </body>
</html>
Here, <strong> is a tag used to make text bold, and <em> is a tag for emphasizing text, making it italic.
Attributes provide additional information about HTML elements. For example:
<!DOCTYPE html>
<html lang="en">
<head>
        <meta charset="UTF-8">
        <meta name="viewport" content="width=device-width, initial-scale=1.0">

        <!-- Document Title -->
        <title>HTML Getting Started</title>
    </head>
    <body>
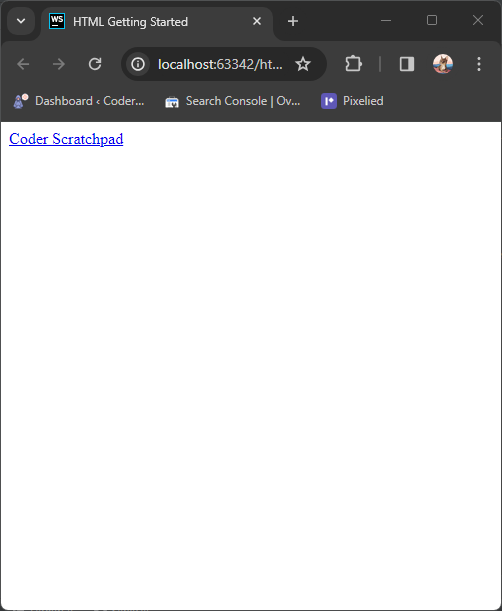
        <a href="https://www.coderscratchpad.com">Coder Scratchpad</a>
    </body>
</html>
In this example, the href attribute in the <a> (anchor) tag specifies the URL to which the link points.
Lists and Images
HTML allows you to create both ordered and unordered lists. Here’s a simple example of an unordered list:
<!DOCTYPE html>
<html lang="en">
<head>
        <meta charset="UTF-8">
        <meta name="viewport" content="width=device-width, initial-scale=1.0">

        <!-- Document Title -->
        <title>HTML Getting Started</title>
    </head>
    <body>
        <ul>
            <li>C</li>
            <li>Dart</li>
            <li>C#</li>
            <li>Kotlin</li>
            <li>F#</li>
            <li>Python</li>
            <li>GoLang</li>
            <li>Swift</li>
            <li>PHP</li>
            <li>R</li>
        </ul>
    </body>
</html>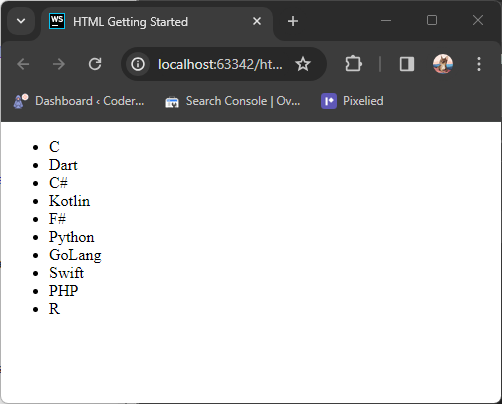
And for an ordered list:
<!DOCTYPE html>
<html lang="en">
<head>
        <meta charset="UTF-8">
        <meta name="viewport" content="width=device-width, initial-scale=1.0">

        <!-- Document Title -->
        <title>HTML Getting Started</title>
    </head>
    <body>
        <ol>
            <li>Lesson 1</li>
            <li>Lesson 2</li>
            <li>Lesson 3</li>
            <li>Lesson 4</li>
            <li>Lesson 5</li>
            <li>Lesson 6</li>
            <li>Lesson 7</li>
            <li>Lesson 8</li>
            <li>Lesson 9</li>
            <li>Lesson 10</li>
        </ol>
    </body>
</html>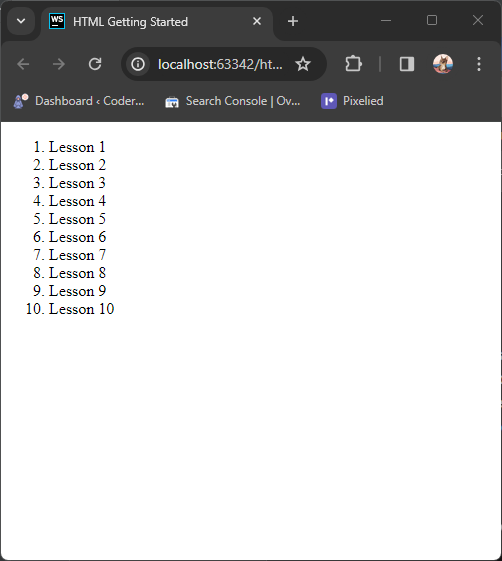
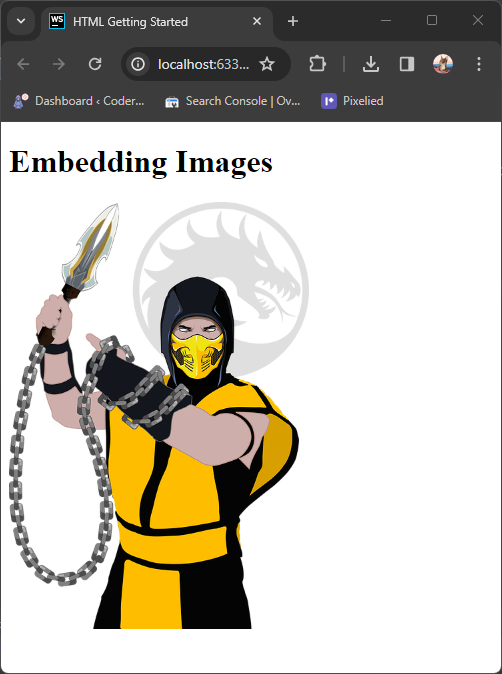
Adding images to your HTML page is straightforward. Use the <img> tag and include the src attribute with the image file path. In this example, the image is in the same directory as the HTML file:
<!DOCTYPE html>
<html lang="en">
<head>
        <meta charset="UTF-8">
        <meta name="viewport" content="width=device-width, initial-scale=1.0">

        <!-- Document Title -->
        <title>HTML Getting Started</title>
    </head>
    <body>
        <h1>Embedding Images</h1>
        <img
                src="scorpion.png"
                alt="Mortal Kombat | Scorpion"
                width="300"
        />
    </body>
</html>
Here, the alt attribute provides alternative text that is displayed if the image cannot be loaded. The scorpion image I used can be downloaded from Pixabay.
Conclusion
In this article, we’ve covered the basics of HTML and its significance in web development. By creating a simple web page and exploring fundamental HTML elements, you’ve taken your first steps into the exciting world of web development. For more content, please subscribe to our newsletter.
