User interface (UI) customization is an essential aspect of modern software development. When building applications with JavaFX, a popular choice for creating desktop and rich client applications in Java, you often want to go beyond the default look and feel to create a unique and engaging user experience. One way to achieve this is by customizing the mouse cursor. This article will explore how to create custom mouse cursors in JavaFX to enhance the visual appeal and interactivity of your applications.

with hands-on learning.
get the skills and confidence to land your next move.
Understanding Mouse Cursors
Before diving into creating custom cursors, it’s essential to understand how mouse cursors work in JavaFX. A cursor in JavaFX represents the image that appears when the mouse is over a particular element, such as a button, image, or text field. Cursors are associated with specific Node objects, which means you can change the cursor appearance for different parts of your application.
JavaFX offers several built-in cursor types that you can set for different nodes in your application. Some common cursor types include:
- Cursor.DEFAULT: The default arrow cursor.
- Cursor.HAND: The hand cursor, typically used for clickable elements.
- Cursor.CROSSHAIR: A crosshair cursor often used for precise selection.
- Cursor.WAIT: The wait cursor, indicating the application is busy.
- Cursor.TEXT: The text cursor, used when hovering over editable text fields.
- Cursor.MOVE: The move cursor, indicating an element can be moved.
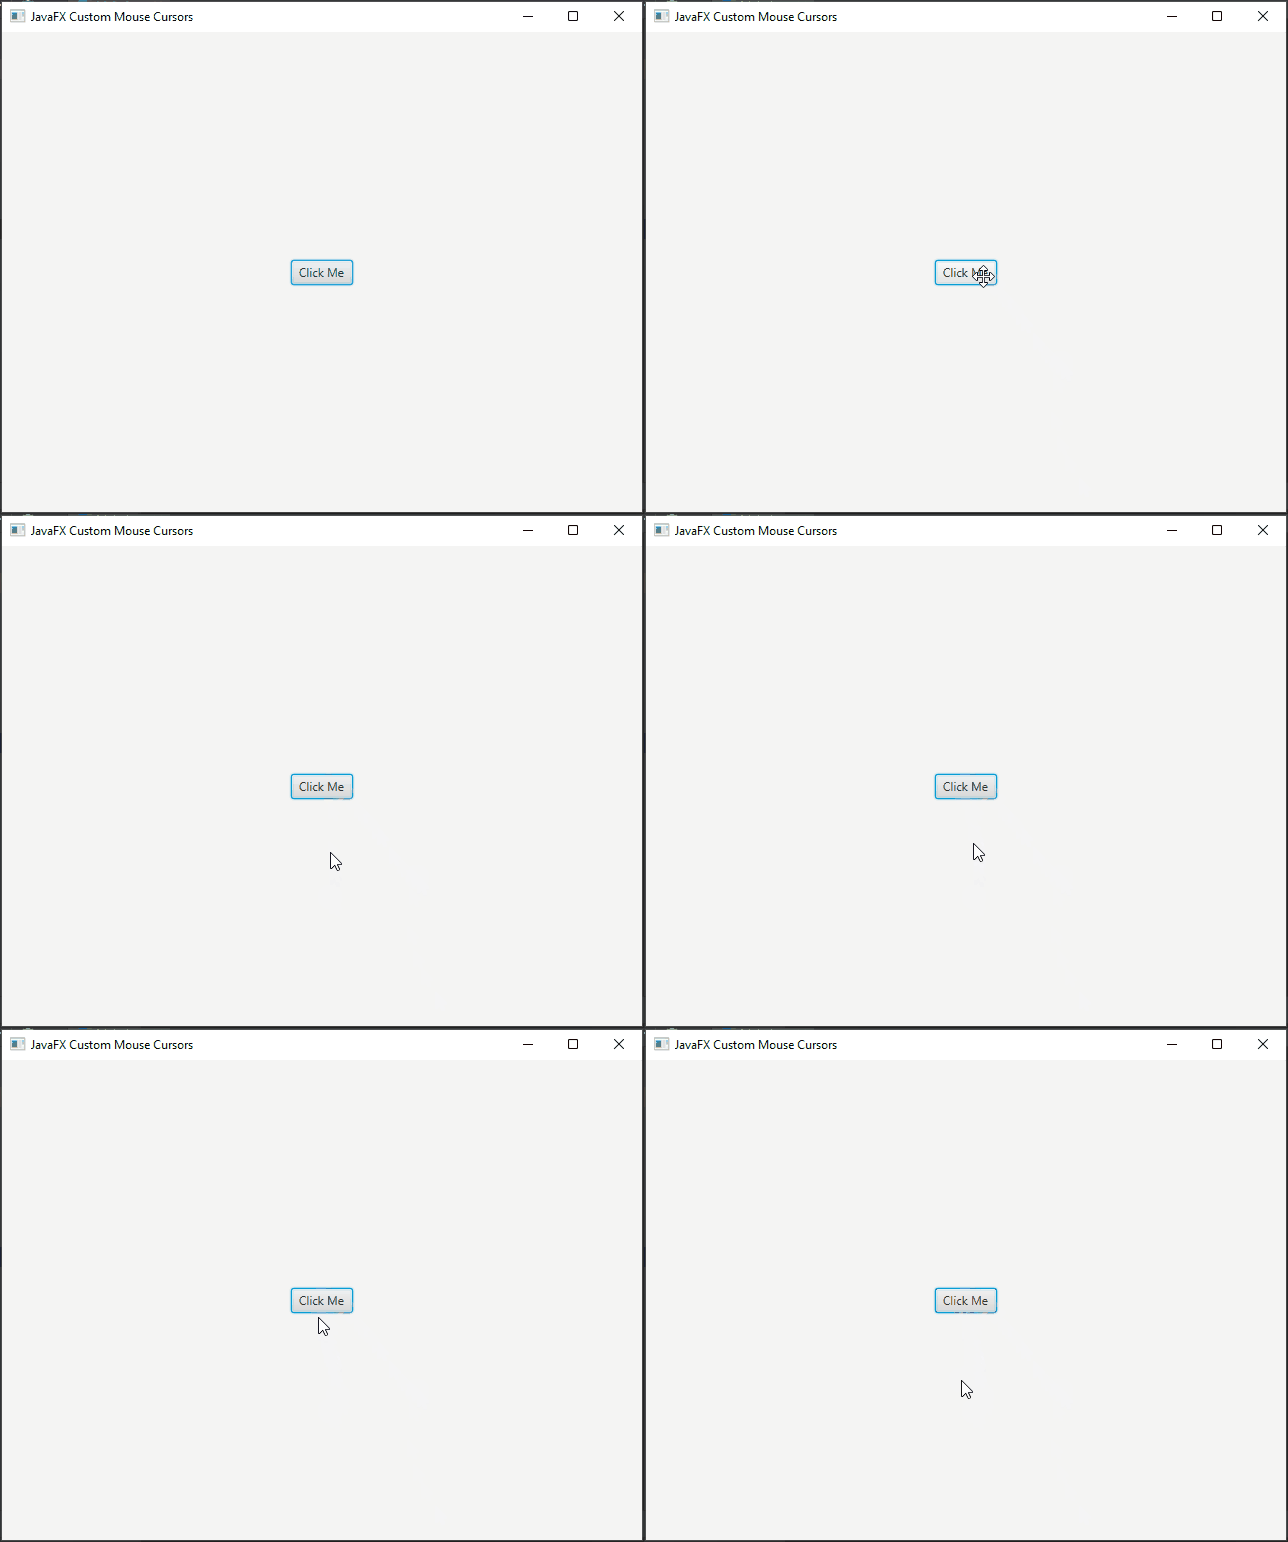
To set the mouse cursor for a specific UI element, you can use the setCursor() method, passing in a cursor type. For instance, to set the cursor to a move icon when hovering over a button, you would do something like this:
import javafx.application.Application;
import javafx.scene.Cursor;
import javafx.scene.Scene;
import javafx.scene.control.Button;
import javafx.scene.layout.*;
import javafx.stage.Stage;

public class Main extends Application {

    // The parent layout manager
    private final BorderPane parent = new BorderPane();

    @Override
    public void init() throws Exception {
        super.init();

        // Build the user interface
        this.buildUI();

    }

    private void buildUI() {

        // Create the Button
        Button button = new Button("Click Me");

        // Set the custom cursor image
        button.setCursor(Cursor.MOVE);

        // Add the Button to the center of the BorderPane
        this.parent.setCenter(button);

    }

    @Override
    public void start(Stage stage) throws Exception {

        // Create a scene with the BorderPane as the root
        Scene scene = new Scene(this.parent, 640, 480);

        // Set the stage title
        stage.setTitle("JavaFX Custom Mouse Cursors");

        // Set the scene for the stage
        stage.setScene(scene);

        // Center the stage on the screen
        stage.centerOnScreen();

        // Display the stage
        stage.show();

    }

}
While the built-in cursor types are handy in many situations, they may not always align with your application’s design or functionality requirements. This is where custom mouse cursors come into play.
Creating a Custom Cursor Image
To get started, you’ll need a custom image that will serve as your mouse cursor. This image can be in various formats, such as PNG, GIF, or JPEG. Ensure that the image size is appropriate for a cursor, typically 16×16 pixels or 32×32 pixels. You can use image editing software or online tools to create or customize your cursor image.
Loading the Custom Cursor Image
Once you have your custom cursor image, you need to load it into your JavaFX application. You can use the Image class to load the image and the ImageCursor class to create a custom cursor.
Here’s an example of how to load a custom cursor image and set it as the cursor for a Node:
import javafx.application.Application;
import javafx.scene.ImageCursor;
import javafx.scene.Scene;
import javafx.scene.control.Button;
import javafx.scene.image.Image;
import javafx.scene.layout.*;
import javafx.stage.Stage;

public class Main extends Application {

    // The parent layout manager
    private final BorderPane parent = new BorderPane();

    @Override
    public void init() throws Exception {
        super.init();

        // Build the user interface
        this.buildUI();

    }

    private void buildUI() {

        // Create the Button
        Button button = new Button("Click Me");

        // Load the custom cursor image
        Image image = new Image("cursor.png");

        // Set custom cursor for the button
        button.setCursor(new ImageCursor(image, 0, 0));

        // Add the Button to the center of the BorderPane
        this.parent.setCenter(button);

    }

    @Override
    public void start(Stage stage) throws Exception {

        // Create a scene with the BorderPane as the root
        Scene scene = new Scene(this.parent, 640, 480);

        // Load the custom cursor image
        Image cursor = new Image("default.png");

        // Set default cursor for the scene
        scene.setCursor(new ImageCursor(cursor, 0, 0));

        // Set the stage title
        stage.setTitle("JavaFX Custom Mouse Cursors");

        // Set the scene for the stage
        stage.setScene(scene);

        // Center the stage on the screen
        stage.centerOnScreen();

        // Display the stage
        stage.show();

    }

}
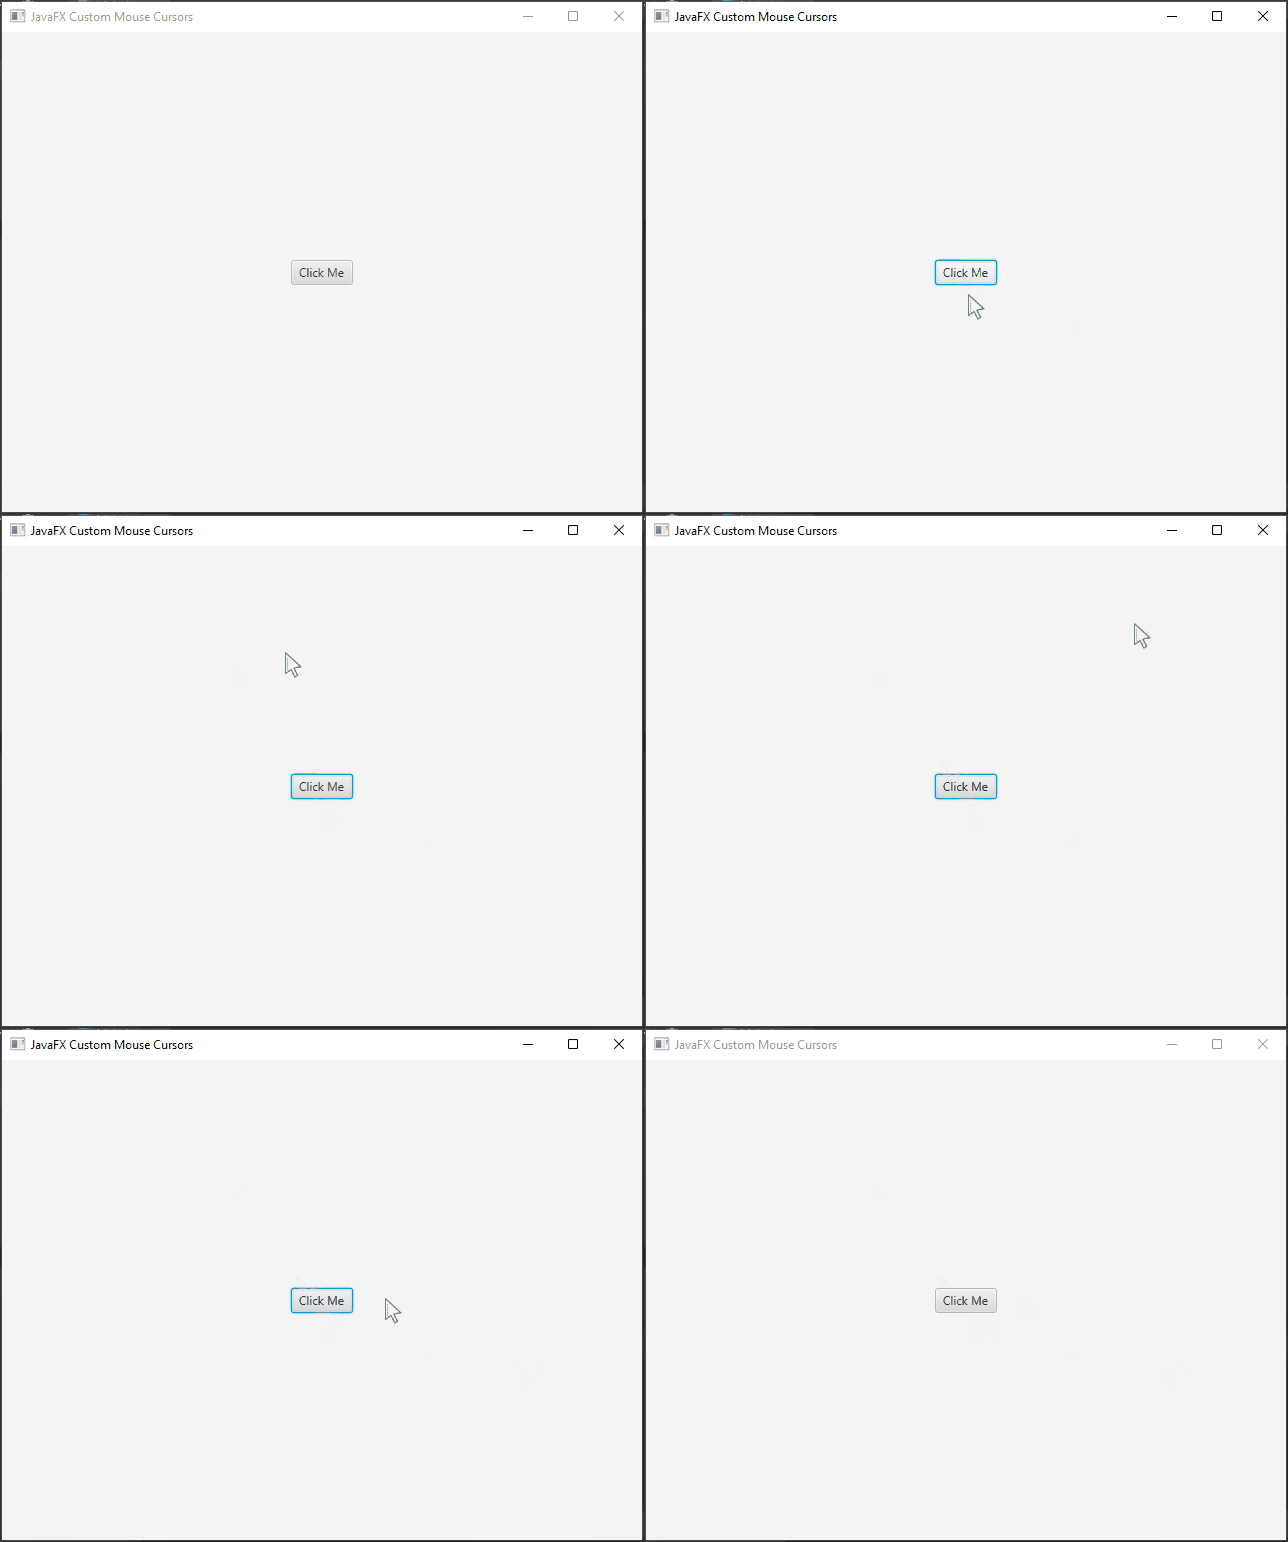
In this example, we load custom cursor images using the Image class, create custom cursors using the ImageCursor constructor, specify the images, and define the hotspot (representing the point in the cursor images where the mouse pointer’s actual location is indicated). Finally, we set custom cursors for both the Button node and the Scene using the setCursor() method.
Best Practices for Custom Cursors
When working with custom cursors in JavaFX, consider the following best practices:
- Cursor Visibility: Ensure that your custom cursor remains visible and clear, even on various backgrounds and under different lighting conditions.
- Cursor Size: Keep your cursor image reasonably sized to avoid obstructing the user’s view or making it too small to see.
- Usability: Choose or design a custom cursor that is intuitive and provides clear feedback about the interaction the user can perform.
- Performance: Use cursor images with appropriate resolutions to avoid performance issues, especially in applications with a lot of cursor movement.
- Testing: Test your custom cursors on different devices and screen resolutions to ensure they work well across various environments.
- Accessibility: Consider accessibility needs by providing alternative ways for users to interact with your application, as some users may have difficulty seeing or using custom cursors.
Conclusion
Customizing mouse cursors in JavaFX is a straightforward process that can greatly enhance the user experience of your desktop applications. By providing custom cursors tailored to your application’s needs, you can add a touch of uniqueness and interactivity to your software. Whether it’s a custom icon for a button or a unique pointer for a specific feature, JavaFX empowers you to take control of cursor customization in your application, improving its usability and visual appeal. Remember to check the JavaFX Cursor Documentation for more.
I hope you found this article informative and useful. If you would like to receive more content, please consider subscribing to our newsletter.
