User interfaces in modern applications need to be flexible and responsive to cater to various screen sizes and user preferences. JavaFX, the popular UI toolkit for Java applications, provides a versatile control called SplitPane that allows developers to create dynamic and adjustable layouts. In this article, we will explore the JavaFX SplitPane and demonstrate how to use it effectively with code examples.

with hands-on learning.
get the skills and confidence to land your next move.
What is SplitPane?
The SplitPane is a layout container that allows its child nodes to be divided horizontally or vertically with adjustable dividers. It enables users to resize the sections of the UI, making it ideal for scenarios where flexible layouts are required, such as in IDEs, file explorers, or any application that demands a customizable UI layout.
Creating a Simple SplitPane
Let’s start by creating a basic JavaFX application with a simple SplitPane that divides the screen horizontally.
import javafx.application.Application;
import javafx.scene.Scene;
import javafx.scene.control.*;
import javafx.scene.layout.*;
import javafx.stage.Stage;

public class Main extends Application {

    private final BorderPane parent = new BorderPane();

    @Override
    public void start(Stage stage) throws Exception {
        this.setupStage(stage);
    }

    @Override
    public void init() throws Exception {
        super.init();
        this.buildUI();
    }

    private void buildUI() {

        SplitPane splitPane = new SplitPane();

        VBox leftContent = new VBox(new Label("Left Pane"));
        VBox rightContent = new VBox(new Label("Right Pane"));

        splitPane.getItems().addAll(leftContent, rightContent);

        // Add the SplitPane to the BorderPane layout manager
        this.parent.setCenter(splitPane);

    }

    private void setupStage(Stage stage) {

        Scene scene = new Scene(this.parent, 640.0, 480.0);

        // Set the stage title
        stage.setTitle("JavaFX SplitPane: A Tool for Flexible User Interfaces");

        // Set the stage scene
        stage.setScene(scene);

        // Center the stage on the screen
        stage.centerOnScreen();

        // Show the stage on the screen
        stage.show();

    }

}
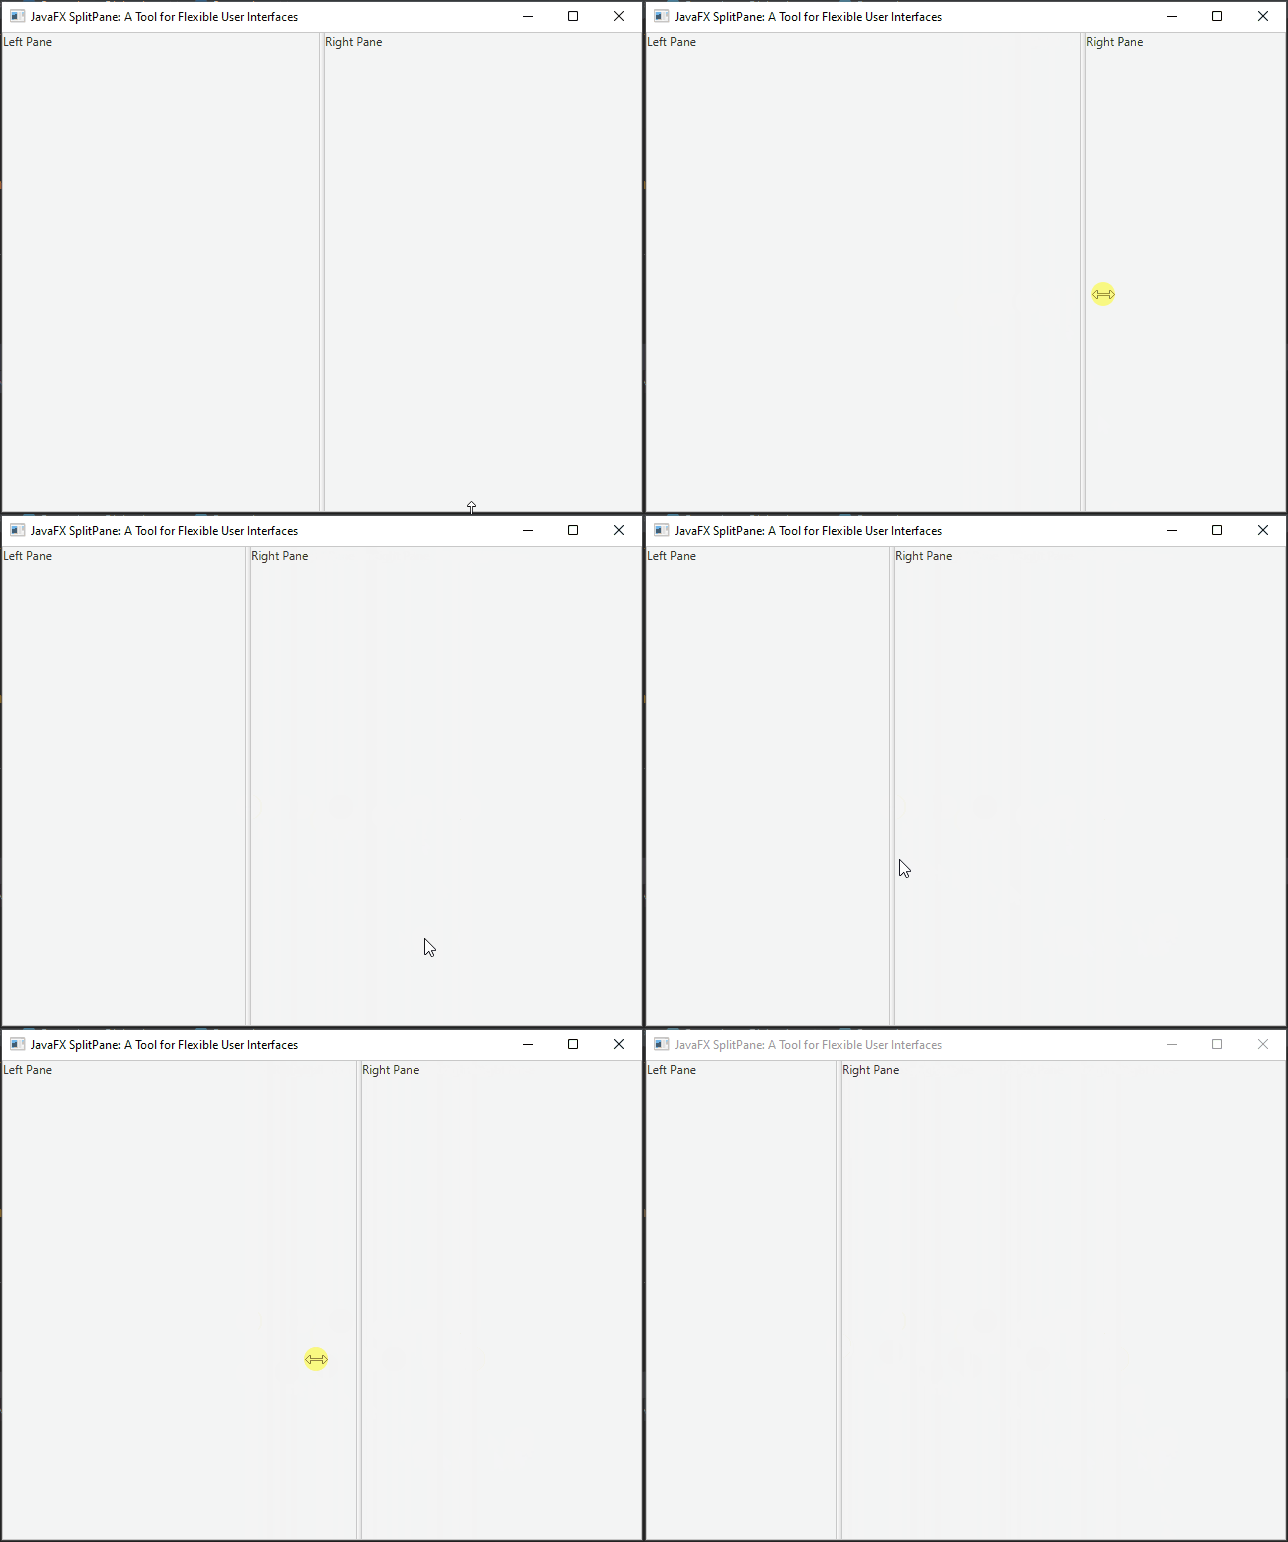
In this example, we create a SplitPane and add two VBox nodes to it. The SplitPane will automatically place dividers between the children, allowing us to resize the panes horizontally.
Customizing SplitPane Orientation
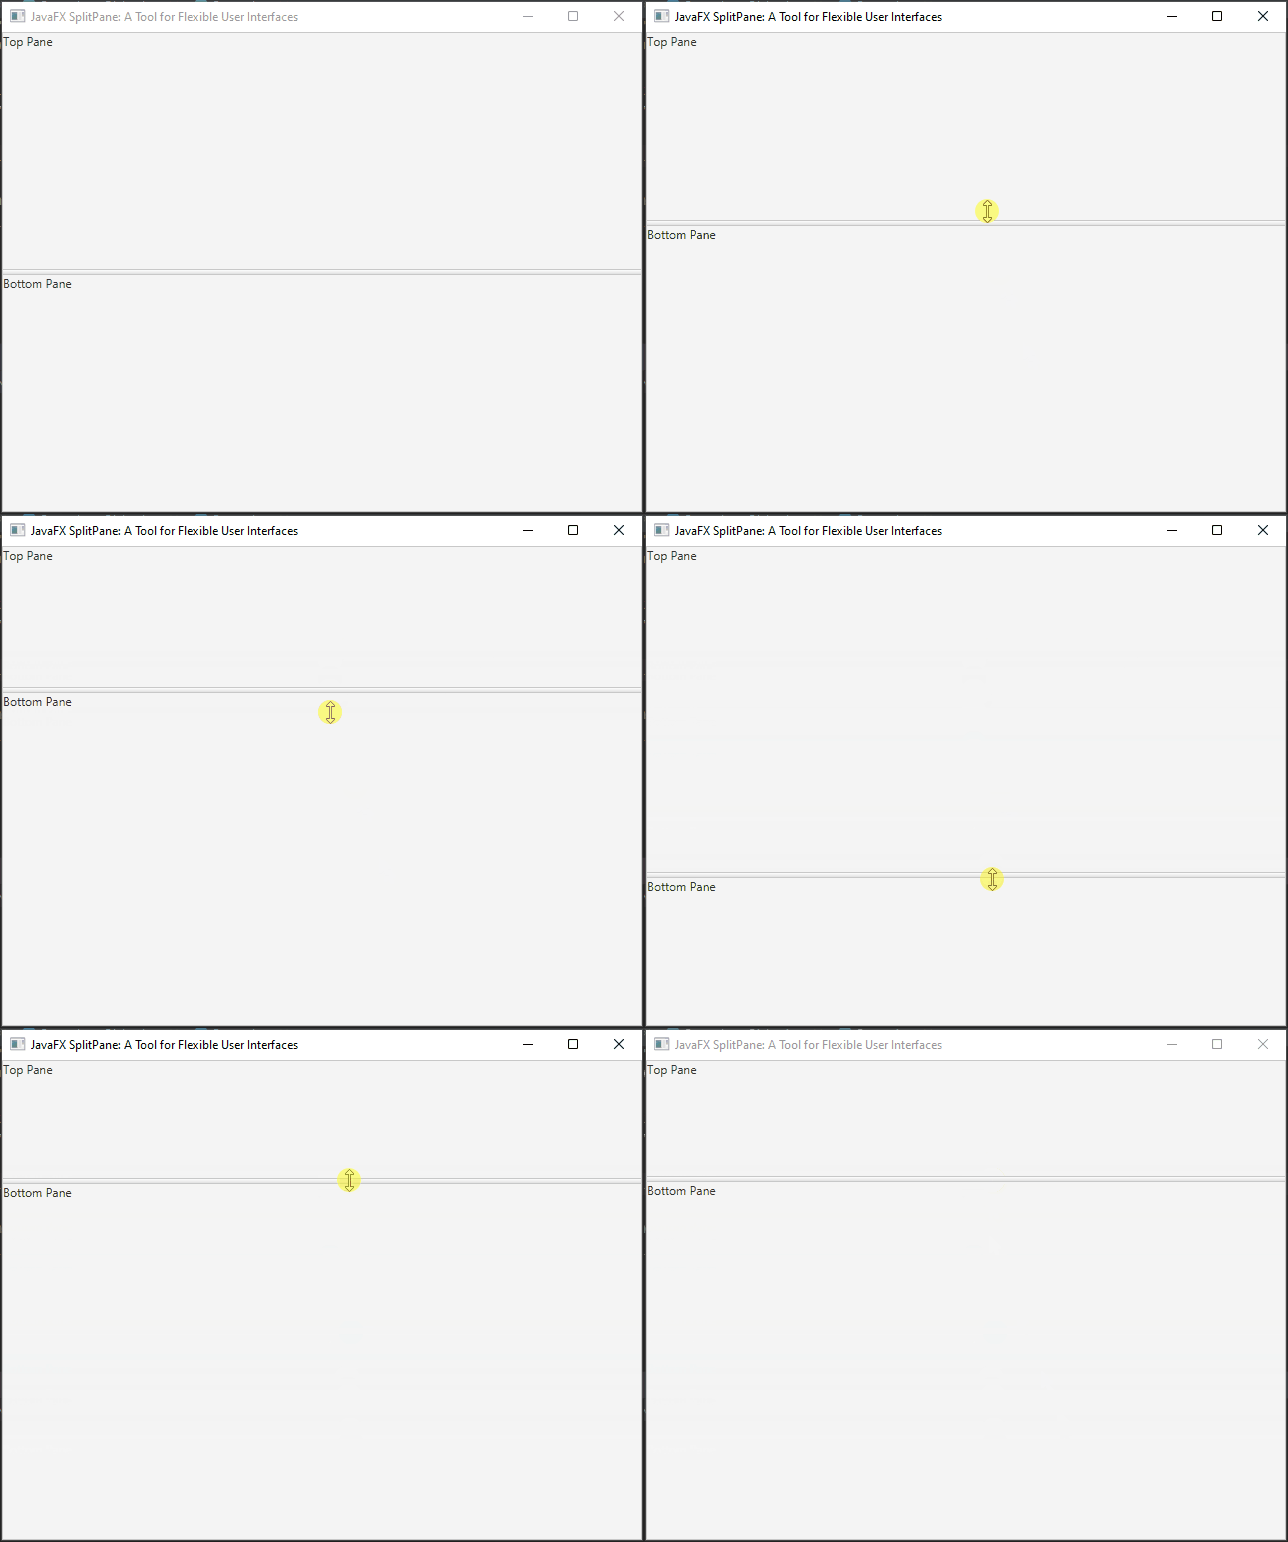
The SplitPane allows customization of its behavior and appearance. You can set the orientation of the divider to either horizontal or vertical using the setOrientation method. The default orientation is Orientation.HORIZONTAL.
Let’s see how we can customize the SplitPane orientation.
import javafx.application.Application;
import javafx.geometry.Orientation;
import javafx.scene.Scene;
import javafx.scene.control.*;
import javafx.scene.layout.*;
import javafx.stage.Stage;

public class Main extends Application {

    private final BorderPane parent = new BorderPane();

    @Override
    public void start(Stage stage) throws Exception {
        this.setupStage(stage);
    }

    @Override
    public void init() throws Exception {
        super.init();
        this.buildUI();
    }

    private void buildUI() {

        SplitPane splitPane = new SplitPane();

        // Set the orientation for the SplitPane
        splitPane.setOrientation(Orientation.VERTICAL);

        VBox topContent = new VBox(new Label("Top Pane"));
        VBox bottomContent = new VBox(new Label("Bottom Pane"));

        splitPane.getItems().addAll(topContent, bottomContent);

        // Add the SplitPane to the BorderPane layout manager
        this.parent.setCenter(splitPane);

    }

    private void setupStage(Stage stage) {

        Scene scene = new Scene(this.parent, 640.0, 480.0);

        // Set the stage title
        stage.setTitle("JavaFX SplitPane: A Tool for Flexible User Interfaces");

        // Set the stage scene
        stage.setScene(scene);

        // Center the stage on the screen
        stage.centerOnScreen();

        // Show the stage on the screen
        stage.show();

    }

}
Customizing SplitPane Dividers
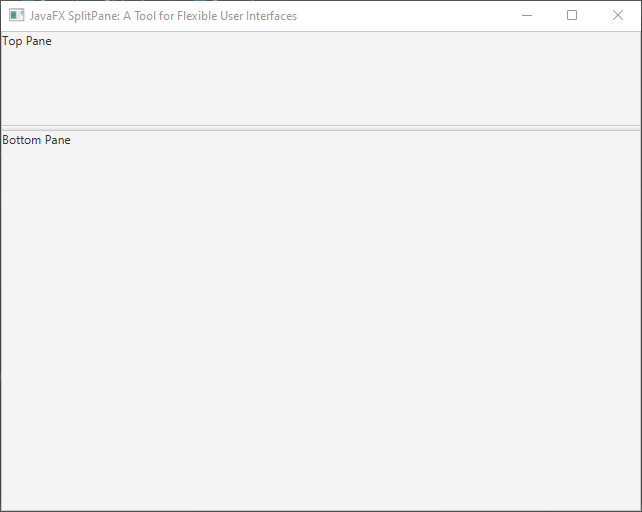
The SplitPane allows us to customize its dividers to suit the application’s needs. The setDividerPositions method allows you to set the initial position of the divider(s) programmatically. It accepts a variable number of double values between 0 and 1, representing the relative position of each divider. For example, if you want the first pane to take 20% of the space, and the second pane to take 80%, you can use setDividerPositions(0.2, 0.8).
Let’s see how we can customize the dividers in a SplitPane.
import javafx.application.Application;
import javafx.geometry.Orientation;
import javafx.scene.Scene;
import javafx.scene.control.*;
import javafx.scene.layout.*;
import javafx.stage.Stage;

public class Main extends Application {

    private final BorderPane parent = new BorderPane();

    @Override
    public void start(Stage stage) throws Exception {
        this.setupStage(stage);
    }

    @Override
    public void init() throws Exception {
        super.init();
        this.buildUI();
    }

    private void buildUI() {

        SplitPane splitPane = new SplitPane();

        // Set the orientation for the SplitPane
        splitPane.setOrientation(Orientation.VERTICAL);

        splitPane.setDividerPositions(0.2, 0.8);

        VBox topContent = new VBox(new Label("Top Pane"));
        VBox bottomContent = new VBox(new Label("Bottom Pane"));

        splitPane.getItems().addAll(topContent, bottomContent);

        // Add the SplitPane to the BorderPane layout manager
        this.parent.setCenter(splitPane);

    }

    private void setupStage(Stage stage) {

        Scene scene = new Scene(this.parent, 640.0, 480.0);

        // Set the stage title
        stage.setTitle("JavaFX SplitPane: A Tool for Flexible User Interfaces");

        // Set the stage scene
        stage.setScene(scene);

        // Center the stage on the screen
        stage.centerOnScreen();

        // Show the stage on the screen
        stage.show();

    }

}
Nesting SplitPanes
A powerful feature of SplitPane is the ability to nest them, allowing us to create complex and flexible UI layouts. This is achieved by adding multiple SplitPane instances as children of a parent SplitPane.
import javafx.application.Application;
import javafx.geometry.Orientation;
import javafx.scene.Scene;
import javafx.scene.control.*;
import javafx.scene.layout.*;
import javafx.stage.Stage;

public class Main extends Application {

    private final BorderPane parent = new BorderPane();

    @Override
    public void start(Stage stage) throws Exception {
        this.setupStage(stage);
    }

    @Override
    public void init() throws Exception {
        super.init();
        this.buildUI();
    }

    private void buildUI() {

        SplitPane outerSplitPane = new SplitPane();
        SplitPane innerSplitPane = new SplitPane();

        VBox topLeftContent = new VBox(new Label("Top Left Pane"));
        VBox topRightContent = new VBox(new Label("Top Right Pane"));

        // Add Top Left and Top Right Contents to the inner SplitPlane
        innerSplitPane.getItems().addAll(topLeftContent, topRightContent);

        VBox bottomContent = new VBox(new Label("Bottom Pane"));

        // Add Bottom Content and the Inner SplitPane to the Outer SplitPlane
        outerSplitPane.getItems().addAll(innerSplitPane, bottomContent);

        // Change the orientation for the Outer SplitPane
        outerSplitPane.setOrientation(Orientation.VERTICAL);

        // Add the SplitPane to the BorderPane layout manager
        this.parent.setCenter(outerSplitPane);

    }

    private void setupStage(Stage stage) {

        Scene scene = new Scene(this.parent, 640.0, 480.0);

        // Set the stage title
        stage.setTitle("JavaFX SplitPane: A Tool for Flexible User Interfaces");

        // Set the stage scene
        stage.setScene(scene);

        // Center the stage on the screen
        stage.centerOnScreen();

        // Show the stage on the screen
        stage.show();

    }

}
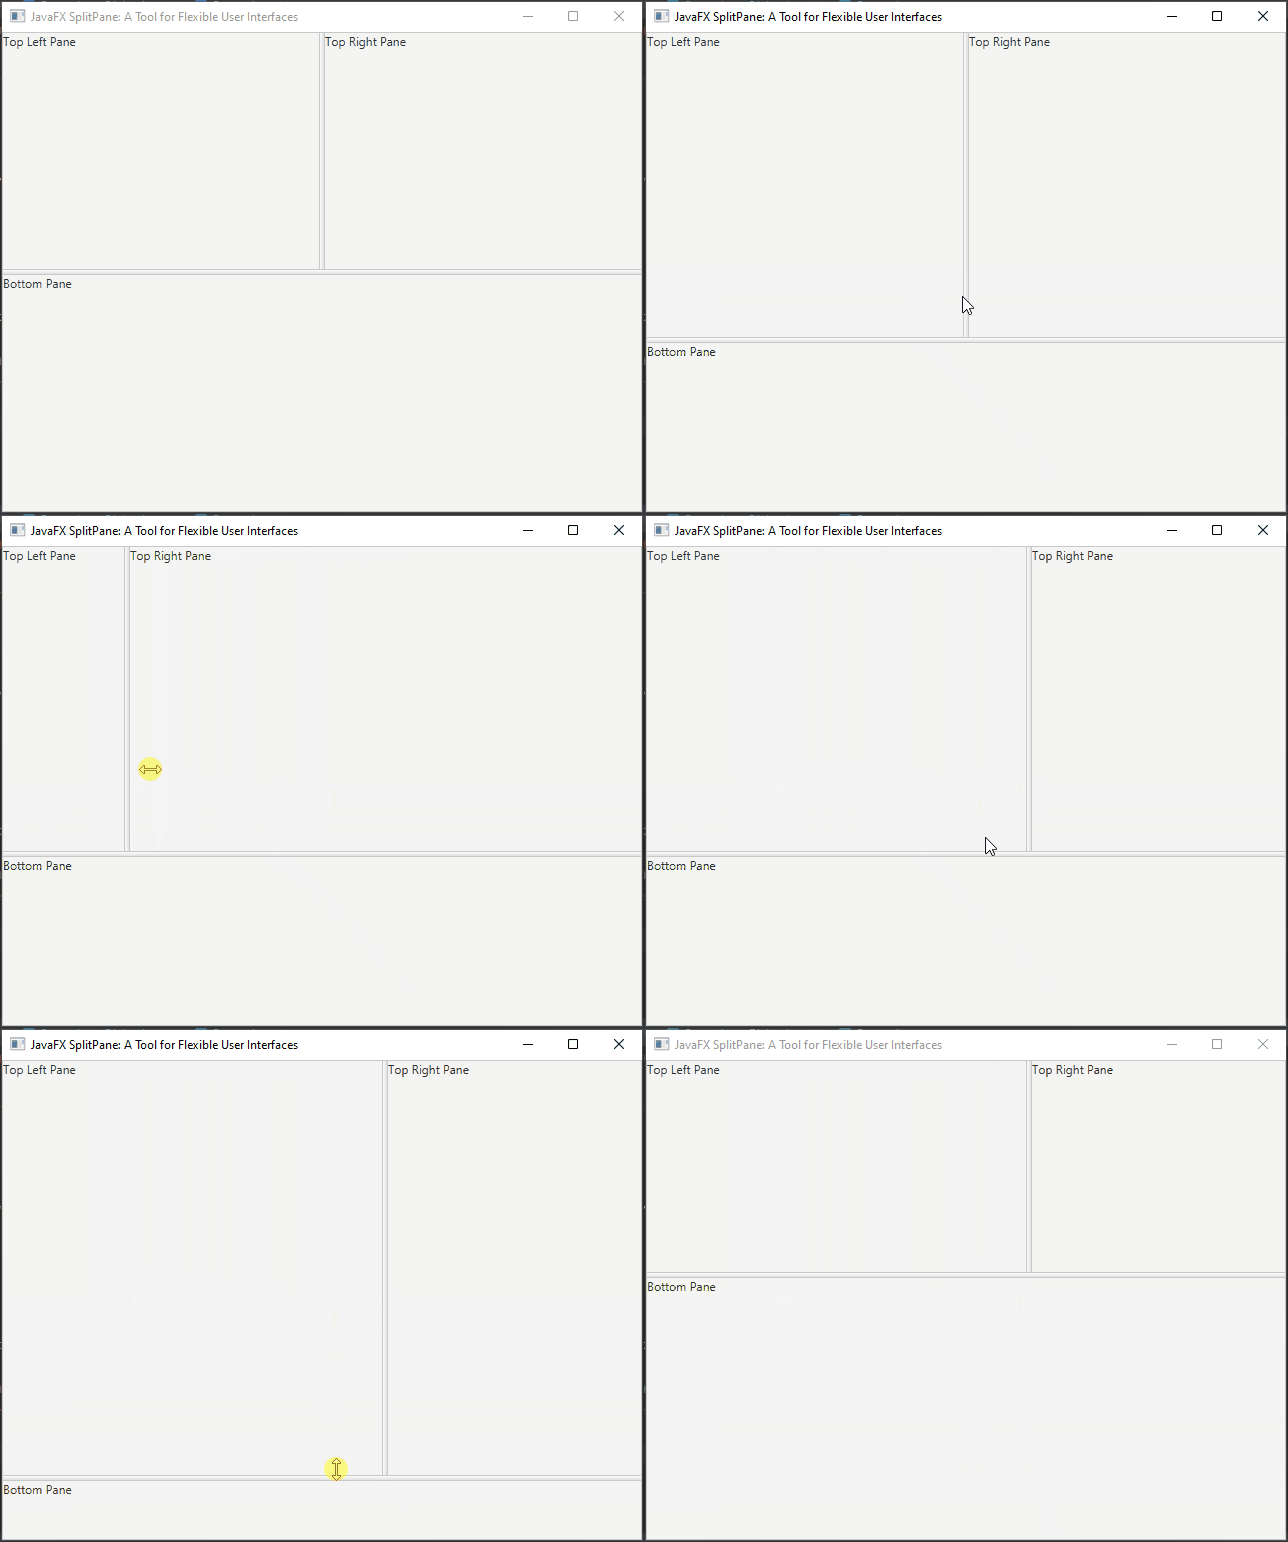
In this example, we create an outer SplitPane containing an inner SplitPane. This results in a layout with three resizable panes, allowing the user to adjust the sizes of the inner and outer panes as needed.
Conclusion
JavaFX SplitPane is a powerful tool for creating flexible and responsive user interfaces in Java applications. It allows you to divide the available space into resizable areas with interactive dividers, enabling users to customize their layout preferences. In this article, we explored the basics of using SplitPane with simple and nested examples. You can further enhance your UI designs by combining SplitPane with other JavaFX layout containers and controls.
I hope you found this code informative and useful. If you would like to receive more content, please consider subscribing to our newsletter!


