Displaying images is a common requirement in graphical user interface (GUI) applications. With JavaFX, you can easily incorporate image display functionality into your Java applications. In this blog post, we will explore how to use JavaFX to display images.

Accelerate your tech career
with hands-on learning.
with hands-on learning.
Whether you're a tech newbie or a total pro,
get the skills and confidence to land your next move.
Start 10-Day Free Trial
get the skills and confidence to land your next move.
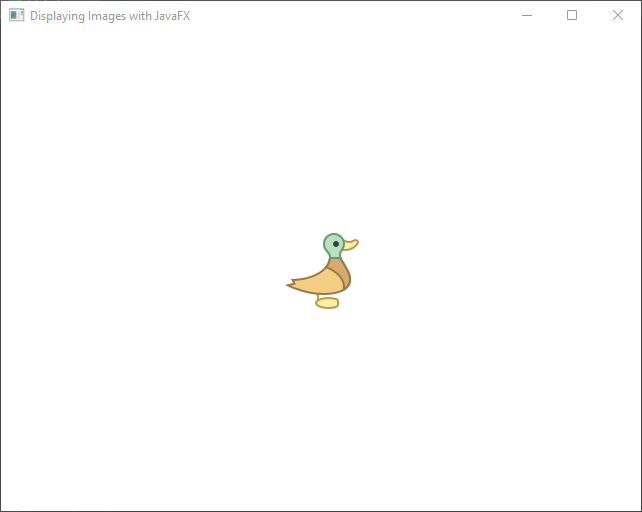
This code creates a JavaFX application that displays an image of a duck, centered in a window:
import javafx.application.Application;
import javafx.scene.Scene;
import javafx.scene.image.Image;
import javafx.scene.image.ImageView;
import javafx.scene.layout.BorderPane;
import javafx.stage.Stage;

public class ImageDisplay extends Application {

    private static final double WIDTH = 640;
    private static final double HEIGHT = 480;

    @Override
    public void start(Stage stage) {

        // Create a BorderPane layout manager to arrange elements
        BorderPane layoutManager = new BorderPane();

        // Create a scene using the layout manager and set its dimensions
        Scene scene = new Scene(layoutManager, WIDTH, HEIGHT);

        // Create an ImageView to display an image
        ImageView imageView = new ImageView();

        // Load and set the image to the ImageView
        imageView.setImage(new Image("duck.png"));

        // Add the ImageView to the center of the BorderPane
        layoutManager.setCenter(imageView);

        // Set the title of the application window
        stage.setTitle("Displaying Images with JavaFX");

        // Set the scene for the stage (window)
        stage.setScene(scene);

        // Center the window on the screen
        stage.centerOnScreen();

        // Show the application window
        stage.show();
    }
}
When executed, the program above produces a window, as depicted in the image below. Well, the image might be different for you.

I sincerely hope that you find this code helpful. If you wish to learn more about JavaFX, please subscribe to our newsletter today and continue your JavaFX learning journey with us!


