Tkinter is a powerful and easy-to-use graphical user interface (GUI) library in Python. It allows developers to create applications with buttons, labels, entry fields, and other interactive elements. Buttons are an essential part of any GUI application as they enable users to trigger actions or perform specific tasks. In this article, we’ll walk you through the process of creating a button using Tkinter.

with hands-on learning.
get the skills and confidence to land your next move.
Creating a Simple Button
Let’s start by creating a basic Tkinter window with a single button. We’ll use the Button widget from Tkinter to achieve this. Here’s the complete code for a simple button:
import tkinter as tk


class PyFrame(tk.Tk):

    def __init__(self, width, height):
        super().__init__()

        self.width = width
        self.height = height

        self.geometry(f"{self.width}x{self.height}")

    def center_on_screen(self):
        left = (self.winfo_screenwidth() - self.width) // 2
        top = (self.winfo_screenheight() - self.height) // 2

        self.geometry(f"{self.width}x{self.height}+{left}+{top}")


def on_button_click():
    print("Button clicked!")


if __name__ == '__main__':
    # Create the main application window
    root = PyFrame(640, 480)
    root.title("How to Create a Button in Python Tkinter")

    # center window on screen
    root.center_on_screen()

    # Create the button
    button = tk.Button(root, text="Click Me!", command=on_button_click)
    button.pack()

    # Run the main event loop
    root.mainloop()
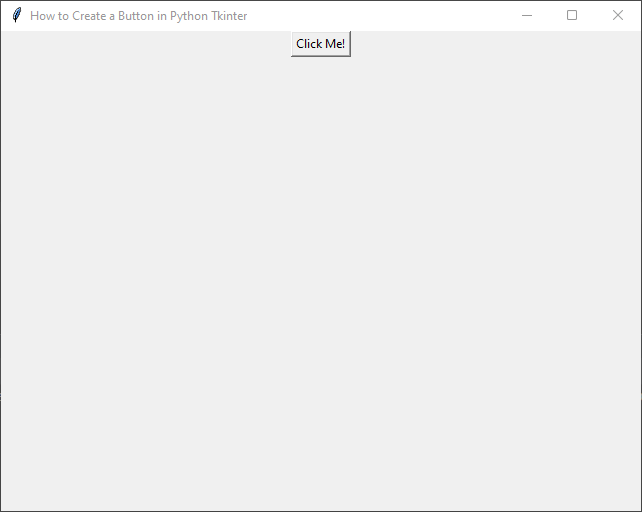
In this example, we first import the tkinter module and create a function on_button_click, which will be called when the button is clicked. The Button widget is created with the text “Click Me!” and is associated with the on_button_click function using the command parameter. The pack() method is used to display the button in the main window.
When you run this script, a window will appear with the “Click Me!” button. When you click the button, the message “Button clicked!” will be printed in the console.

Adding Functionality to the Button
Now, let’s modify our example to add more functionality to the button. Instead of just printing a message, we will create a pop-up message box using the messagebox module from Tkinter.
import tkinter as tk
from tkinter import messagebox


class PyFrame(tk.Tk):

    def __init__(self, width, height):
        super().__init__()

        self.width = width
        self.height = height

        self.geometry(f"{self.width}x{self.height}")

    def center_on_screen(self):
        left = (self.winfo_screenwidth() - self.width) // 2
        top = (self.winfo_screenheight() - self.height) // 2

        self.geometry(f"{self.width}x{self.height}+{left}+{top}")


def show_popup():
    messagebox.showinfo("Message", "Button clicked!")


if __name__ == '__main__':
    # Create the main application window
    root = PyFrame(640, 480)
    root.title("How to Create a Button in Python Tkinter")

    # center window on the screen
    root.center_on_screen()

    # Create the button
    button = tk.Button(root, text="Click Me!", command=show_popup)
    button.pack()

    # Run the main event loop
    root.mainloop()
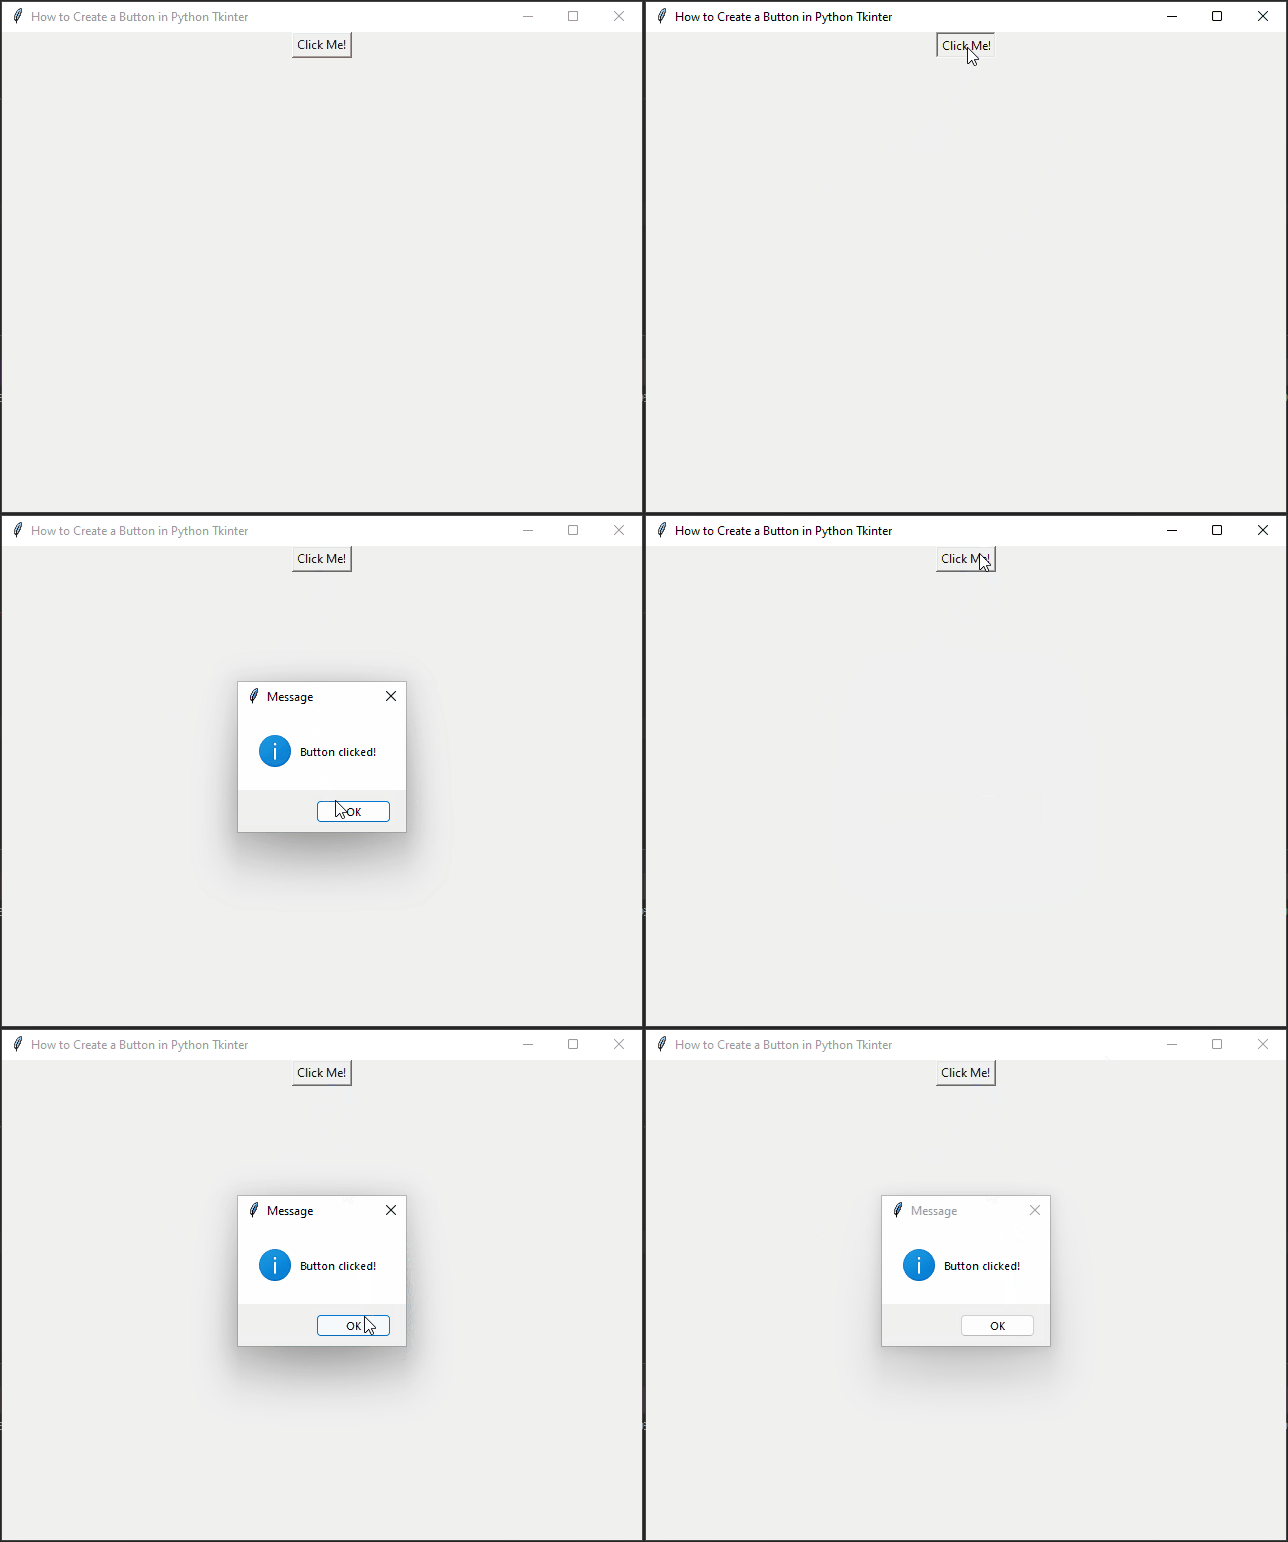
In this version, we import the messagebox module from Tkinter and define a new function show_popup. When the button is clicked, the show_popup function is executed, which creates a pop-up message box using messagebox.showinfo() with the title “Message” and the message “Button clicked!”.

Customizing the Button
Tkinter allows you to customize the appearance of the button by setting various options such as the background color, font, size etc. Here’s an example of a customized button:
import tkinter as tk
from tkinter import messagebox


class PyFrame(tk.Tk):

    def __init__(self, width, height):
        super().__init__()

        self.width = width
        self.height = height

        self.geometry(f"{self.width}x{self.height}")

    def center_on_screen(self):
        left = (self.winfo_screenwidth() - self.width) // 2
        top = (self.winfo_screenheight() - self.height) // 2

        self.geometry(f"{self.width}x{self.height}+{left}+{top}")


def show_popup():
    messagebox.showinfo("Message", "Button clicked!")

    # Disable the button after clicking
    button.config(state=tk.DISABLED)


if __name__ == '__main__':
    # Create the main application window
    root = PyFrame(640, 480)
    root.title("How to Create a Button in Python Tkinter")

    # center window on screen
    root.center_on_screen()

    # Create the button and customize
    button = tk.Button(root,
                       text="Click Me",
                       width=20,
                       height=2,
                       font=("Arial", 12),
                       fg="white",
                       bg="blue",
                       activeforeground="white",
                       activebackground="green",
                       command=show_popup)

    button.pack(pady=20)

    # Run the main event loop
    root.mainloop()
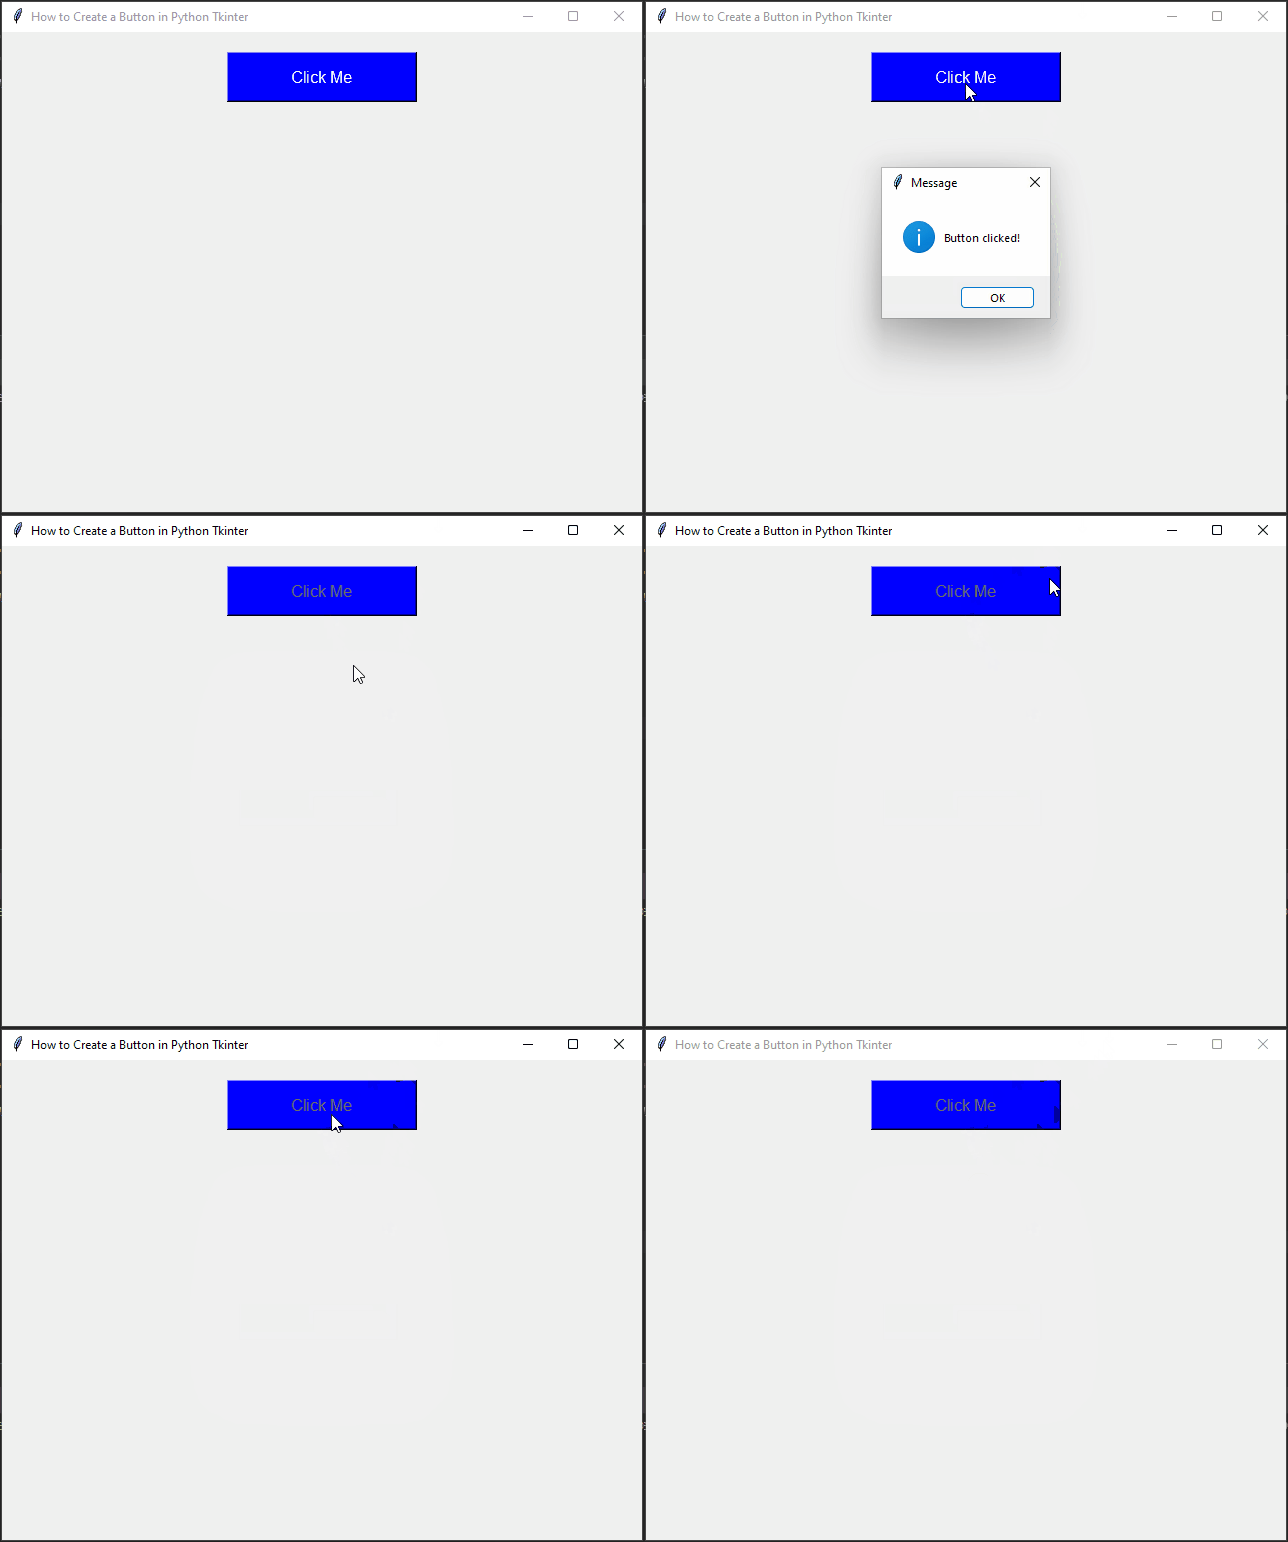
In this example, we’ve added several customizations to the button. We’ve set the button’s width and height using the width and height parameters, respectively. The font parameter allows you to set the button’s font family and size. The fg and bg parameters set the foreground (text) and background colors of the button, respectively.
We’ve also added activeforeground and activebackground parameters to change the text and background colors when the button is clicked (active state).
Additionally, we disable the button after clicking by setting its state to tk.DISABLED. This prevents the user from clicking it again.

Conclusion
In this article, we learned how to create a button in Python Tkinter. We covered the basic process of creating a button, adding functionality to it, and customizing its appearance. Buttons are a fundamental part of any GUI application, and now you have the knowledge to create interactive buttons in your Python applications using Tkinter.
Remember, Tkinter offers many other widgets and options for creating robust GUIs in Python, so don’t hesitate to explore further and experiment with different components.
I hope you found this code informative and useful. If you would like to receive more content, please consider subscribing to our newsletter!


